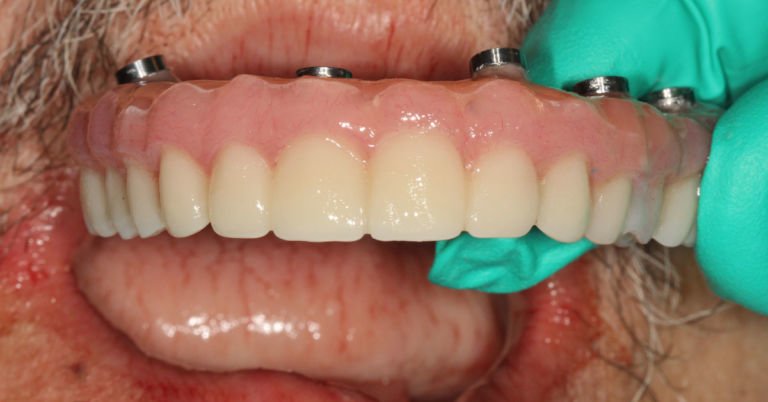
Working with 3D Printing Model to Fabricate Metal CoCr RPD Castings
PVS impressions and RPD cases have long been a terrifying combination for me. If it’s not getting PVS stuck in deep undercuts, it’s pouring the models and hearing the dreaded “pop” as one of my abutment teeth fractures off the model!! Thankfully digital technology comes to the rescue [again] for me!!
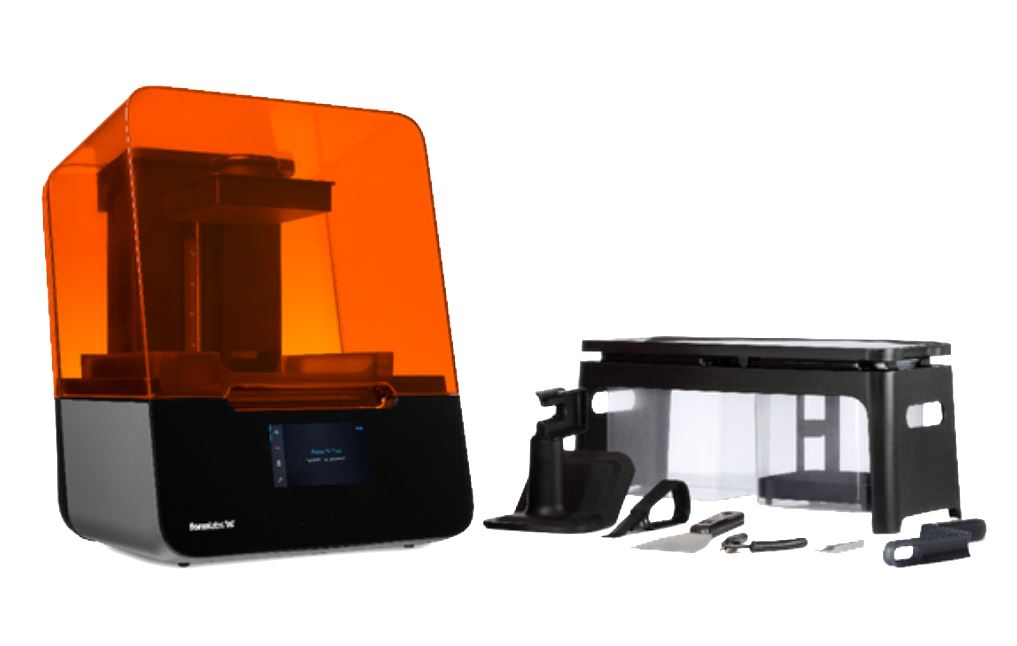
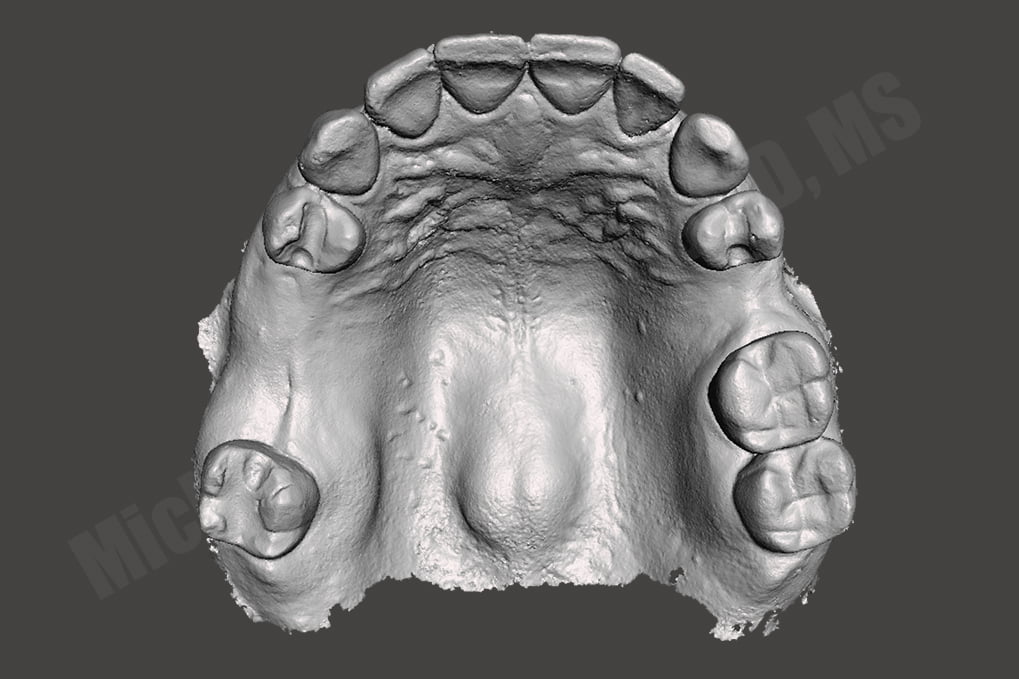
I have been intraoral scanning and 3D printing for removable partial dentures (RPD) in my clinical practice for years but haven’t always been using it exclusively during that time. I started out what I thought was a logical process, I wanted to just replace the PVS-stone model workflow by using intraoral scanning and 3D printing. The goal was to send to the same laboratory I was working with to make Cobalt Chromium (CoCr) frames, simply just replace the stone model with the printed model.
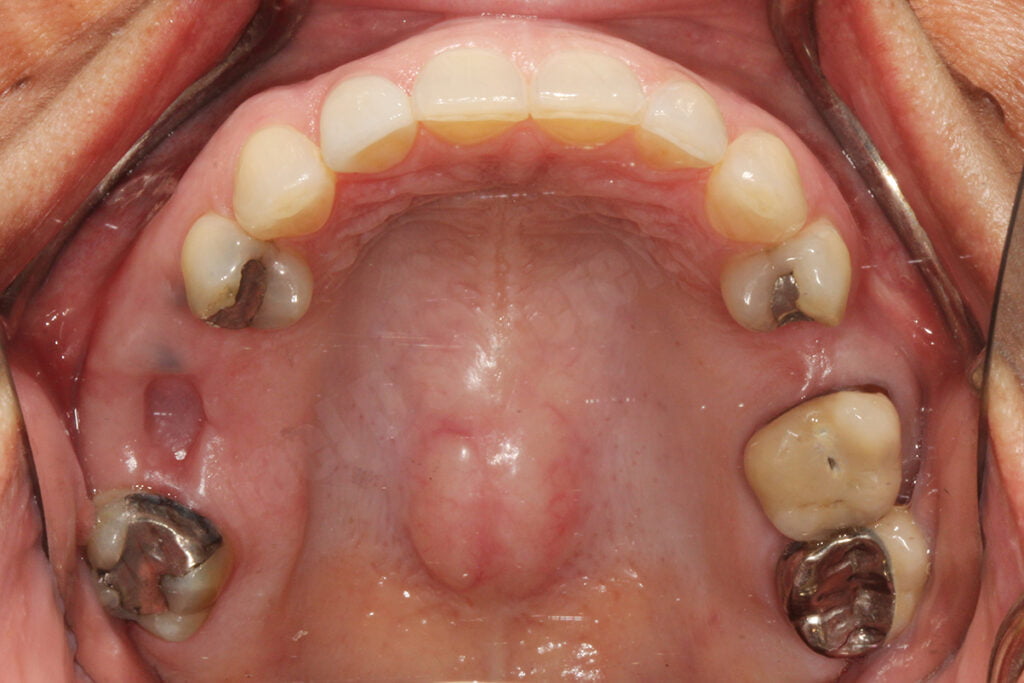
I also thought about the challenges of capturing tissues and tissue form properly and chose my early first cases properly: tooth supported maxillary RPD with no distal extensions (Kennedy Class III). By doing so helped minimize potential accumulating errors from the digitization process transition. Understanding the clinical side of RPDs is key and case selection is very important during initial time periods of any newer technique or approach. I found a patient who was referred to me for a Kennedy Class III Mod 1 RPD – a tooth supported partial denture. She also had very predictable occlusion and was a very understanding patient who was okay with me making photographs and several impressions.
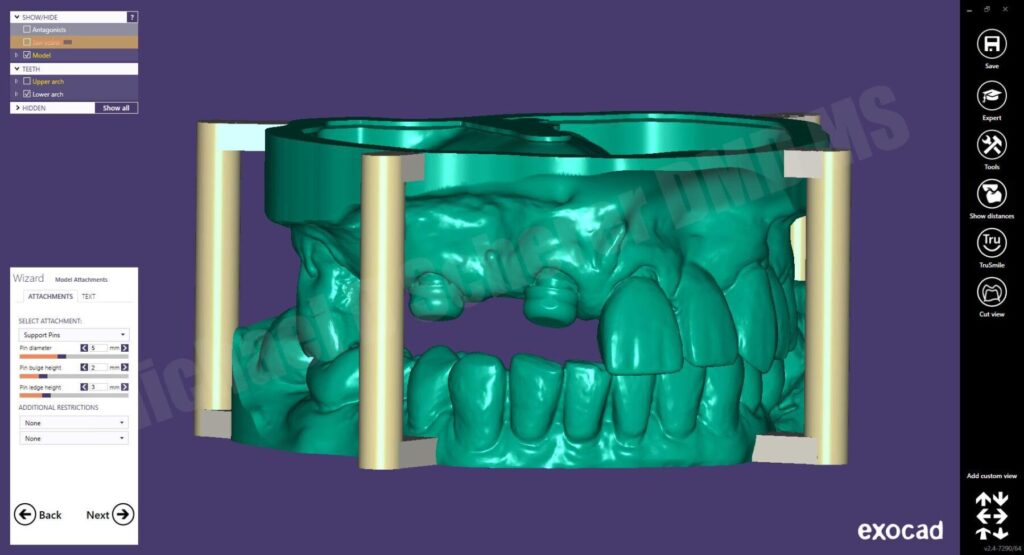
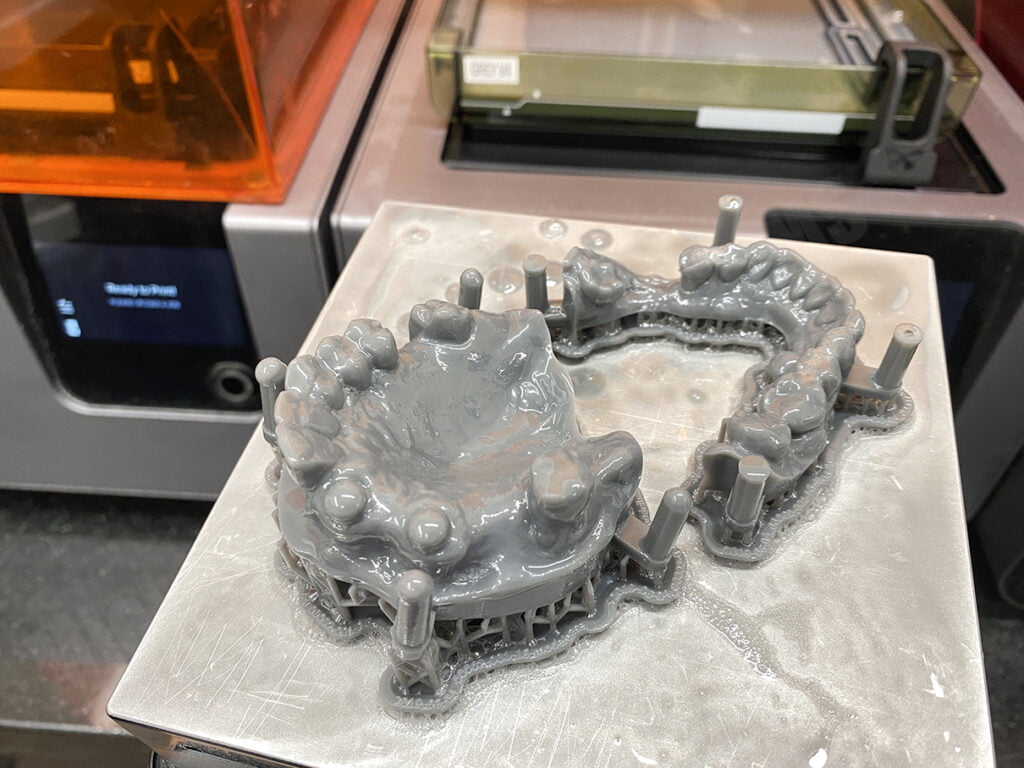
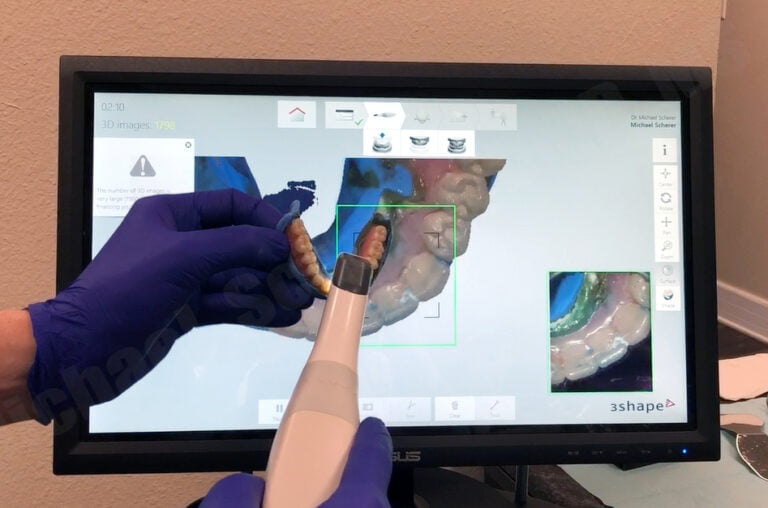
I thought about the importance of not going down a rabbit hole without a backup, so after preparing rest seats and guide surfaces, I went ahead and made a traditional PVS impression AND an intraoral scan using a 3M/MidMark TrueDefinition Scanner. I brought the digital scans into Autodesk Meshmixer software and built a model base and 3D printed on a Formlabs Form1 3D printer (the “latest in technology” at the time!). I sent the two sets of models to my removable lab and asked them to make a metal framework on both models. They were confused and stated, “why would you want to do that Doctor?!” I asked them to make the same casting on each model and I’m going to check the printed model… but then they told me, “printed models don’t work, we’ve tried before and the castings don’t fit, we won’t do it!” I kindly asked the lab again, “please just go ahead and try it, if it doesn’t fit, I’ll pay for the framework anyways, no redos, just make sure the frame fits the printed model and make a conventional model.” They did not agree with that plan so I reached out to a few other laboratories who would try it out. Thankfully we discovered Bertram Dental Lab who was willing to give it a go.
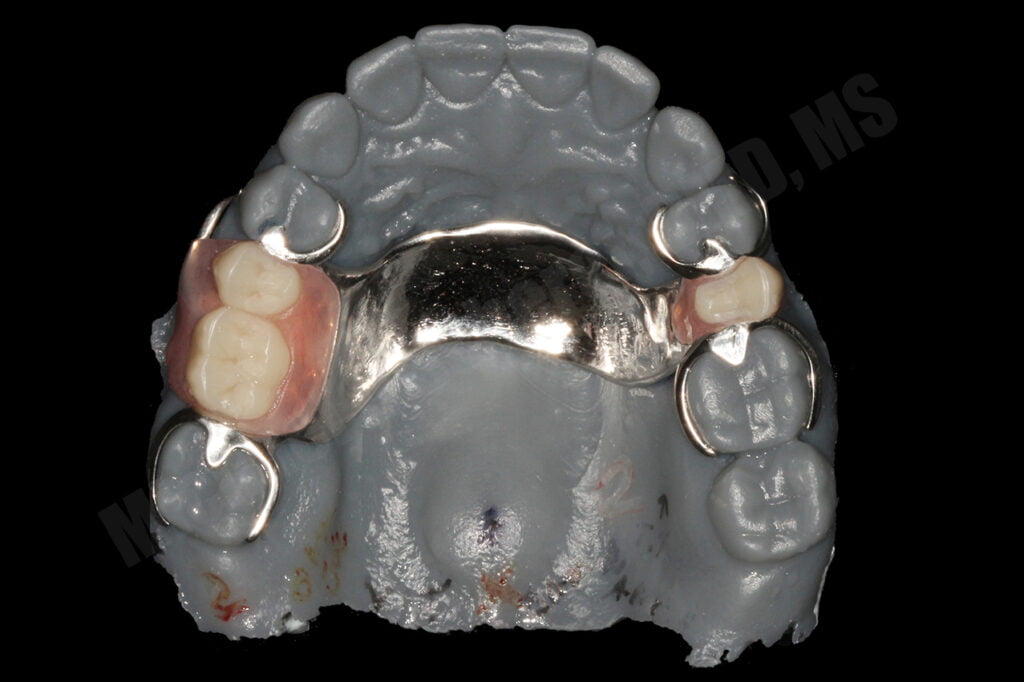
A few weeks later, I received saw two beautiful frameworks, one in the stone model and one in the printed model. I inspected both frames and decided to switch them back and forth and very realized that the framework made on the printed model easily fit on the stone model but the framework made on the stone model didn’t fit on the printed model. I was a bit confused but said, let’s bring the patient in and we’ll see how it works out!
The patient returned and I tried in both frameworks… guess which fit? Well, they BOTH did and both fit beautifully! Now the question is… which one needed more adjustments than the other? Turns out the CoCr frame made on the 3D printed model fit with no adjustments, dropped right in, whereas the CoCr frame made on the stone model needed moderate adjustments to fit. Does that mean the framework made on the stone model wasn’t as accurate as the printed model? No, I don’t think so. Both frameworks gave me really excellent clinical results but I was confused, why did the frame on the printed model need less adjustments?
I took some time to think about the implications of what I was seeing. Was it my printer? Was it the intraoral scanner? Both very good questions and likely could have been factors in how the frameworks fit, but I think it was a bit more human factor than anything else. My thinking is that the laboratory, immediately after casting the framework, fitted the framework to the model using disclosing media. While they do that, they see the marked areas of the framework that needs adjusting, after adjusting, they would end up putting the framework back on the printed model, repeat, again and again. I visually looked at each model and it came to me… the stone model was abraded and the printed model was not abraded, or minimally abraded. Since 3D printed models are resin and stone models are gypsum, resins have a much higher hardness and abrasion resistance than gypsum. Ah-ha!
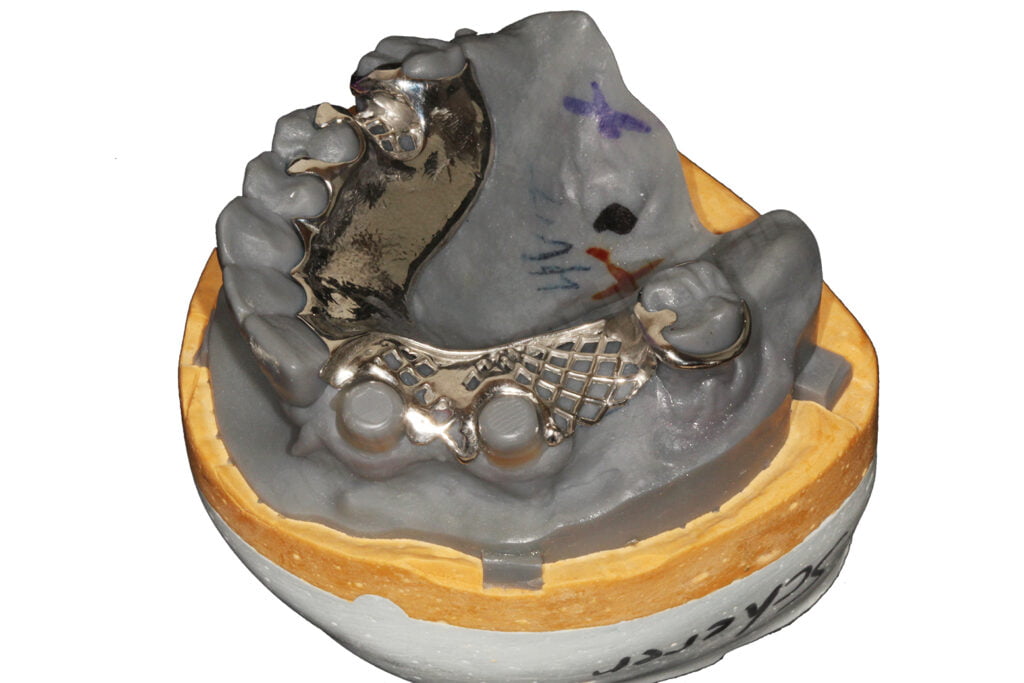
So by fitting the framework to the stone model, the laboratory inadvertently adjusted the stone model to fit the framework at the same time!! Using the 3D printed model, the technician had the ability to adjust the CoCr much more and precisely fit the framework to the model, resulting in a superior fit of the framework without clinical adjustments needed. I believed at the time (and still do believe), the PVS-stone model approach and intraoral scan-printed model approach produce frameworks equally as accurate, but the printed model gives so much flexiblity and control to the technician and clinician alike and ultimately giving a simple and predictable approach to fitting in the mouth. It also gives the technician the ability to do a better job at adjusting the CoCr casting after fabricating, ensuring a passively fitting prosthesis with minimal clinical adjustments needed.
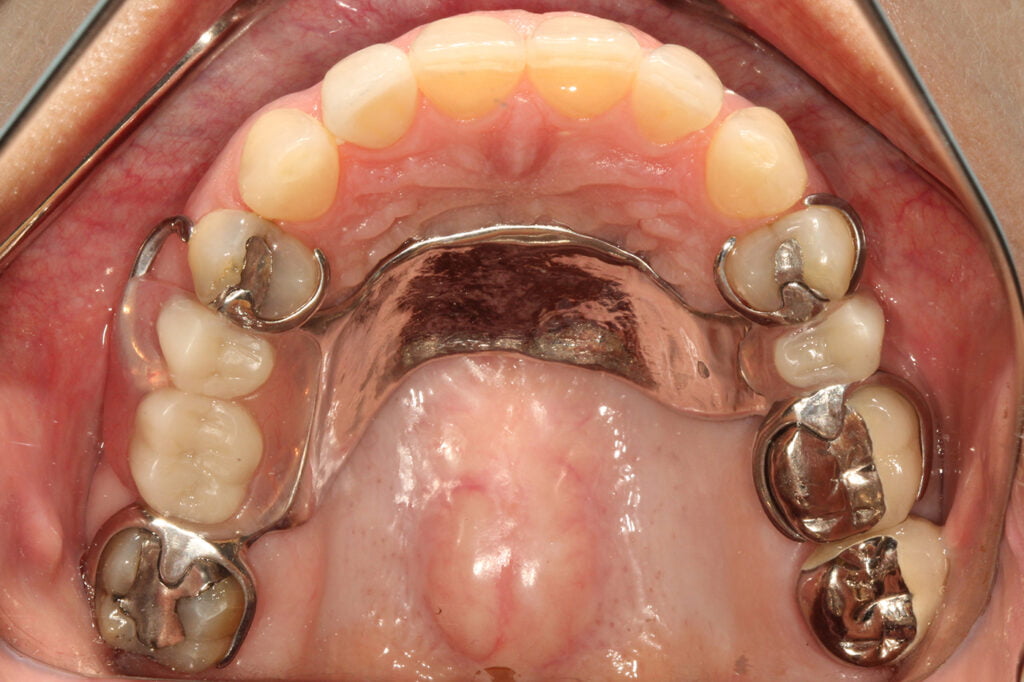
After confirming the fit of the framework in the mouth, we sent it back to the laboratory for processing of the RPD. We ran into several challenges associated with processing RPD acrylic resin and denture teeth with printed models. Since the resin models have a similar chemistry as acrylic resin, it was bonding to the models. We thought of using tin-foil, separating liquids, lacquer sprays and more… but ultimately we came up with a very simple approach: using hydrocolloid and duplicate the 3D printed model into gypsum just for processing the acrylic. My technician was on board and was pleasantly surprised by how good the result was… and he told me it fits in perfectly with his everyday workflow. The patient returned to the office after processing and the RPD dropped right, occlusion was perfect, and she was thrilled with the final result.
I really thought I was on to something. At the time I reached out to other technicians who really thought I was crazy, with regularly mentioning comments like, “why would you bother going the digital route if you are just duplicating the printed model into stone for processing!!” Yes, it may seem silly right? Turns out this workflow REALLY works. It’s simple, predictable, and fits into most removable laboratory equipment and workflows they are comfortable with. You CAN process to printed models with special lacquers minimizing bonding of the acrylic, but the biggest challenge my technician said is deflasking and removing the processed acrylic from the printed model is very difficult. Stone models just separate cleanly where the resin model you have to section it very carefully, potentially damaging the denture or partial in the process.
The KISS rule applies beautifully here. I have found this approach works very well and have been using it for years. Today, I no longer made a PVS impression on top of the intraoral scan. I also have done many arches of more challenging RPDs including distal extensions and obturator cases.
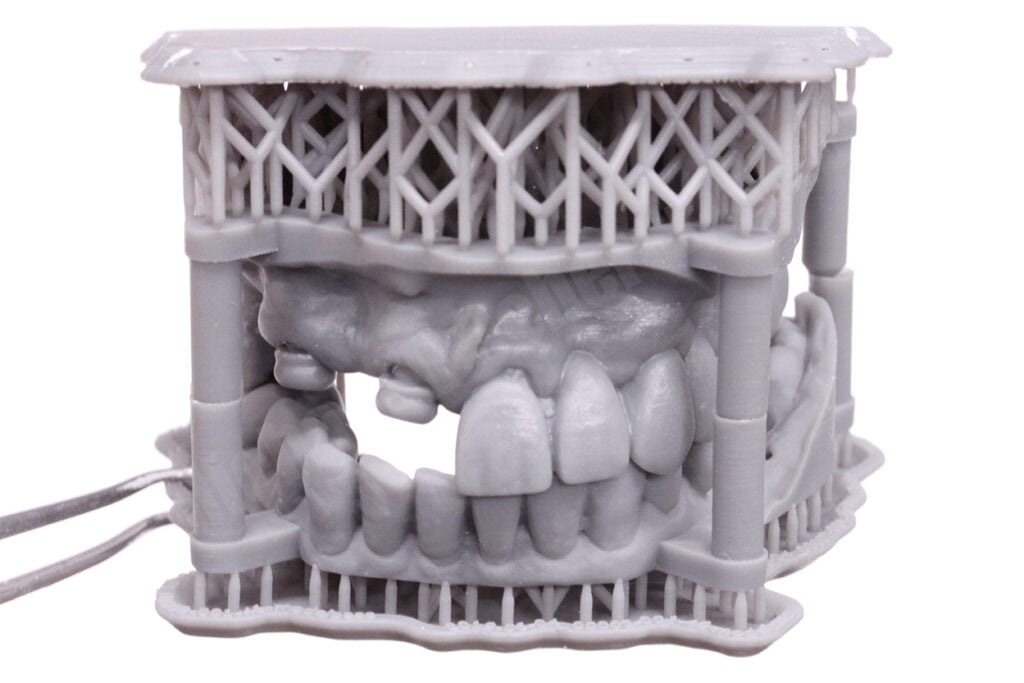
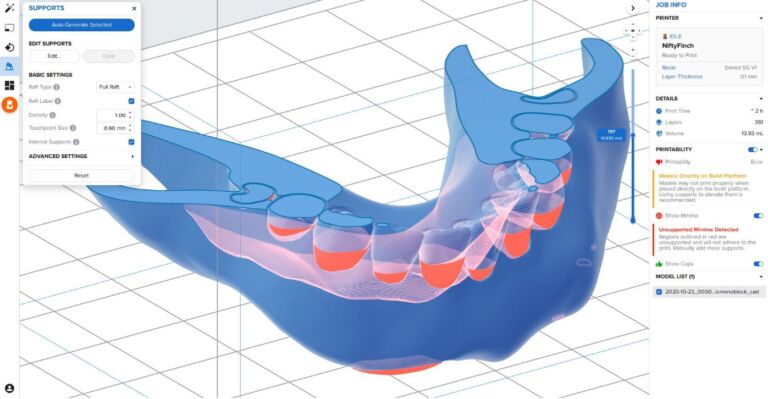
Regarding printer choice, as many of you know, I have 11 printers for a variety of reasons! For fabricating CoCr, I tend to prefer laser SLA printers like my Formlabs 3D printer for printing RPD models. Yes,could I print these models on another printer? Yes, of course, but I keep going back to Formlabs for RPD castings because the models are extremely accurate, precise, and very clean with minimal z-axis lines. I tend to print these models with supports and on 50μm settings as the research shows that printing with supports and at slight angles tends to increase accuracy of the printed models.
For technicians, I know that RPDs and digital approaches to fabricating RPDs isn’t the hottest topic around, for sure!! For clinicians, the RPD isn’t the nicest of way of restoring teeth, no way!! As a Prosthodontist, I tend to treat a lot of older patients who just don’t want to go through surgical procedures such as bone grafting and implants. Using the workflows I have highlighted in thsi article, we can really makes the impression procedure much easier, faster, more comfortable for the patient, and extremely predictable. You can even combine this approach with SLM/SLS 3D printing metal applications, which I also use extensively and will cover in a future article… so stay tuned!
Interested in learning more about CBCT, implant planning, 3D printing, and some amazing step-by-step guided surgery protocols in your office and/or laboratory? Check out our innovative step-by-step online digital dentistry course at www.LearnDental3D.com

Dr. Michael Scherer, DMD, MS
Dr. Michael Scherer is an Assistant Clinical Professor at Loma Linda University, a Clinical Instructor at University of Nevada – Las Vegas. He is a fellow of the American College of Prosthodontists, has published articles, books, and in-person and online courses related to implant dentistry, clinical prosthodontics, and digital technology with a special emphasis on full-arch reconstruction.


