How to Design & Make Affordable Full-Arch Fixed Cases… In Just One Visit!
Practicing in rural California I am consistently approached by patients in my practice who state, “Doctor, that permanent option sounds great but I just don’t have the money for something that fancy.”
This often comes up during treatment planning discussion and case review and I totally get it. Implant dentistry can often take a lot of time from start to finish and can also become quite pricey, especially with challenging cases! Between the implant company and the laboratory costs, my hands are often tied for zirconia screw-retained AllonX cases on costs, I just can’t wiggle to make it more affordable for the patient from a treatment fee perspective. As a result, I have been looking for options in my practice where I can address the balance between doing that incredibly fancy dentistry with super esthetic requirements and those patients who are looking for simple and cost-effective fixed solutions.
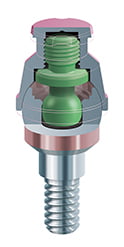
As an avid overdenture enthusiast, I was introduced to the concept of LOCATOR F-Tx very early on. I was a bit hesitant at first because I was unsure of how it would fit into my practice considering I was very comfortable using multi-unit abutments and screw-retained full-arch cases. The biggest challenge I had with those cases was how careful I had to be during impression procedures and the number of visits required. Screw-retained cases require specialized splinted impression technique or careful scanning with scan bodies during impression procedures. Additionally, most experts recommend doing jig verification procedures to ensure the impression is accurate. Then on top of that, between 4-8 visits over the course of months are often recommend because of the delicate and careful prosthetic techniques to produce the prosthetics.
I wondered to myself… “Could I produce a mid-range prosthesis using more affordable components and simpler procedures that I could offer to a patient at a lower price point?”
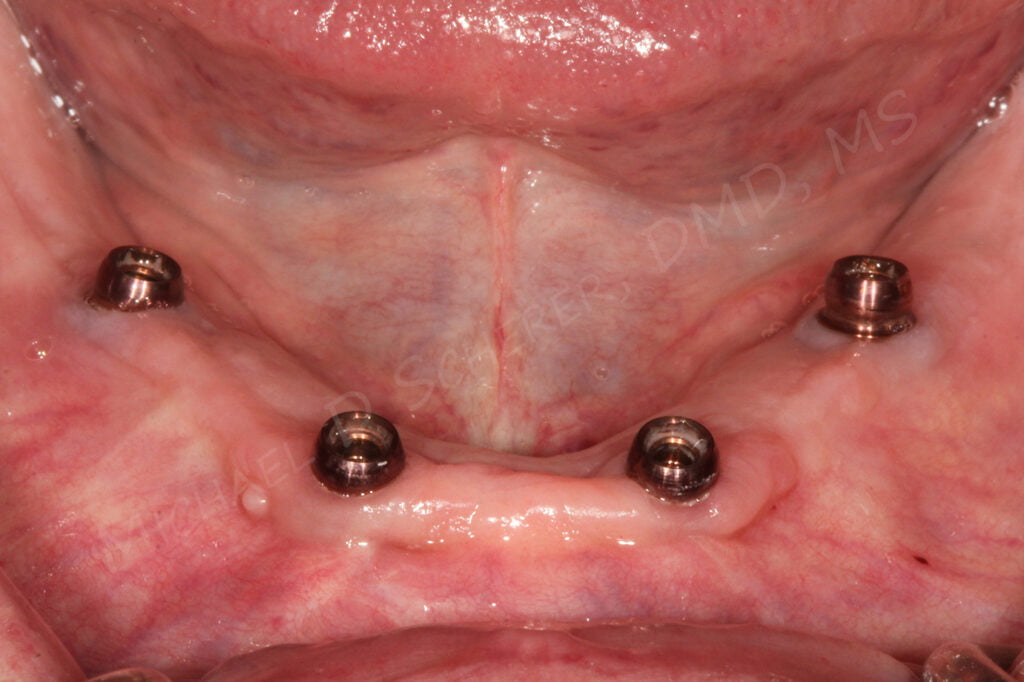
Ultimately, I ended up doing many cases using LOCATOR F-Tx. While doing those cases, I found out that the real key of the system was the fact that one could convert a tissue-borne prosthesis, such as a denture, into a fixed prosthesis using similar techniques as what one employs to do a chairside pick-up of any overdenture-like housing. So essentially I could take a denture, hollow out the areas corresponding to the housings and then use resin to attach the denture to the LOCATOR F-Tx Housings just like a conventional LOCATOR overdenture case but turn it into a fixed prosthesis! No complicated impressions or jig try-ins, just a simple denture impression or edentulous intraoral scan. The resin actually allows a clinician to ensure they are making as close to a passively fitting prosthesis as one can make since the pick-up was chairside.
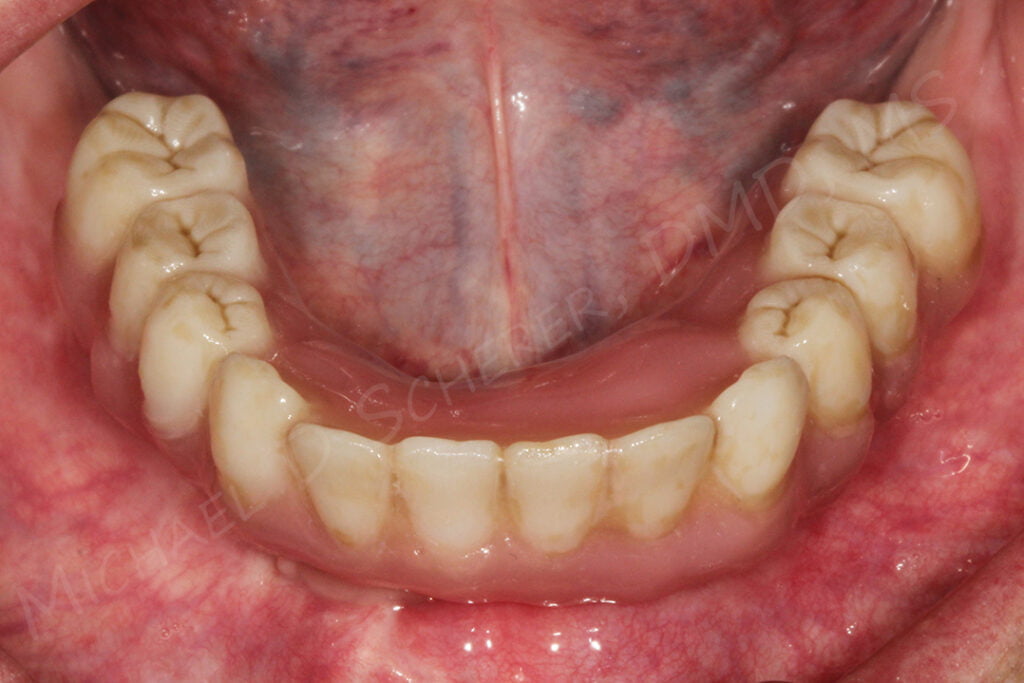
Living and practicing in rural California, I have a lot of patients who travel great distances to my practice. I had to find an implant option that made this back and forth much easier on my patients and if I could get it done in a single visit, wow! I received a call from a patient that I delivered an interim fixed prosthesis approximately 2 years ago. She indicated to me, “Doctor, the temporary bridge finally broke, I’m ready for my final one!” I silently was chuckling inside because I’ve been bugging her to get the final bridge now for the whole time… she was just so comfortable wearing the 3D printed temporary bridge!
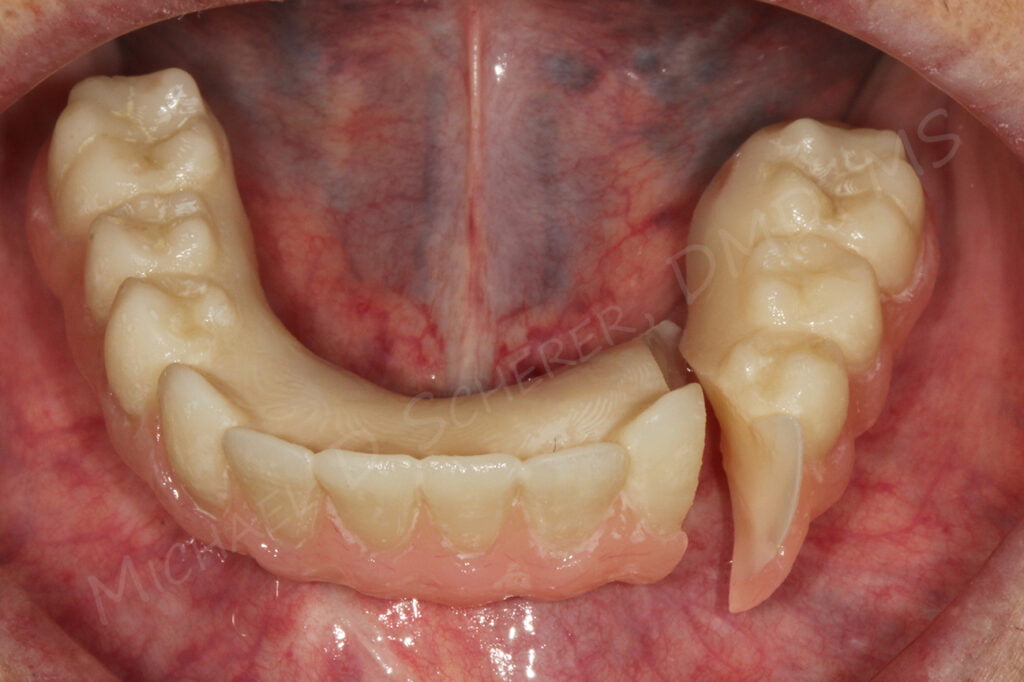
Since she lives close to 4 hours away from our practice and the patient is older with orthopedic issues, I was a bit concerned that I would have to bring her back in for several visits and that it would be very hard on her. For sure she would do it but I started to dive into what I could do to make the number of visits less than 4-6!
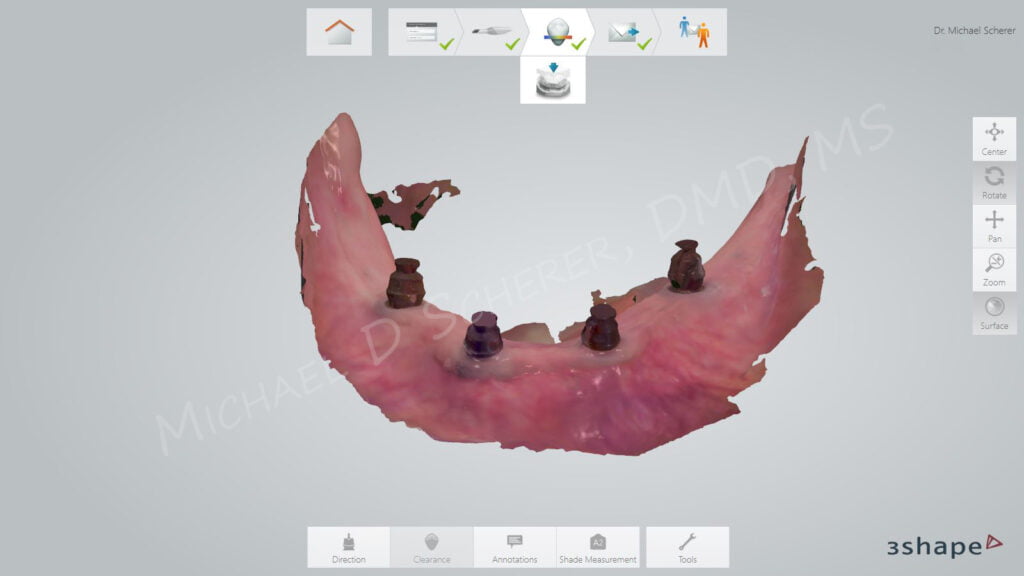
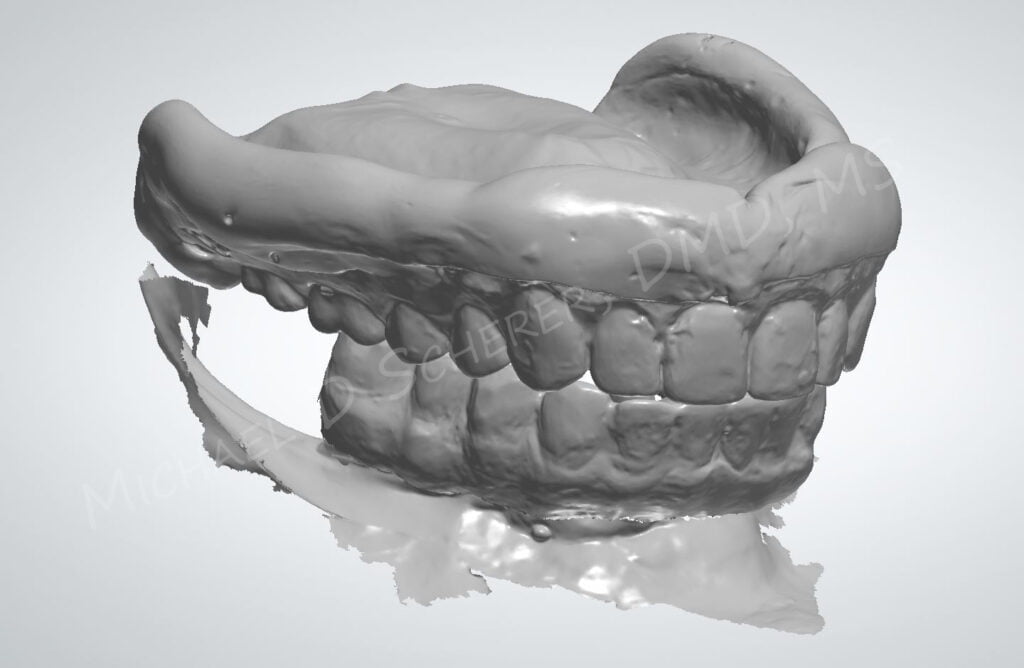
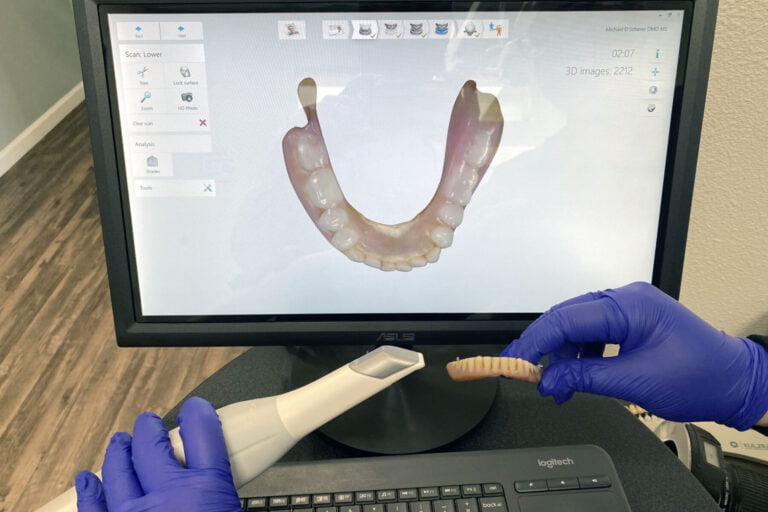
I realized that I had her old intraoral scans from years ago still on file in our 3Shape Dental System database/cloud. I downloaded those files and was able to use her original scan from the F-Tx edentulous arch and then combine it with a scan of her prosthesis when we did a same-day reline a year later. Just because scans aren’t made the same day doesn’t mean they’re not relevant!!
I decided that I had enough information to get the case started and could digitally set up a case from previous records enough where I could at least get her a prosthesis and use a bit of Chairside Material to take up any soft tissue changes between when the scan was made and when she comes in.
So my goal to minimize her travel time back and forth and if I could complete her entire procedure transitioning her from an interim 3D printed prosthesis into a milled bar/PMMA hybrid bridge in one visit, she and I would both be very happy with the result. I invited her to come to our office later that week and we could see her around lunch time the next day and with enough time to drive back home in daylight hours. She was blown away that I would accommodate her like that, but she’s a very special lady!!
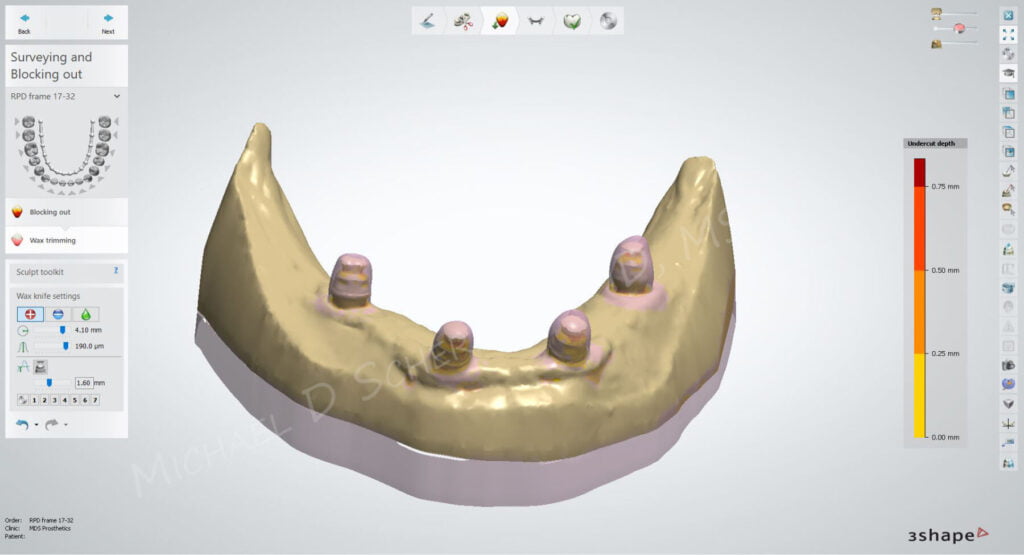
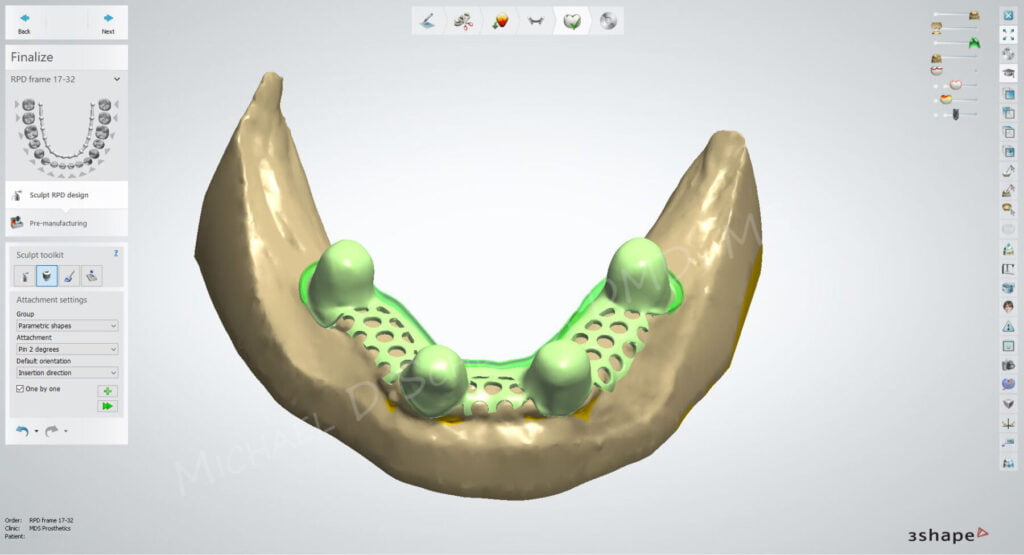
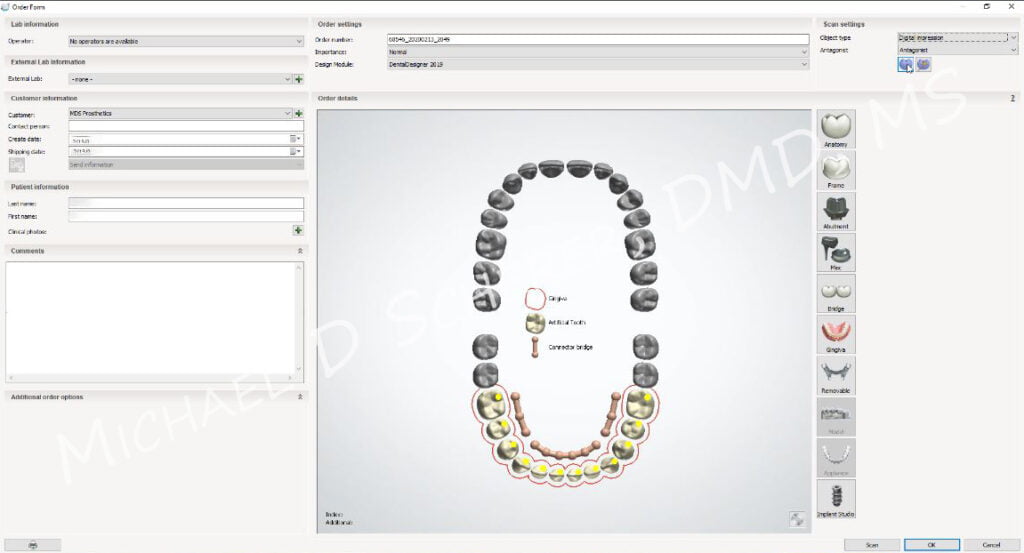
I imported her scans, built a model, then proceeded to design a bar using 3Shape Dental System Digital Denture / Removable module. My goal was to make an overdenture style framework but to increase the thickness and add some rigidity in the framework. My goal was to mill in a polymer instead of metal and have it strong enough to support a fixed prosthesis. I began by setting the path of insertion and generously blocking out around the F-Tx abutments to ensure I had room for Zest Chairside Attachment Processing Material.
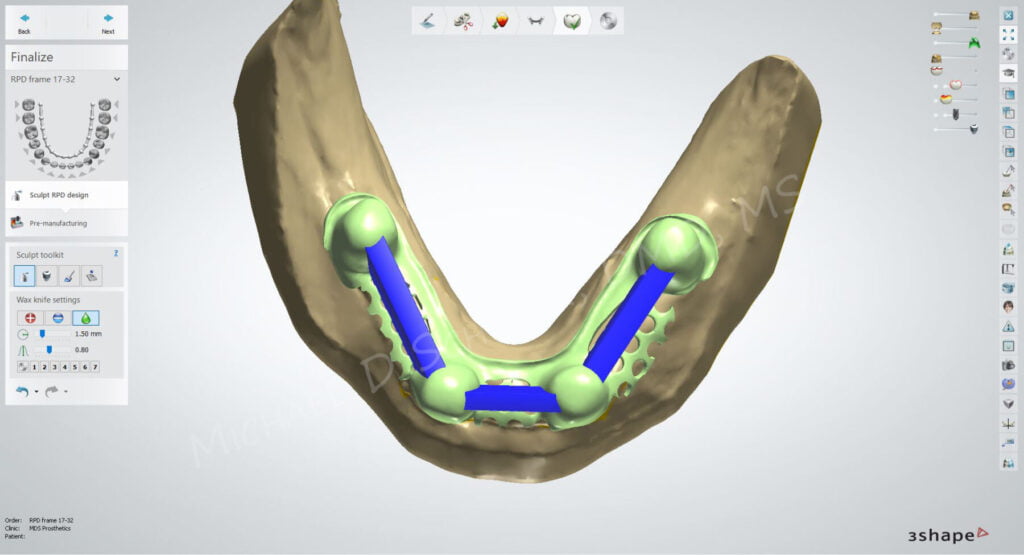
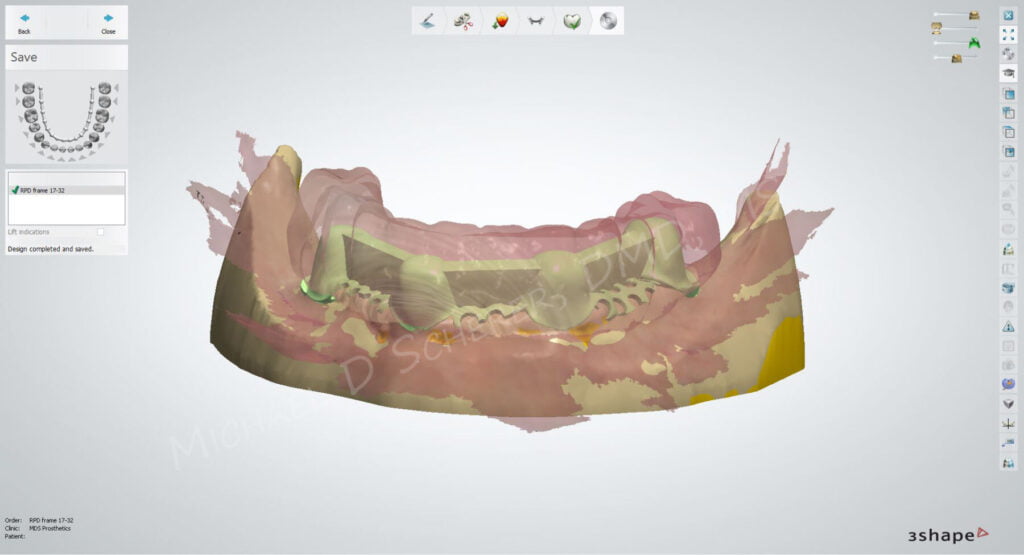
I added 3mm thick and approximately 5-7mm tall vertical supporting bars between F-Tx abutments for strength using attachment functions. The final design has sufficient strength for a fixed prosthesis, a finish line to mill PMMA base to fit, and room for teeth.
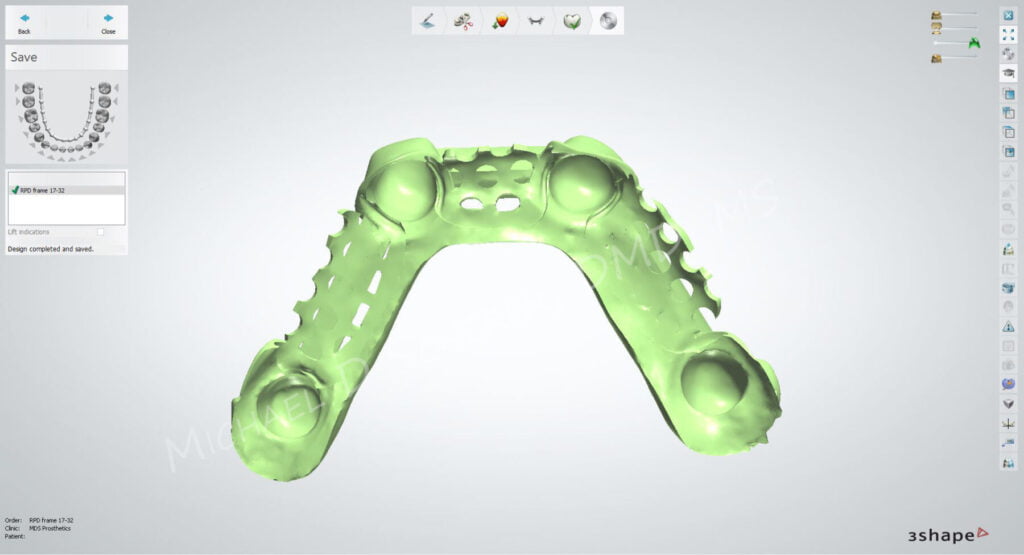
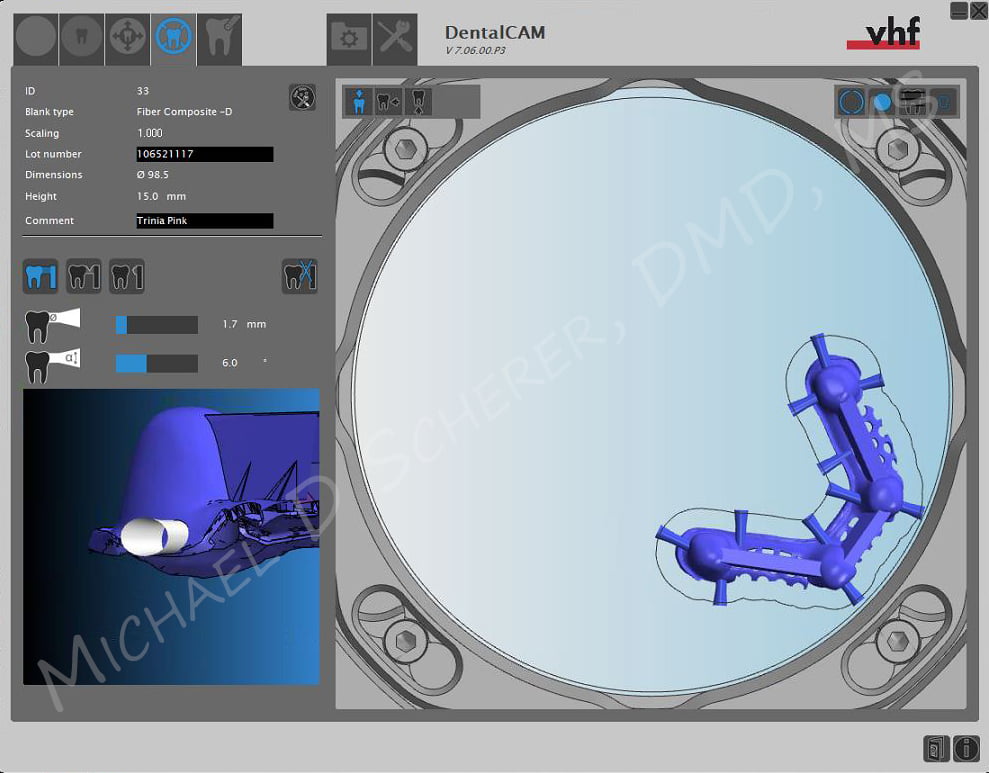
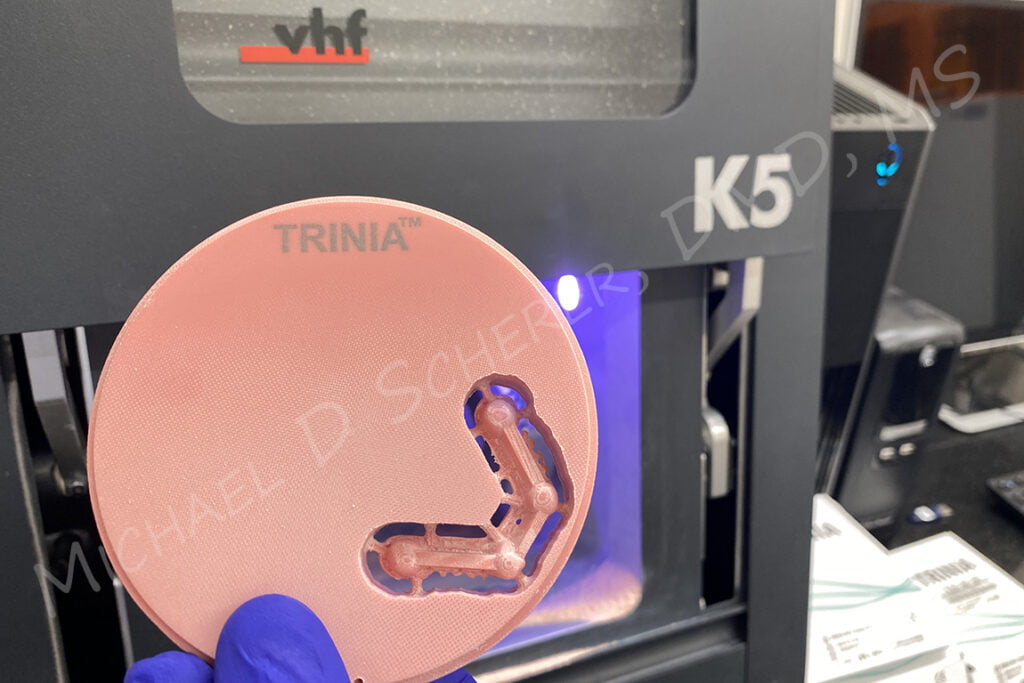
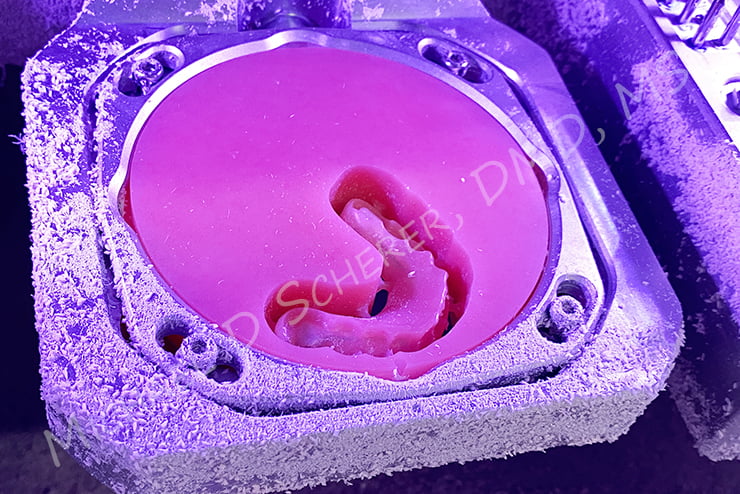
I imported the STL file of the framework into the VHF DentalCAM software for my VHF K5 mill I ordered from Pearson Dental and oriented the files to fit within a disc of polymer. I chose to use Trinia Pink, a fiber-reinforced composite, because it was strong, pink in color, lightweight, and allowed me to be flexible in case I needed to grind a bit within the housing area in case I didn’t use enough block-out. Titanium or Cobalt Chrome are a bit stronger but make it much more challenging to grind if there’s any areas of binding. Since I can fit 2-3 frameworks in a single disc of the Trinia, my approximate material cost for this framework was around $125. I could have likely saved a bit of money by milling in something cheaper, but this material has been a workhorse and has enough strength for a definitive prosthesis.
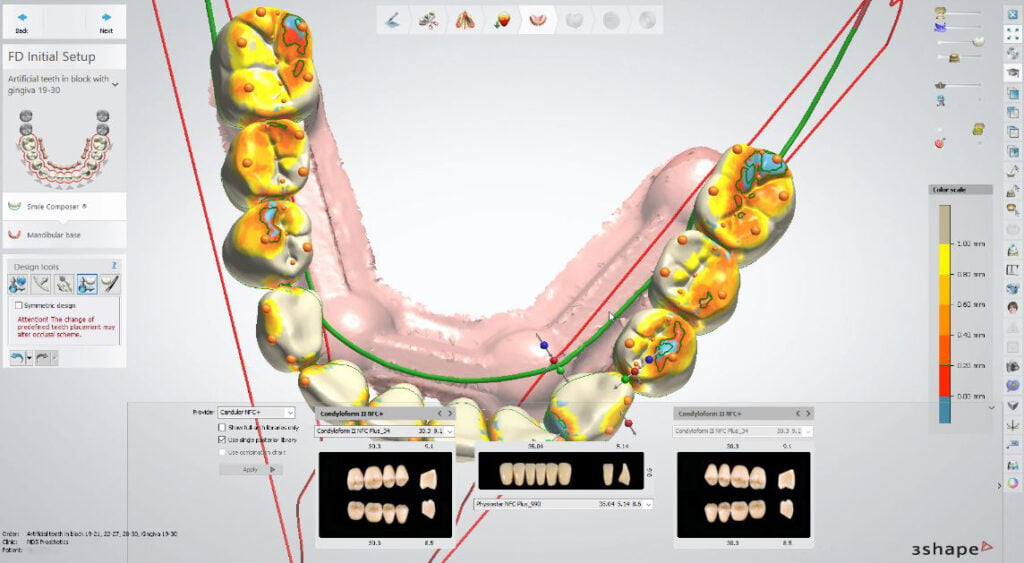
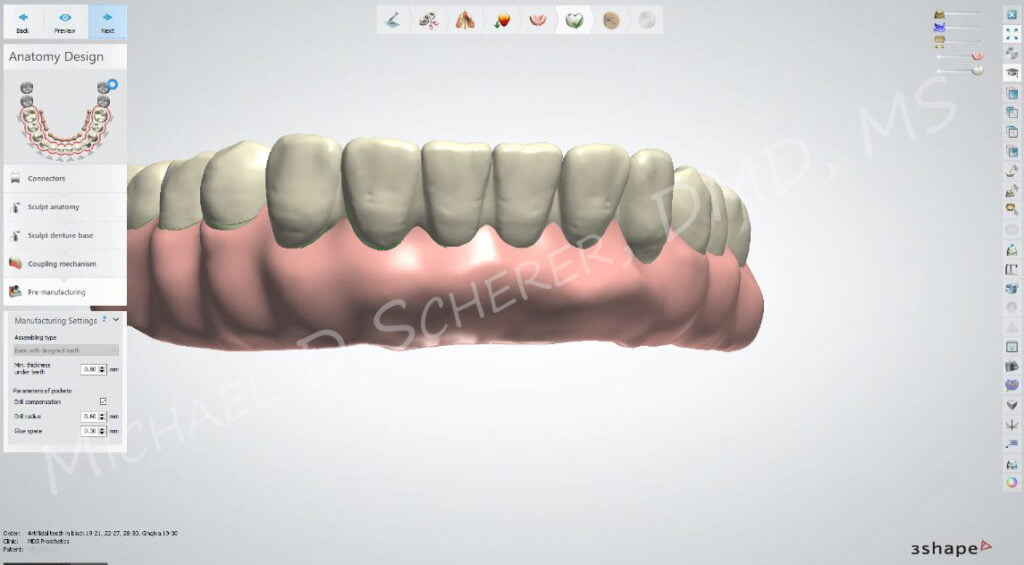
After designing the frame and sending to the mill, I appended the design and then imported the scans back into 3Shape software to design a digital denture on top of the designed bar. I prefer to separate the teeth into 3 segments, one for each posterior side, and one segment for anterior teeth. I was able to match the newly designed teeth to the interim prosthesis that the patient has been comfortable before in the past. I know there was a chance she was wearing down the vertical on her interim, but the original scans were upon delivery so I know it fits well. I then waxed up the gingiva and the software put out a series of STL files, one of the gingiva and one of each of the tooth segments ready to be imported into my mill CAM software.
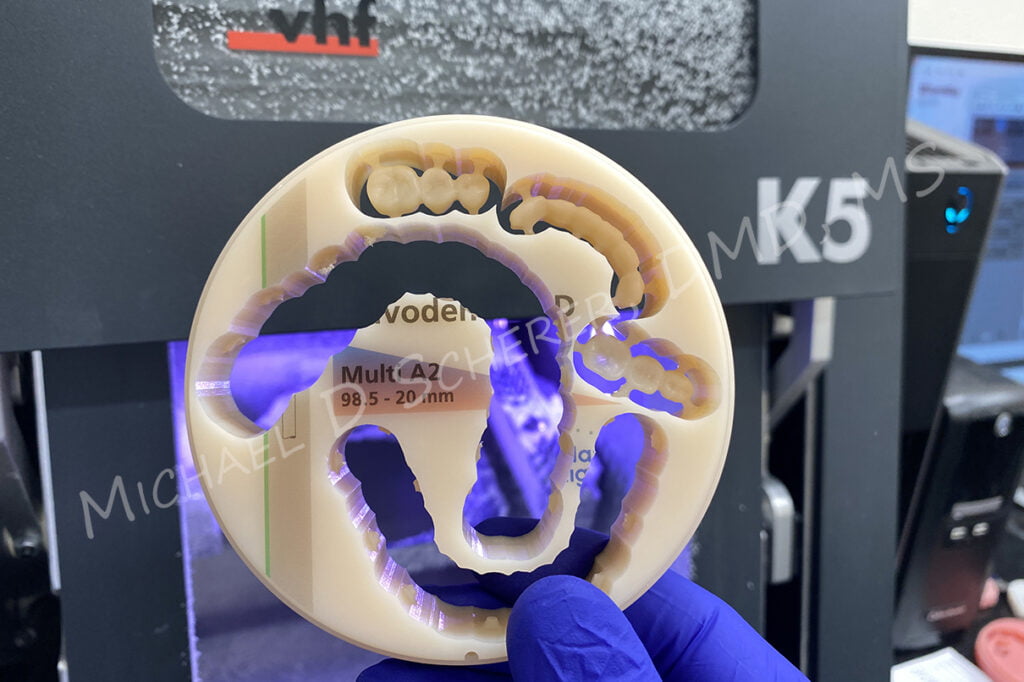
I sent the STL files to the VHF CAM software and began milling the denture base using Dentsply Sirona Lucitone 199 Discs. While the denture base was milling, I imported the STL files for the teeth segments and prepared it for milling using a Ivoclar Vivodent CAD / Ivotion Multi CAD/CAM disc. The nice thing about using segmented teeth is that I can fit the segments into tighter spaces, allowing me to mill between 3-4 cases per disc, unlike if it were a single arch of teeth that I typically can only mill 2 in each disc. As a result, the denture base material cost is around $25 and the teeth segments around $50 in material cost respectively.
My in-office laboratory technician Kris removed the milled base and milled teeth from each disc. Using acrylic burs, he trimmed away any excess, stained and glazed the teeth, and luted the teeth arches to the base using auto-polymerizing acrylic resin. The polymer framework was luted to the PMMA base using Zest Chairside Attachment Processing Material.
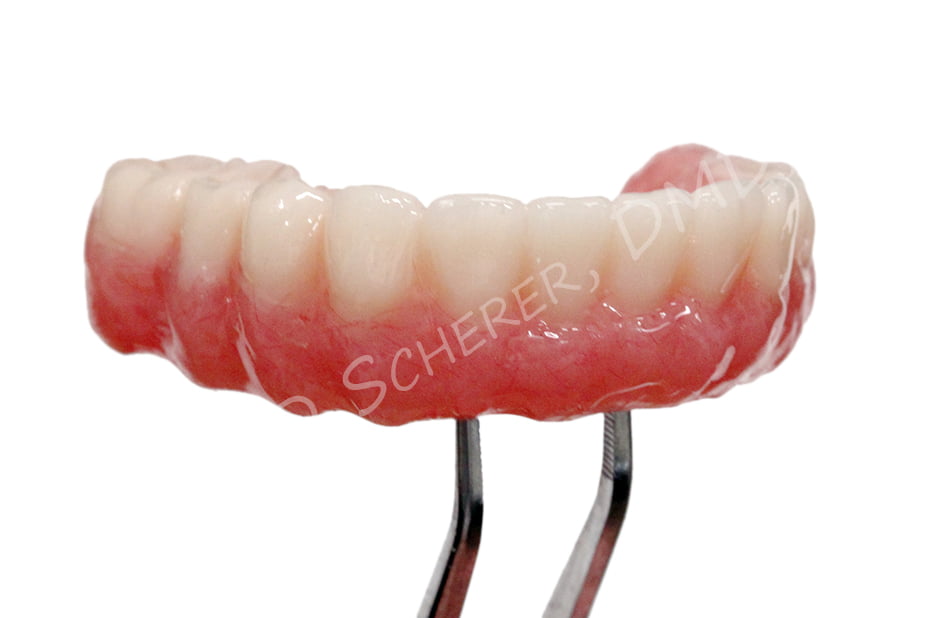
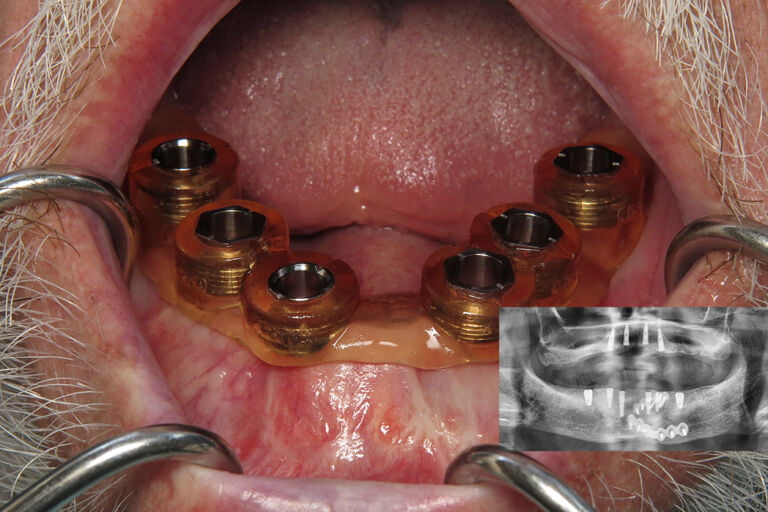
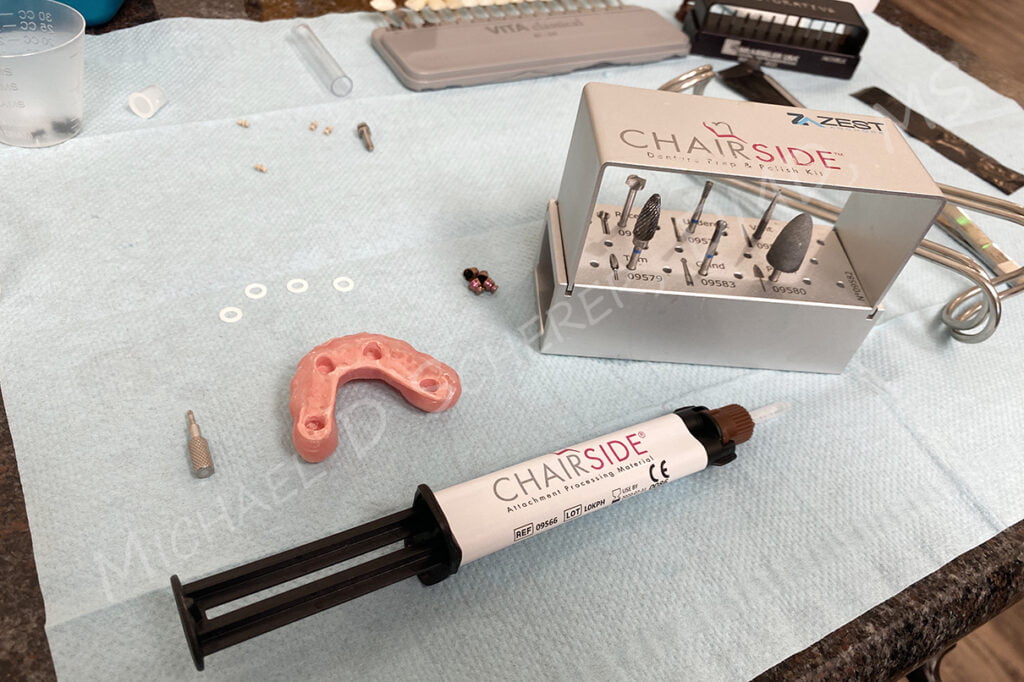
The patient arrived for her appointment and I had my assistants prepare our workstation as if I were doing an overdenture pick-up. All I need is the prosthesis, F-Tx Housings and Retention Balls, Block-Out Spacers, Chairside Denture Prep and Polish Kit, and Chairside Attachment Processing Material.
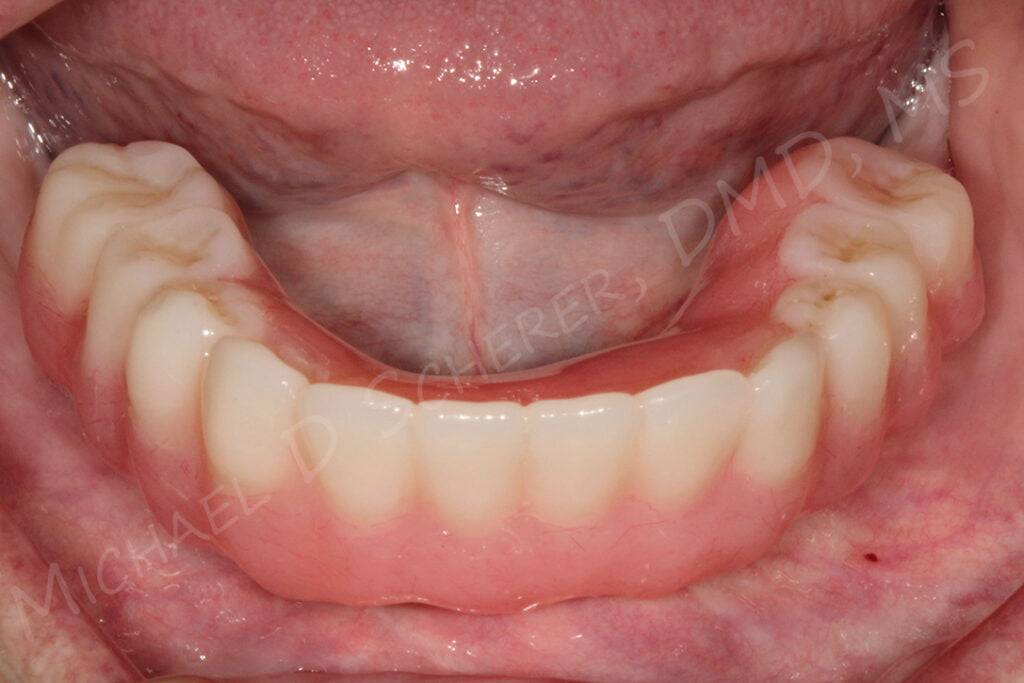
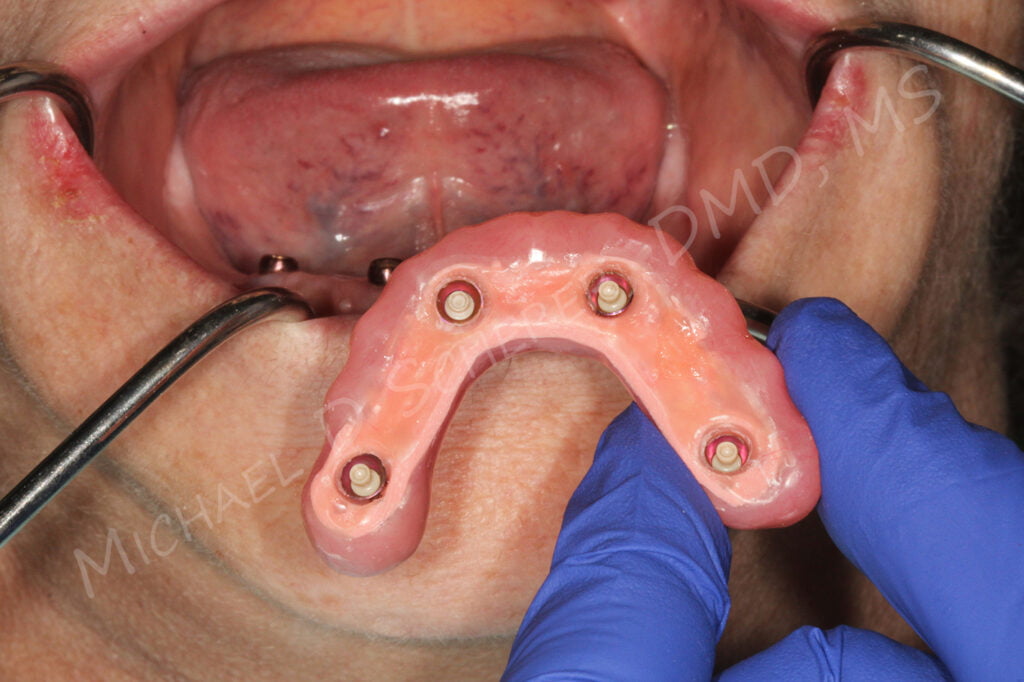
The patient’s existing interim prosthesis was removed and the new, definitive milled prosthesis tried in. Block-Out Spacers and LOCATOR F-Tx Housing were placed onto F-Tx abutments and tilted until the prosthesis was passively seating onto the edentulous ridge. The patient was instructed to close; centric and vertical dimension were confirmed. The housings were dried and Attachment Processing Material injected onto each housing and into the prosthesis and seated onto the edentulous ridge with the patient closing into centric. After approximately 2-3 minutes, the prosthesis was removed, cleaned, polished, and retention balls were changed to the tan (medium strength) balls.
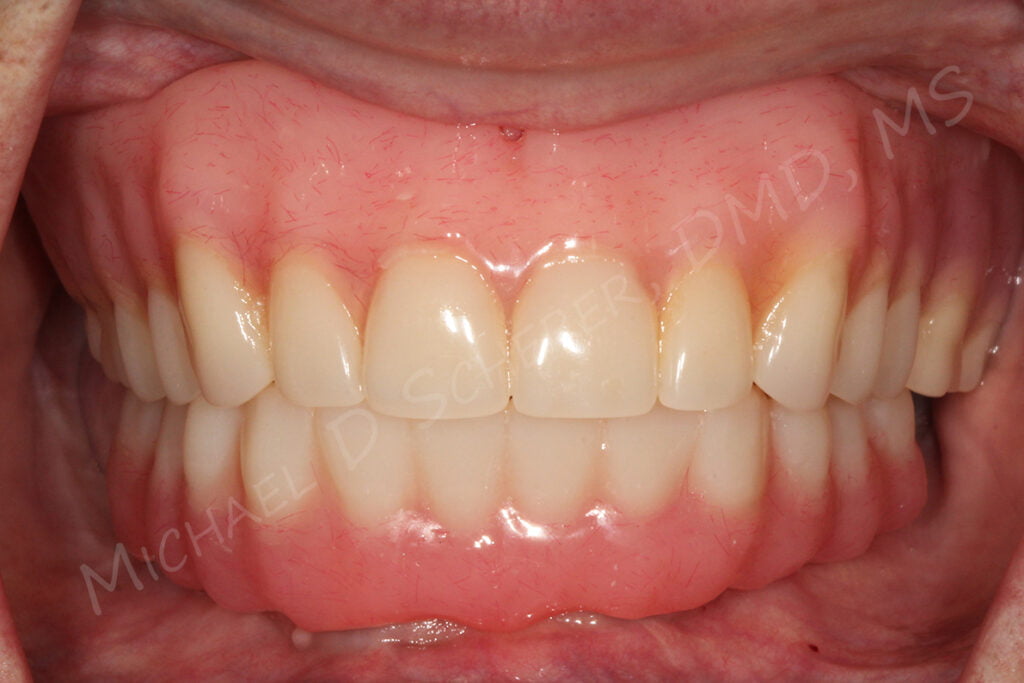
The patient was given a mirror and tears came down her face – she was blown away by the result. She loved her interim prosthesis and thinks the new/definitive prosthesis is even better! She immediately feels the smoothness and stability of the prosthesis and is thrilled.
My total material costs of the prosthesis was a fraction of what a zirconia prosthesis would cost and I argue that for mid-range or budget-minded patients, PMMA is a wonderful option. The lower cost of this design allowed me to justify a lower fee to the patient as she was on a fixed income and couldn’t afford traditional screw-retained AllonX bridgework. We are both happy – she’s thrilled with the final result and it didn’t break the bank and I’m thrilled because she’s happy!
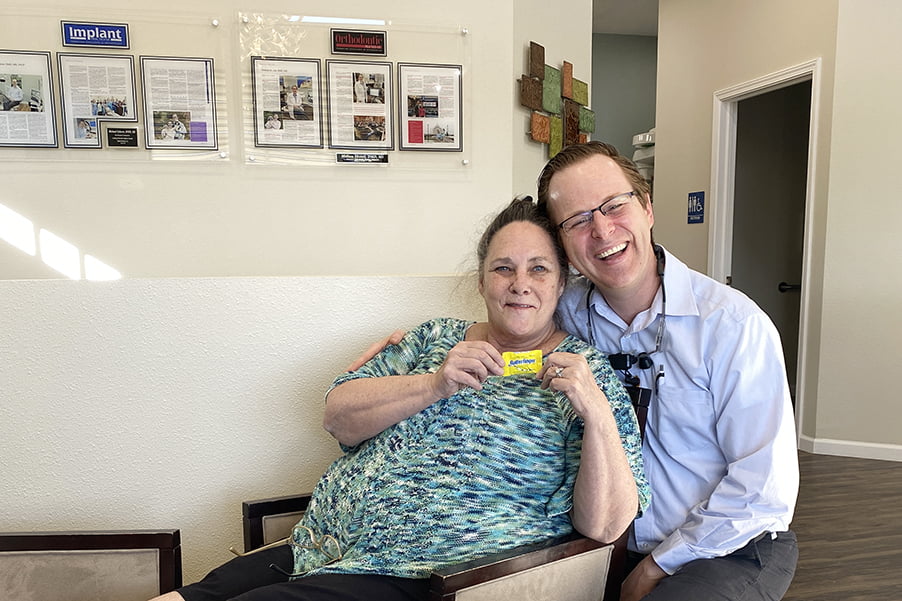
After we were all done walking out to the reception area, with a glimmer in her eye admits to me how she cracked her temporary prosthesis – Butterfinger candy!! I told her that I forgave her but only if she gave me a piece of the candy… and a picture that I could share – lol!!!
Online Course
Interested in learning more about Full-Arch Implantology? Want to learn how to do step-by-step AllonX implant planning, surgical and prosthetic steps, and digital protocols in your office and/or laboratory? Check out our innovative step-by-step online AllonX course at www.LearnAllonX.com
–
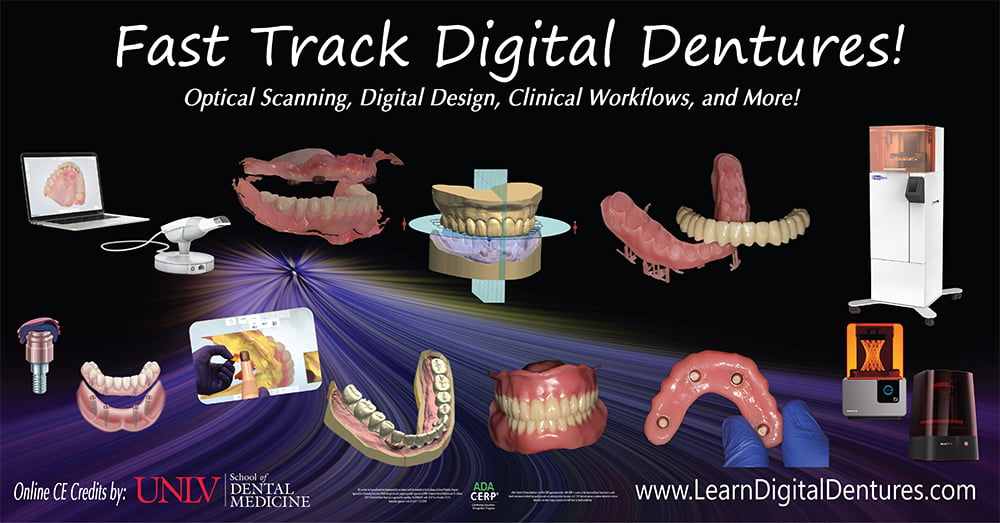
Interested in learning more about digital dentures including clinical and laboratory techniques and protocols? Check out our innovative step-by-step online digital dentures course at www.LearnDigitalDentures.com

Dr. Michael Scherer, DMD, MS
Dr. Michael Scherer is an Assistant Clinical Professor at Loma Linda University, a Clinical Instructor at University of Nevada – Las Vegas. He is a fellow of the American College of Prosthodontists, has published articles, books, and in-person and online courses related to implant dentistry, clinical prosthodontics, and digital technology with a special emphasis on full-arch reconstruction.


