Choosing the Best 3D Printer for In-Office Aligners
A question that comes up on a regular basis by clinicians is… “what is the best 3D printer for in-office clear aligners?” Great question, let’s dive into it!!
We live a time and era where there is a race to quantify ‘the best technology available’ in dentistry and many clinicians look to formulas or recipes for success when implementing new technology and workflows into practice. Frankly, our brains are programmed from dental school to choose that elusive ‘best’ option at all times. When it comes to 3D printing, the true struggle when selecting a printer for an office is that what is best in my office and workflow may not be best in another doctors office. My solution to this question is to ask the inquiring doctor “what do you want to print, and then choose what will work ‘best’ in your workflow?
When selecting a 3D printer we must first look at a broad array of factors that will influence our decision in selecting our “best” option. I have selected my top five factors to consider when selecting a 3D printer. Some of the many factors to evaluate when looking at 3D printers include:
- Physical size of the 3D printer and laboratory space available
- Types of resins available
- Size of build platform
- Speed and accuracy
- Print production capability start to finish
While some of these factors may seem self-explanatory, it is important to evaluate each factor individually and how these will contribute to 3D printer selection for in-office clear aligner in an orthodontic office or general practice.
1. Physical size of the 3D printer
In many dental offices, space is a hot commodity and if the laboratory area is small, a printer with a large footprint may not fit conveniently into the space allocated. Be careful about printer size too, it’s also important to consider the resin wash and/or light curing stations when mapping out a new 3D printing digital workspace.
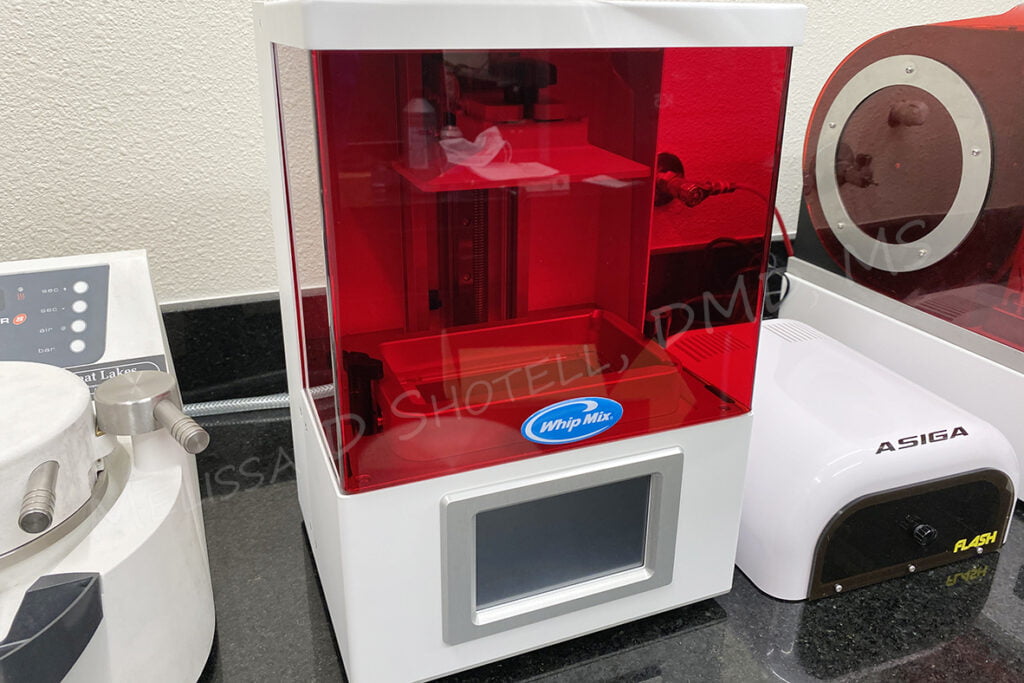
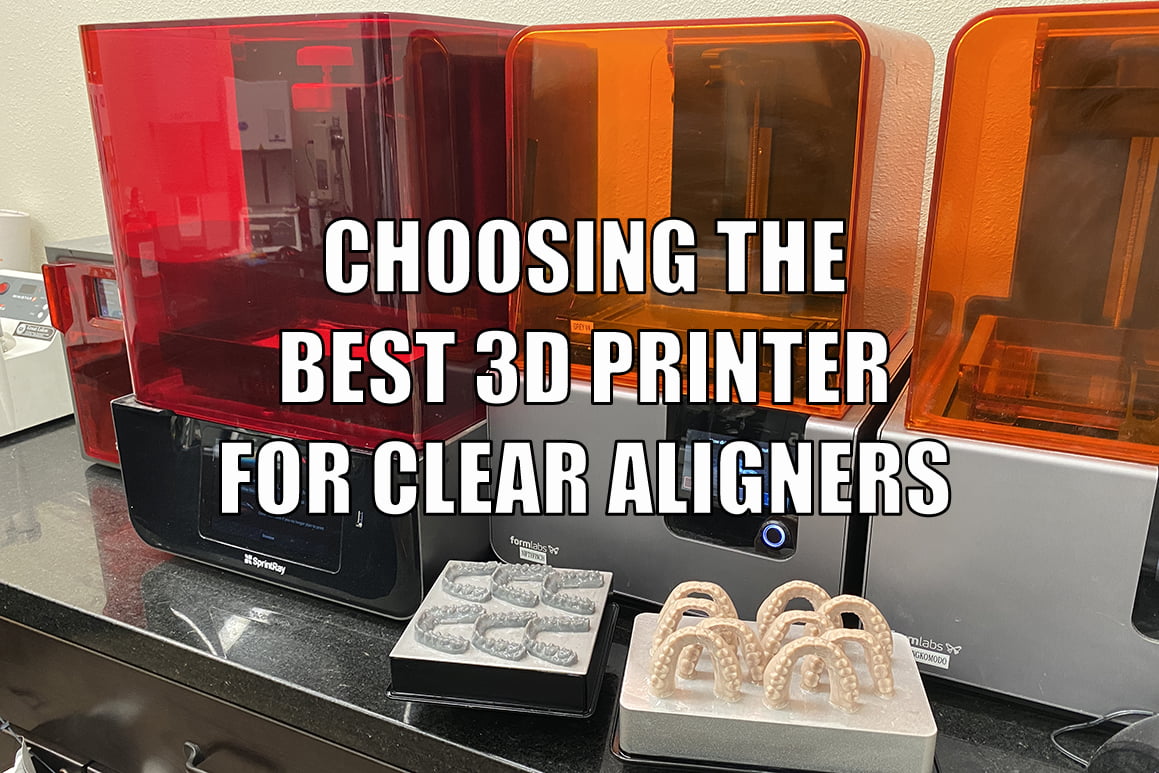
With many of the new desktop style 3D printers these can be conveniently placed in a small laboratory. Smaller units, such as the WhipMix Veribuild LCD printer is small and compact for desktop style use yet has a small build-platform.
Medium sized desktop units like the Formlabs Form3 and SprintRay Pro are larger overall in size but have a large build platform for higher volume printing.
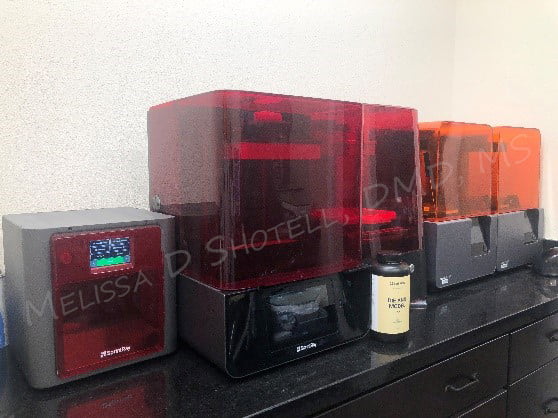

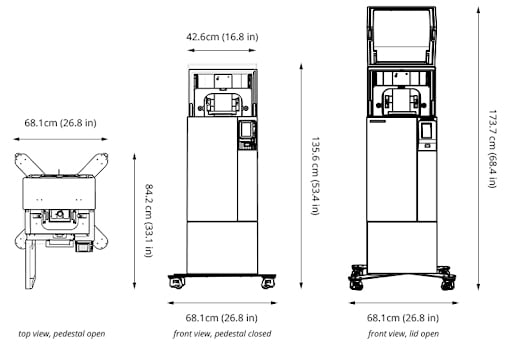
Fitting in desktop-industrial printers such as the Nextdent 5100 3D Printer or the Asiga Max 4k Pro Printer units may be extremely challenging in many dental offices.
2. What types of resins are available for the 3D printer
One of the first questions to ask yourself is: “What do I want to print?” It is important to know what we want to print because this will dictate the type of resins the printer needs to be capable of printing. For a clinician or technician looking to print surgical guides and clear aligner models this doctor will need a printer capable of printing not only model resin for aligner models but also biocompatible resins.
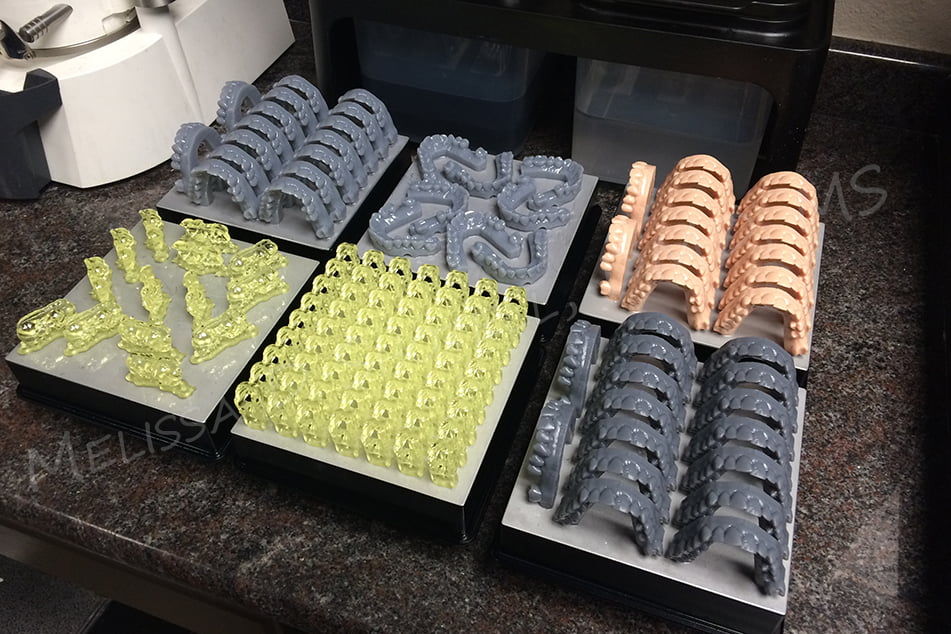
Many 3D printers use proprietary resins specific for the printer and most printers have a limited number of resin types available. 3D printing for clear aligner models is typically done with model resins and almost all 3D printers available in the dental space have model resins available but it is important to consider the color and type of resin prior to purchasing a 3D printer and if the doctor will use these models as presentation models with the patient.

When considering printing biocompatible resins for use in the mouth with occlusal guards, dentures, surgical guides, etc. a clinician and/or technician must determine what they want to print as not all resins are available to each type of printer. The nice thing is that when it comes to printing for in-office clear aligners, we do not have to worry about biocompatible resins since all clear aligners are created by vacuum forming. This comes in handy if one wants to integrate a Formlabs 3D printer as the non-dental version Form3 is $1,500 less expensive than the dental version Form3B. The difference? The more expensive dental version can print resins that are considered biocompatbile such as their Dental SG or Dental LT resin line, however, the less expensive version can print Grey resin for clear aligner models! The key is to figure out “what do I want to make” prior to purchasing and to make sure if you want to utilize only one printer for multiple tasks, it critical to check resin availability prior to purchasing the 3D printer.
3. Size of build platform
When considering different 3D printers for an office it is important to look at the size of the build platform to see if the build platform can accommodate all sizes of models that will need to be printed. One important aspect to consider is that footprint size of the printer and size of the build platform are not always correlated! Some of the largest 3D printers in the dental space have relatively small build platforms.
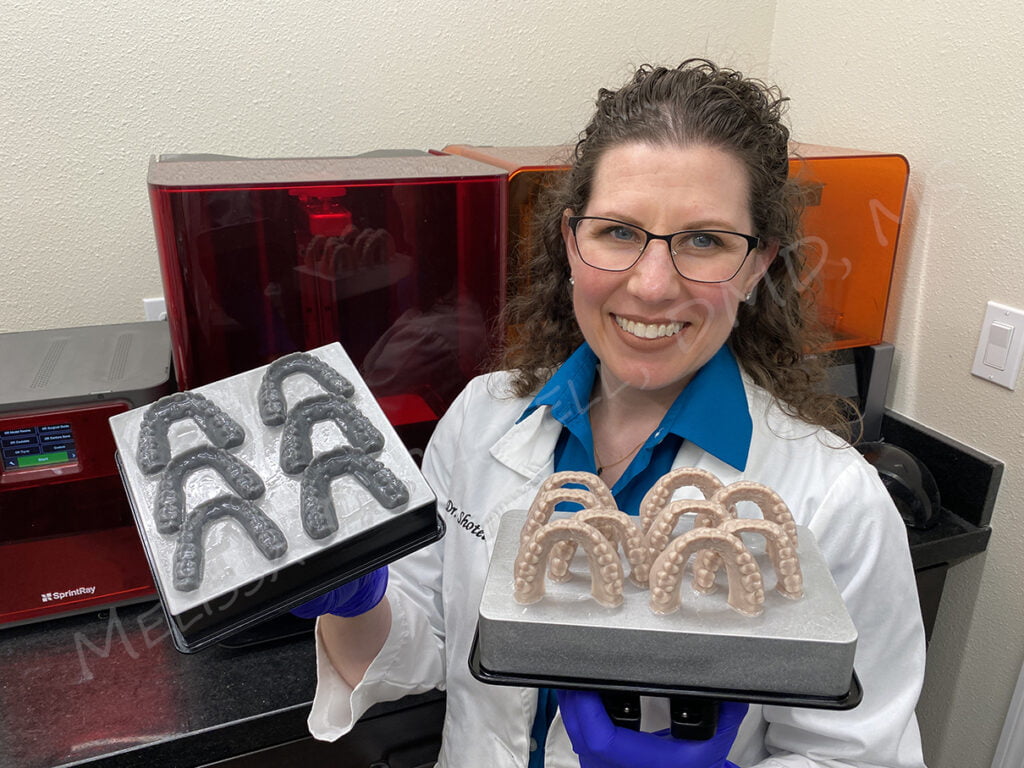
Many of the 3D printers in the dental space can print at least two models printed in a horizontal orientation, but this will not provide the volume typically needed for in-office clear aligners. The work around for this solution is to print models in the vertical orientation as described in an earlier article on the topic that I wrote comparing horizontal vs vertical 3D printing for clear aligner cases.
Looking at some of the larger build platforms for production style printing in in-office clear aligners the SprintRay Pro and Form3 offer larger style build platforms in a desktop size printer.

4. Speed and accuracy of printer:
Speed and accuracy do not always go hand-in-hand in the 3D printing world. Typically, if looking to print models quickly there is a trade-off in accuracy and printing at slower speeds allows for more detailed accurate models. When printing for in-office clear aligners and retainers my preference is to print at 50 microns to capture a high level of detail in the models, printing at this level of detail will take longer than printing at 100 microns so when speed is needed for a same-day retainer or aligner I will often print at the lower resolution to gain speed.
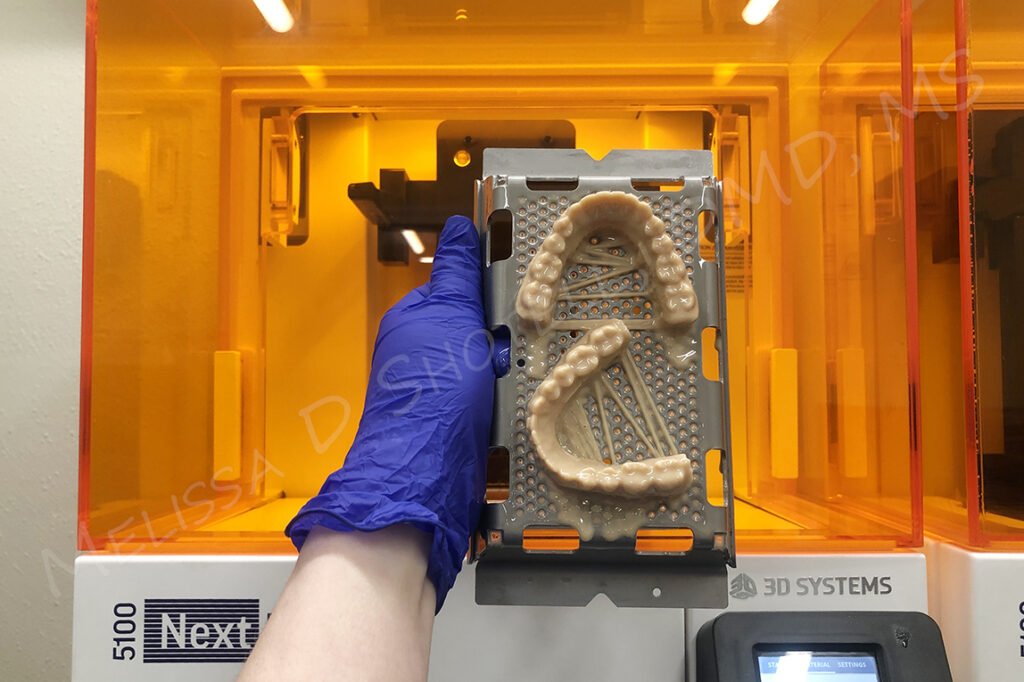
While it is more difficult to print at a high rate of accuracy when printing fast some 3D printers have found a great balance between these two properties. The NextDent 5100 printer by 3D Systems has managed to harness the capabilities of speed at a high levels of accuracy.
I often turn to the NextDent 5100 for same-day aligners and retainers where I can produce high quality models in approximately ten minutes. While the NextDent 5100 can print at incredible speeds the trade-off is the small build platform, although you can stack up to 40 models in a single print using the Nextdent printer.
The SprintRay Pro while not as fast as the NextDent printer, it has a large build platform and is able to print aligner and retainer models in under an hour. The Form3 by Formlabs fills a space in the market that looking for incredible print quality with a smooth finish, the Form3 has a large build platform and can produce aligner models in under two hours.
5. Print volume in the office
When printing for in-office clear aligners print volume become important to minimize the number of model batches printed per print which adds up over the course of a day, week, or month. With a larger build platform or printing in the vertical orientation a larger volume of models can be printed at a time, minimizing the labor of monitoring the printers and restarting batches.
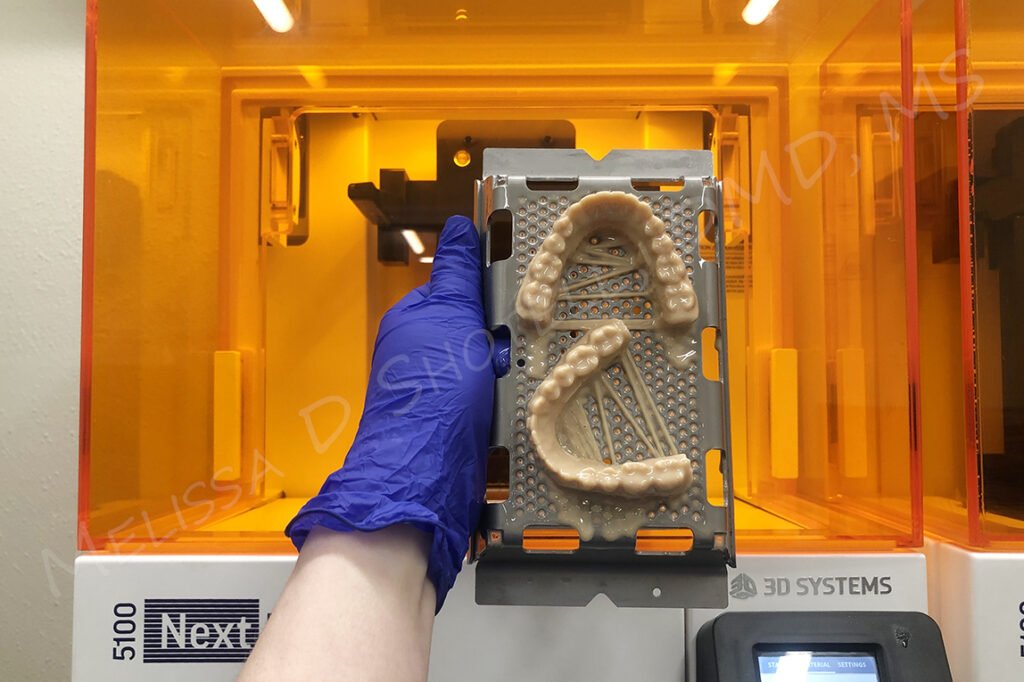
The large build platforms of the SprintRay Pro and medium sized build platform of the Form3 lend well to printing large volumes of models.
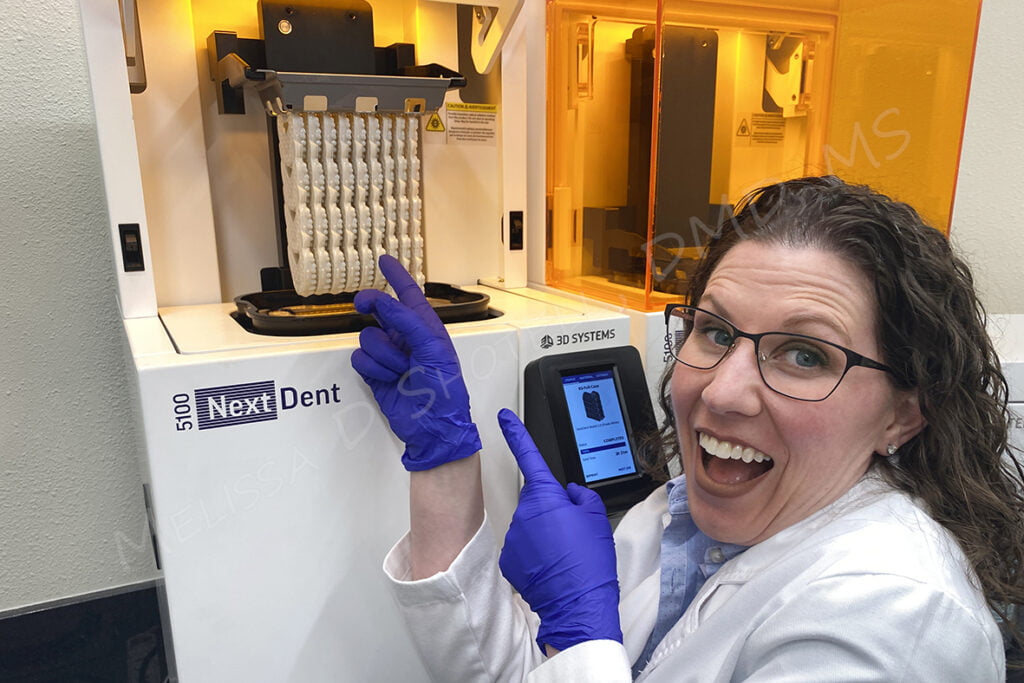
The unique stackable printing of the NextDent 5100 printer allows for up to forty models at a time to be printed in a single print cycle with the stacked formation. This unique stacked printing function creates a high-volume laboratory environment for large busy practices.
When evaluating all of the 3D printers I have in my laboratory all are capable of printing for in-office clear aligners but I turn to different printers at different times depending on the requirements of the printing job.
Interested in learning more? I put together this video discussing the topic in a bit more detail, check it out:
Are you interested in getting into clear aligner therapy but unsure if they really work? Are you a general dentist interested in getting into orthodontics but not know where to start? Check out our comprehensive fast-track clear aligner course featuring diagnosis and treatment planning, how to get started with clear aligner laboratories, the differences in technology, step-by-step clinical procedures from taking records to delivering aligners and monitoring your patients until case completion. We cover the basics to getting you started with clear aligner treatment using traditional and digital methods for recording taking, step-by-step clinical and laboratory workflows, insurance/billing and growing your clear aligner practice through innovative marketing strategies. The clear aligner course is eligible for up to 12 hours of continuing education credits.
Interested in 3D Printing your own clear aligners? Check out our step-by-step 3d printing course featuring creating your own branded in-house clear aligners by designing and 3D printing your aligner cases. We teach you the secrets, step-by-step on how to set-up your cases (or outsource setup!) and then 3D print models for aligners, vacuum forming aligners, and then finishing and delivering them to the patient! The clear aligner course includes the entire fast-track clear aligners course mentioned above and is eligible for up to 27 hours of continuing education credits.

Dr. Melissa Shotell, DMD, MS
Dr. Melissa Shotell is a Board Certified Orthodontist, focusing on the interplay of Orthodontics and restorative treatment. Dr. Shotell received her DMD at Nova Southeastern University and advanced hospital training a General Practice Residency Certificate from The Ohio State University. After spending years in general practice treating a broad range of patients, Dr. Shotell returned to complete a certificate and master’s degree in Orthodontics from Loma Linda University. At Loma Linda University, Dr. Shotell focused her training on cutting-edge three dimensional imaging technology for diagnosis and treatment planning for interdisciplinary dentistry. Dr. Shotell considers education to be her passion and regularly consults and lectures on dental technology, clear aligner therapy, orthodontics, office efficiency and workflow, and teamwork.

