Digital Cast Post & Core – Hybrid Intraoral Scan and PVS Technique
While I don’t do a ton of cast post and core restorations, there is a need for them in my practice as they are extremely predictable in those challenging case when situations demand it. Typically those situations include many but the most poignant are those patients with little remaining ferrule of the core after fracturing a tooth and bruxing patients who will test the post/core with torsional forces.
My traditional workflow I have used for years typically involves making a physical impression of a plastic post pattern that has been properly sized and adjusted to fit the prepared root anatomy in the canal space. This physical impression would then go to the laboratory with a couple of plastic patterns that the technician could wax up the post/core assembly using the model as a guide and then cast the wax pattern. While it’s incredibly predictable, it gives me one shot at getting the pattern right or else it requires additional post supplies. Additionally, once the technician tries to fit the post/core to the dental cast, it ruins the cast. If there’s something that needs to be changed or revision needed, this would often necessitate bringing the patient back in and making a new impression.
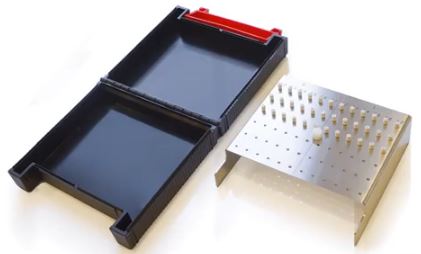
Unfortunately, intraoral scanning for cast post and cores is not a well-known procedure. There are some companies, like 3Shape, that have scan bodies for post & core systems intended to be used intraorally but they are not readily available here in the USA and I personally never have seen the kit myself or worked with many people who have used it used clinically. For sure this system looks awesome and I would love to try it out, but the question is, how can I get the job done now as my patient is sitting in the chair and I don’t have a special kit?!
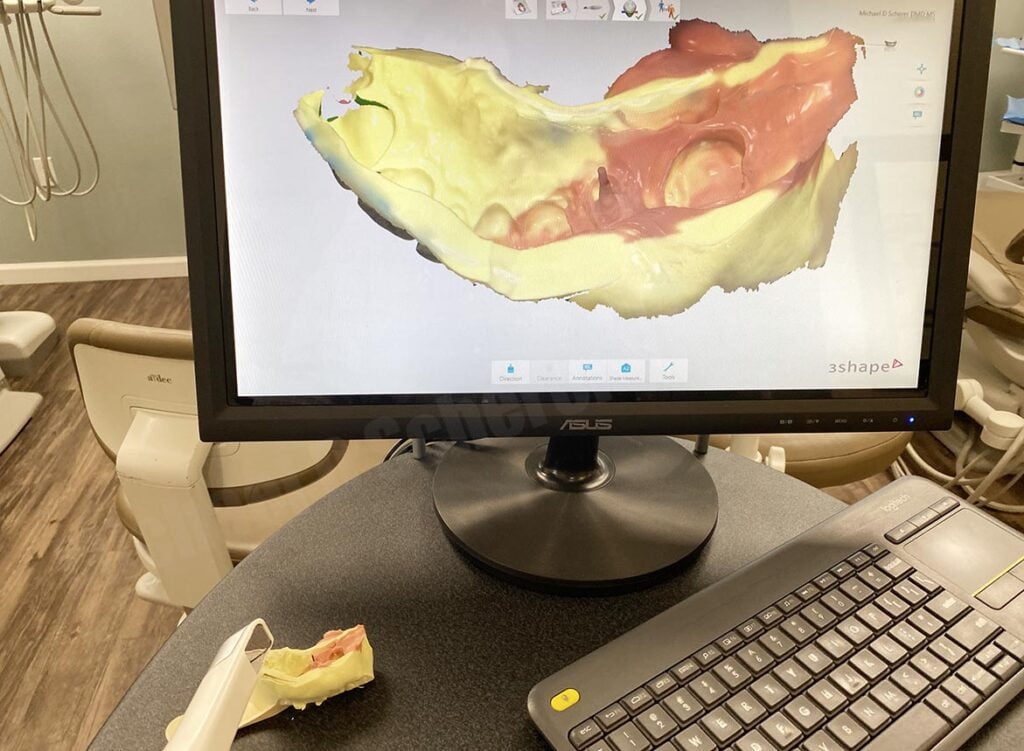
So the question comes up: could we combine a traditional method, like a cast post PVS impression with intraoral scanning to get the job done? Maybe I could use then that digital scan combination to allow me to design the post in software and have the design file printed and cast (or maybe directly milled?).
While for some laboratory technicians reading this article, it may seem like redundant work and extra steps to do this. You may be asking yourself, “why not just use pattern resin and form it in the mouth” or “why not just do a pre-fabricated post and core?” All fair questions for sure.
What this approach allows me to do is design a rigid single piece cast post and core in my office in the same amount of time that it would typically take me to write a prescription detailing how I want the post designed and to package up the impression and parts to go to the lab. Using this digital approach, I can quickly design the 3D cast post and core design, send the digital file to the laboratory, they can print in casting resin, cast the pattern, and I often get it back in my office finished using the digital method even before the lab receives the impression in the shipment using the traditional method. Additionally, the “x-factor” is significant… I really just do not like using pattern resin or trying to form the post shape directly in the mouth. I just really like this indirect approach, it’s clean, precise, and results in a high quality post & core for my patient.
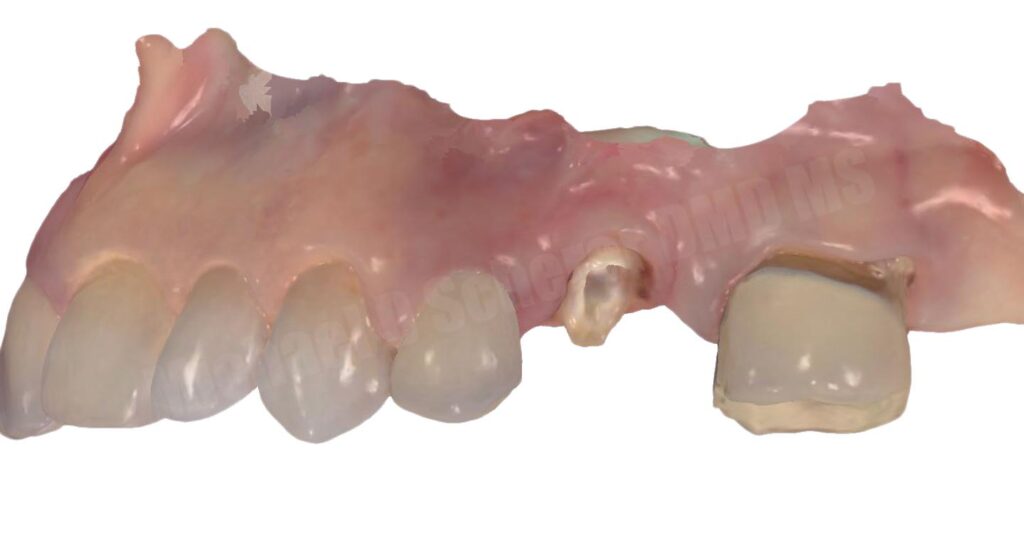
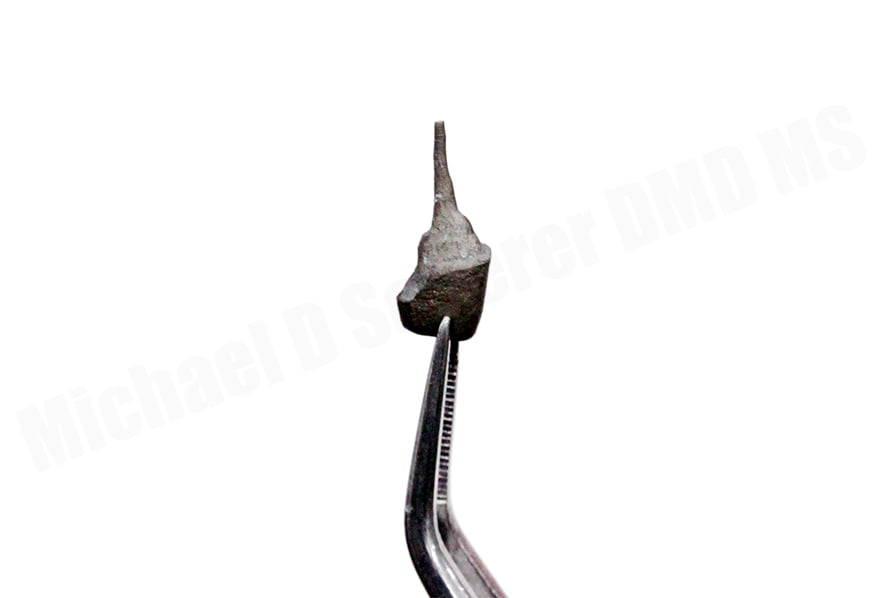
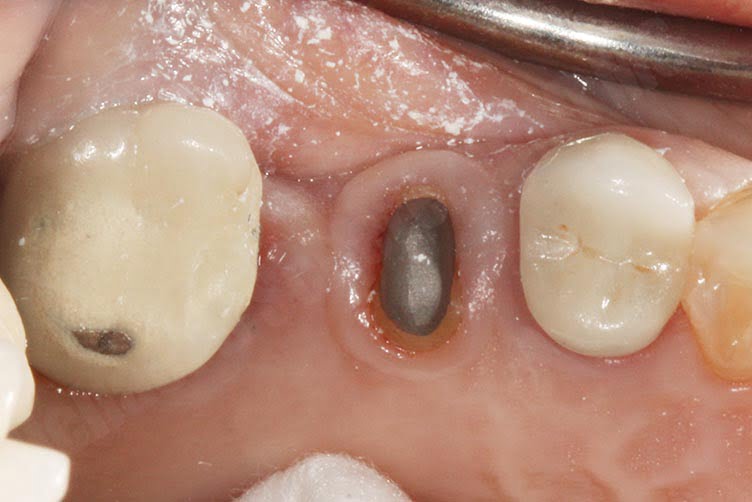
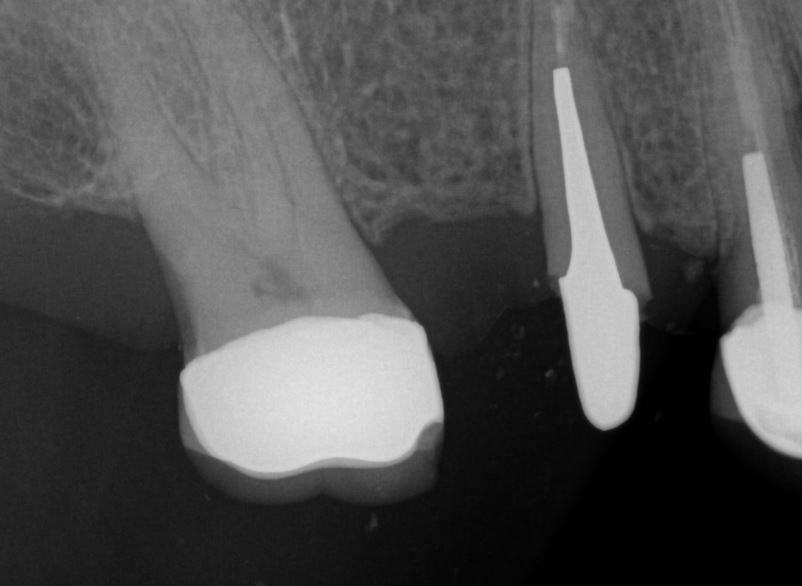
A patient broke off tooth #12 due to extensive caries underneath an existing crown. We discussed saving vs not saving the tooth as it was fractuered fairly close to the gingiva. The patient indicated that since she was older, she didn’t want to go through an extraction and surgical procedures for an implant. As a result, the patient was referred for endodontic therapy and was returned to my office. Our goal was to restore the patient with a cast post and subsequently a fixed partial denture / bridge between #12-14. I began by preparing the root anatomy for the ParaPost XP post and core system and also prepared a nice ferrule for the future retention and stability of the core. I placed a plastic post and made a PVS pick-up impression of the plastic post.
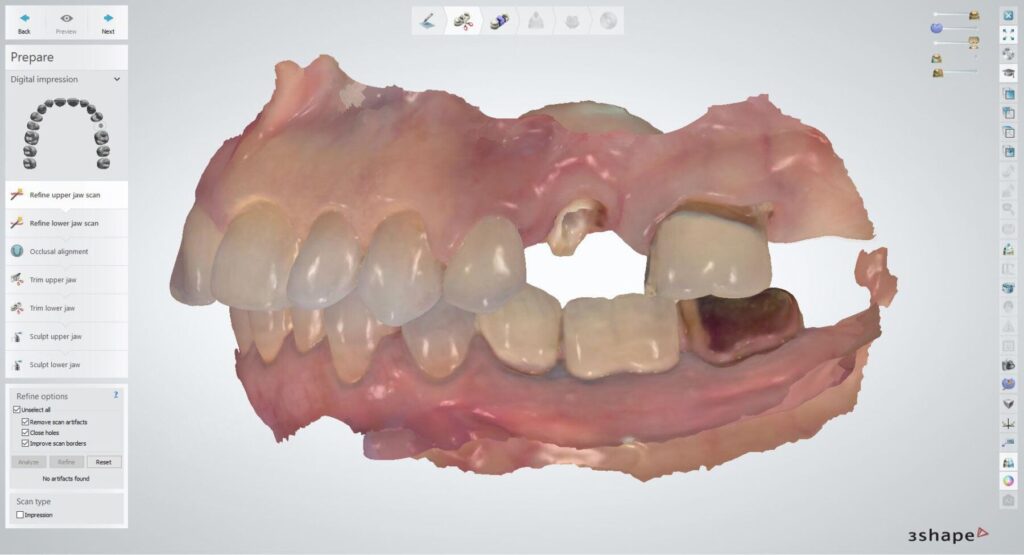
In addition to the PVS impression of the post, I decided to make an intraoral scan of the patient’s dentition, opposing, and MICP bite record using my 3Shape TRIOS Scanner. While we don’t really need the scan of the patient here to digitally design the post & core, I figured it wouldn’t hurt to have it on hand in case I want to fabricate a shell temp for her future FPD/bridge.
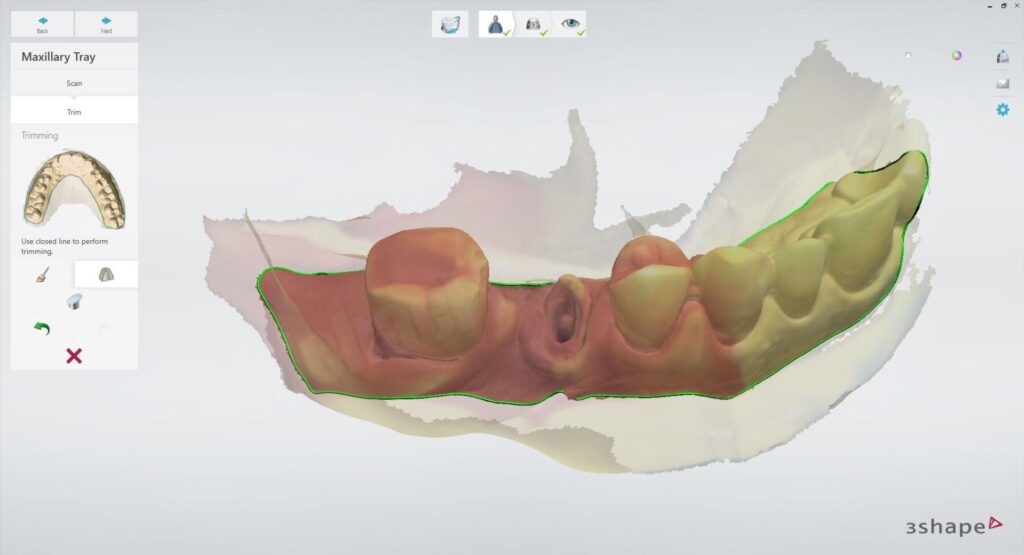
I placed some temporary material over the access and we scheduled the patient for her next visit. After dismissing the patient I took the PVS impression we just made and scanned it using my TRIOS scanner.
Want to see the TRIOS scan of the PVS impression in action? Check out the video below:
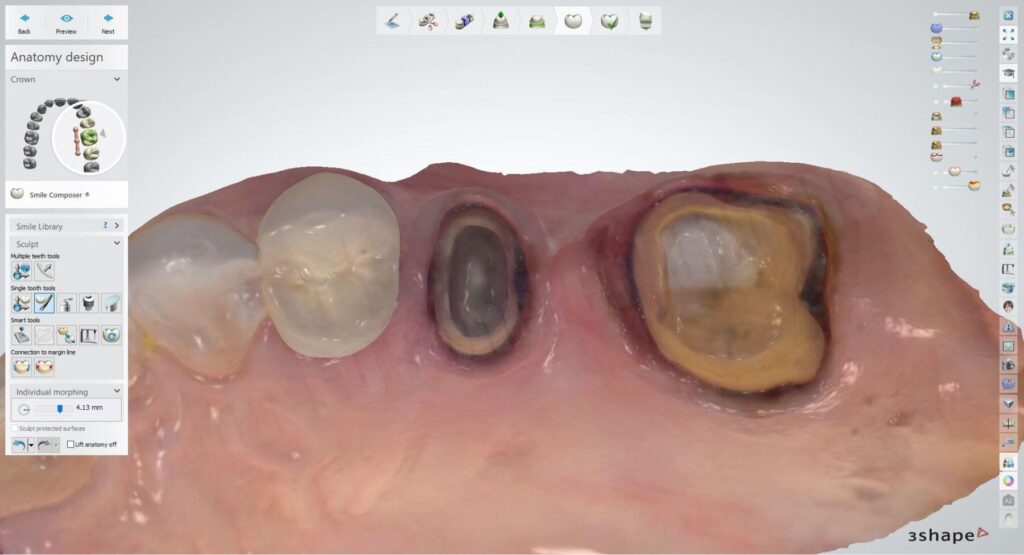
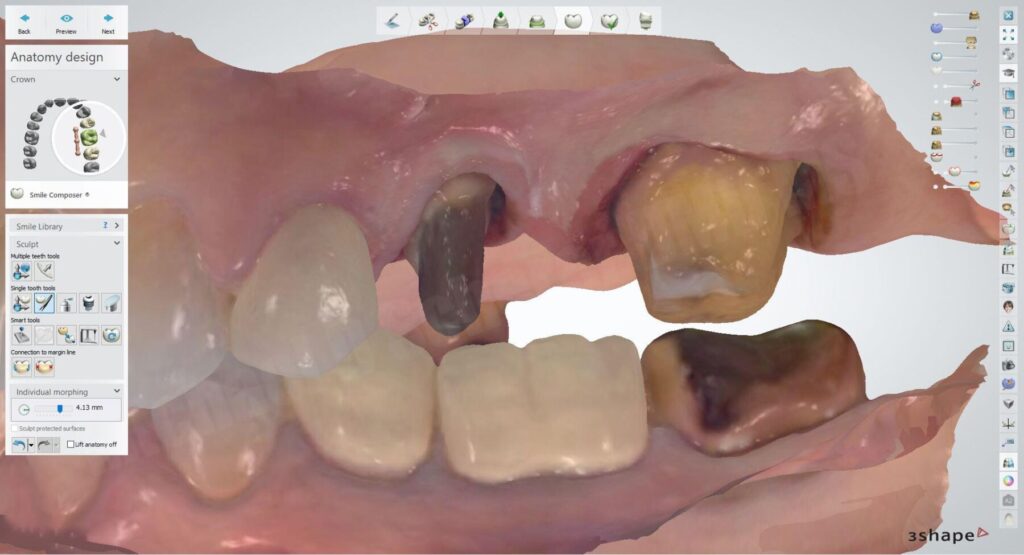
I imported the scan files into my 3Shape Dental System software and ran the Scan-It function to flip it from an impression into a workable model. I could have used other software, such as Autodesk Meshmixer, to flip the scan of the PVS around and make a model, 3Shape makes it easy to stay within their file ecosystem for cases like this. I aligned the scan of the PVS impression to the patient scan so I can visualize the occlusion of the opposing dentition to ensure I have sufficient thickness for her future Zirconia prosthesis. Again, this isn’t absolutely necessary but makes the process much easier IMO.
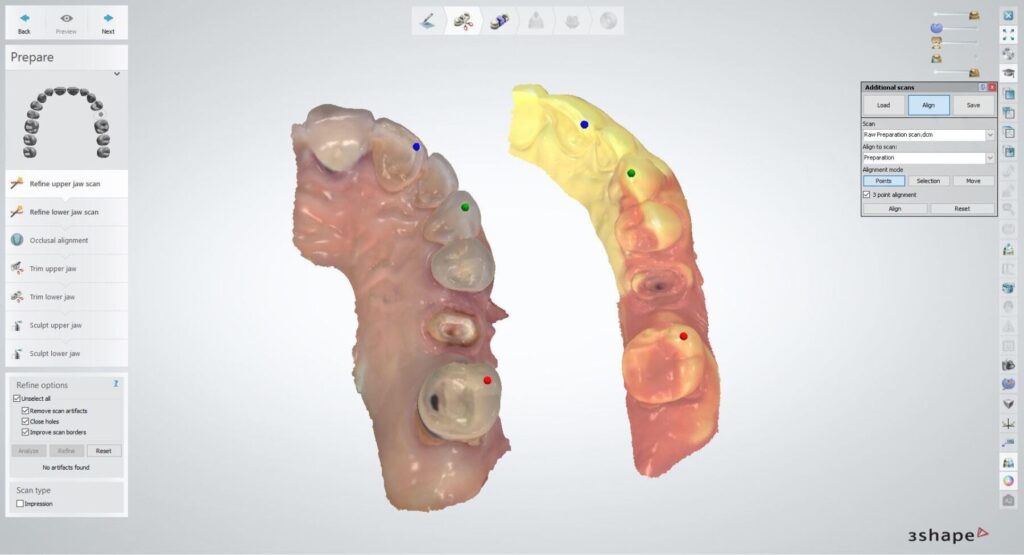
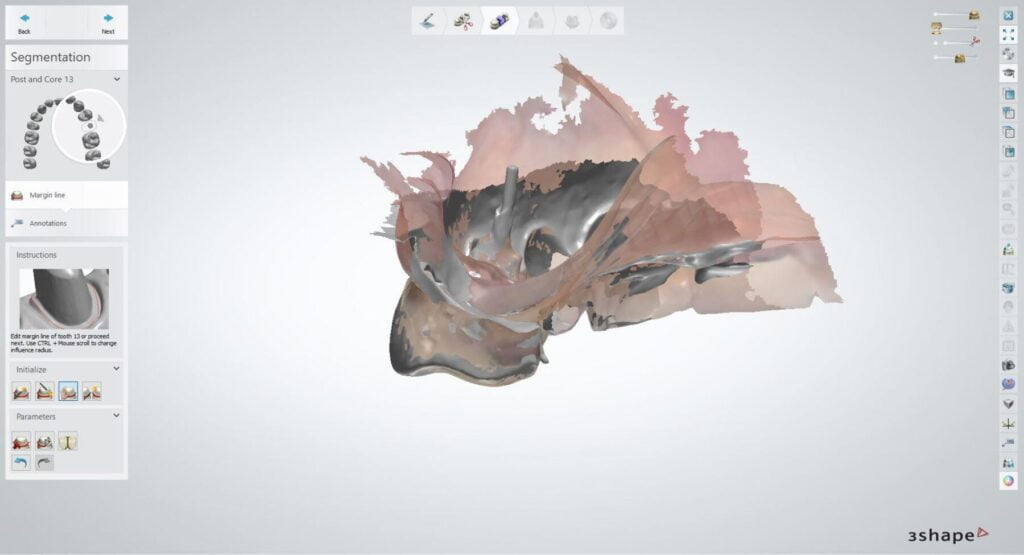
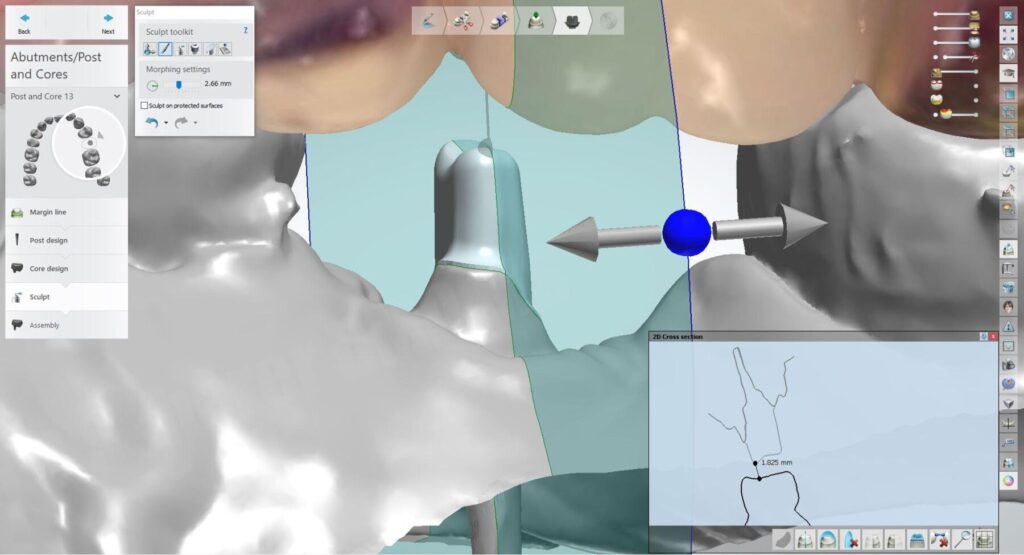
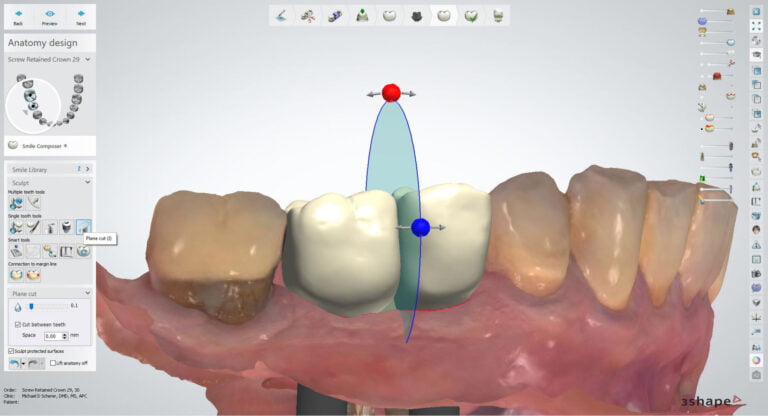
3Shape Dental System software is a full laboratory software package that I use on a regular basis. I also use it in conjunction with other software packages, however, there are certain applications that 3Shape excels in, and post and core is one of them. After creating the work order for a post and core, I imported all 3 files: the impression scan as the jawscan, the intraoral scan of the mandibular arch as the anatagonist, and the intraoral scan of the maxillary arch as an additional scan. I went step by step through the 3Shape wizard workflow and molded a post and core design and completed it start to finish within around 8-10 minutes!
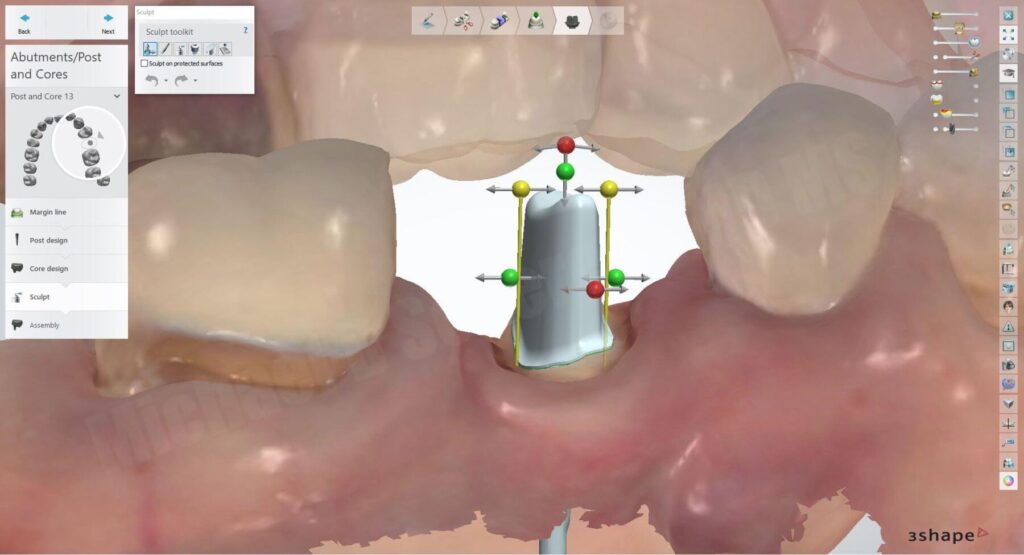
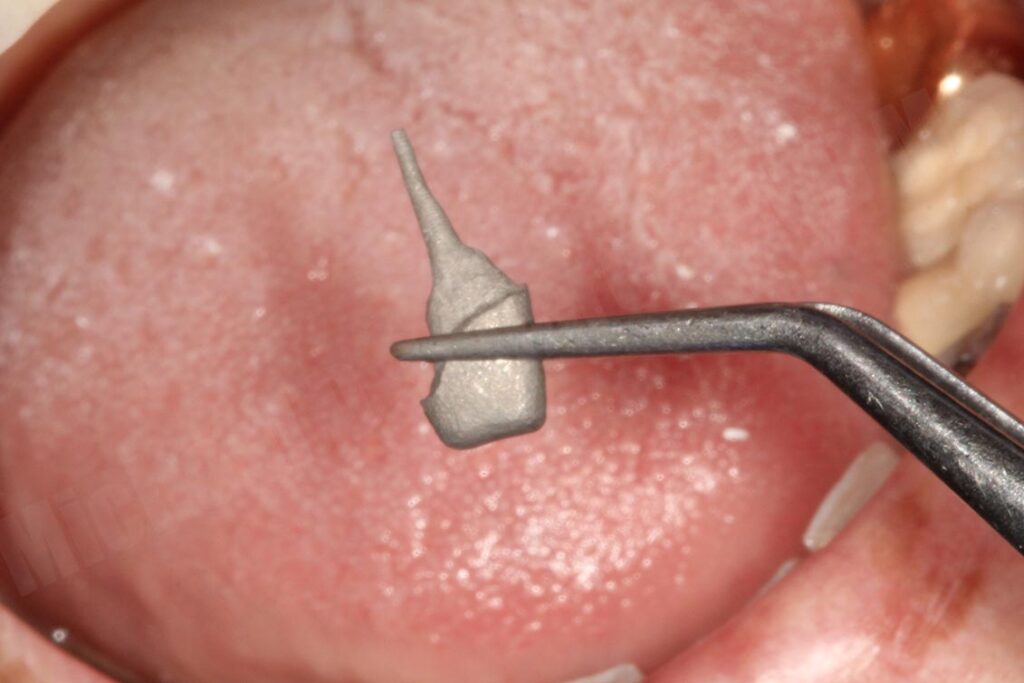
I e-mailed my final STL file to my crown & bridge laboratory technician who 3D printed the designed file in a castable resin; then casting it in alloy. The final post & core was sent back to my office within 2 days after sending it.
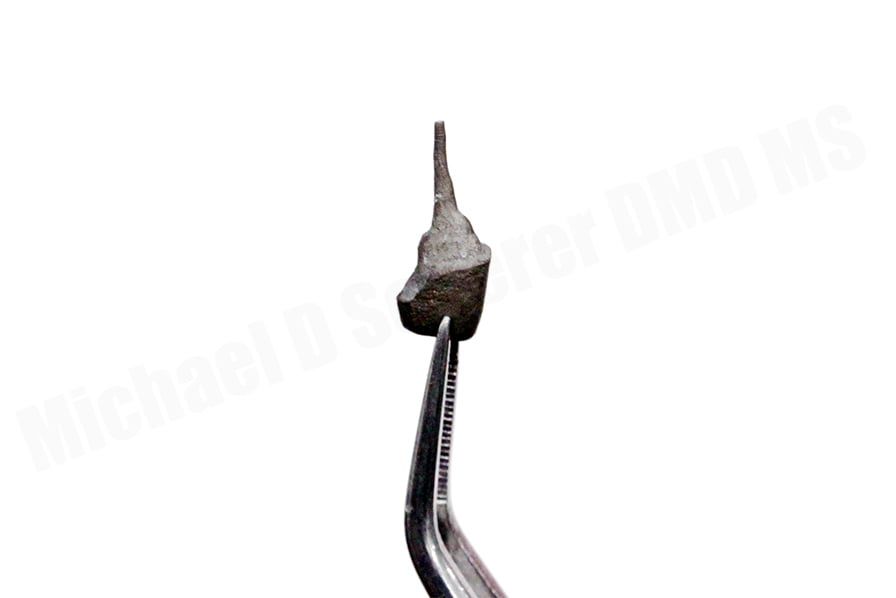
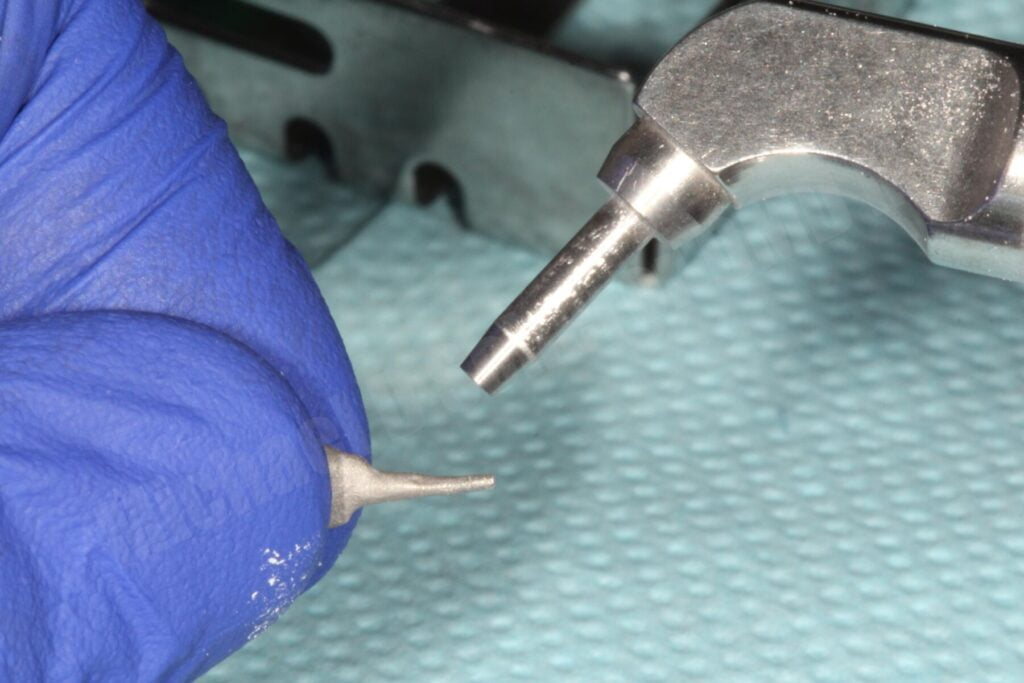
I saw the patient back in my office, removed the temporary and tried the post in, fit like a glove! I then air abraded the post to enhance bonding with my Zest Dental Solutions / Danville Microetcher CD, cemented it with CEM-EZ resin cement.
After allowing the post cement to set up for a few minutes, I removed the crown on #14 and finished the preparation and fabricate a provisional restoration / temporary bridge. Using my 3Shape TRIOS scanner, I scanned the provisional bridge using the pre-preparation mode, then scanned the opposing, and MICP bite record. I then proceeded to scan the preparations to merge it perfectly with the scan of the temporary. After cementing the temporary bridge and dismissing the patient, I designed the final monolithic Zirconia fixed partial denture in 3Shape Dental System software.
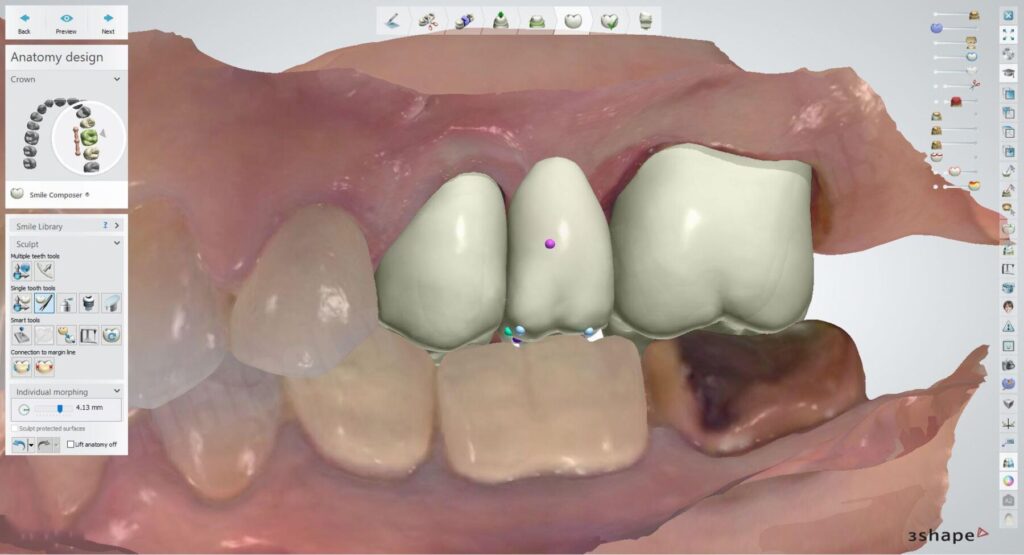
I’ve always been a fan of intraoral scanning in clinical environments and love using the scanner in creative ways. This method may seem cumbersome to some people, I find it intuitive and very simple. The key is knowing how to really use the software to figure out how to push it’s limits and make it work for you. Ultimately, I managed to do so in this case and the best part is the patient was very happy with her final result!!
Interested in learning more about CBCT, Meshmixer, 3D printing, and some amazing step-by-step protocols on how to get on the fast track in your offices and laboratories? Check out our innovative step-by-step online digital dentistry course at www.LearnDental3D.com

Dr. Michael Scherer, DMD, MS
Dr. Michael Scherer is an Assistant Clinical Professor at Loma Linda University, a Clinical Instructor at University of Nevada – Las Vegas. He is a fellow of the American College of Prosthodontists, has published articles, books, and in-person and online courses related to implant dentistry, clinical prosthodontics, and digital technology with a special emphasis on full-arch reconstruction.

