Getting Started with 3D Printing in Your Dental Office – 6 Key Steps
You’ve seen the social media posts, the magazine articles, the publications, and the videos…. 3D printing anything and everything in dentistry. You’re thinking about it and think to yourself, “Wow, that’s cool! How do I get started with 3D printing?!?!?“
3D printing is perfect for dentistry and dentistry is perfect for 3D printing!”
Michael D Scherer, DMD, MS
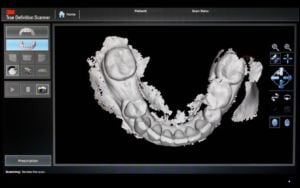
You have made an important decision about your future and your practice. I personally do feel that 3D printing is perfect for dentistry and dentistry is perfect for 3D printing. It’s just a natural thing really – we make impressions, grind on things, and most importantly, we have the need for making things. Dentists are makers and 3D printing is made for makers! The most important thing is that you have a need for printing. For me, it started with the desire to eliminate stone models. Many of my first projects with 3D printing began with using an intraoral scanner to eliminate alginate impressions and then I said, “So what do I do with this now to make something with that scan?”
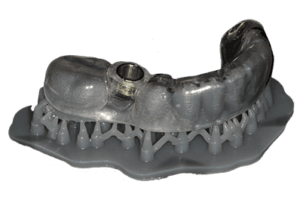
Some of the earliest applications I used my first 3d printers for was to make models for surgical guides and bleaching trays. Why? I had a need for it. You know what I’m talking about. Patients gagging on the impressions, pouring alginate and then finding out a cusp has broken, or making a surgical guide and the last step, something cracks. There’s got to be a better way! So I taught myself how to work with 3D printing and it’s been an incredible journey. Now, more importantly, you and your journey. When I interact with dentists, assistants, and technicians both online and in-person, I get asked all the time, “How do I get started with 3D printing?”
Step 1: Ask yourself – what you want to make!?
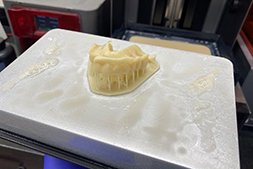
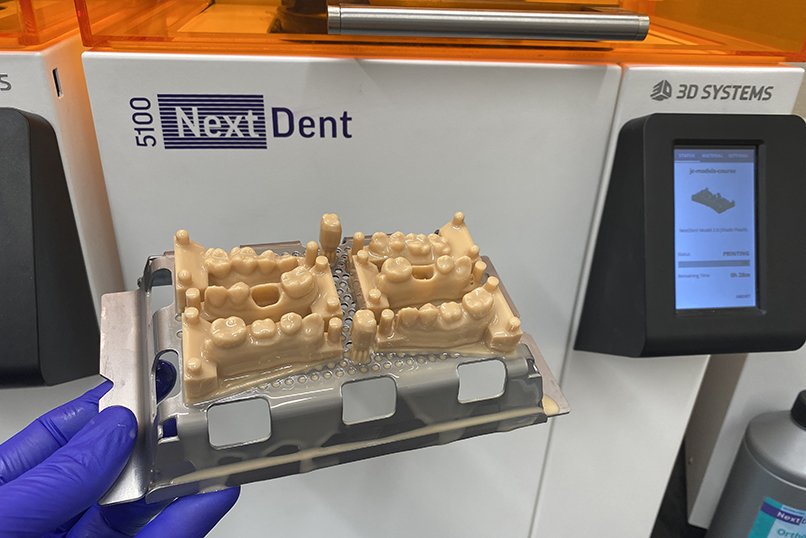
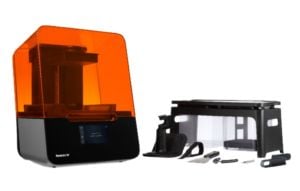
Do you want to make surgical guides, models, occlusal guards, orthodontic clear aligners, dentures, temporaries? So many applications…. the reason why I ask the question is that there’s so many levels of 3D printers available for dentistry. Some are very inexpensive and fun to play with like the Anycubic Photon, some are mid-range “desktop” printers like the Formlabs Form3 or Sprintray Pro, others are professional-type printers like the Nextdent 5100 or Asiga Max. All of them can make those things I listed above but at varying difficulty levels and prices.
Sometimes it’s more important to just have an itch to get started with something. “I have a case I want to try this out on” is a very good reason for starting a new adventure. Necessity is the mother of development.
Some of the many applications of 3D printing in dentistry:
- Dental Implant Surgical Guides
- Occlusal Guards / Bite Guards / Bite Appliances
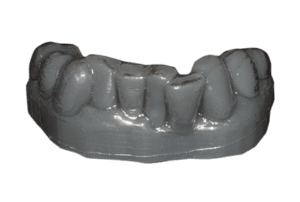
- Dental Models (Crown & Bridge, Orthodontic Clear Aligner, Bleaching Tray)
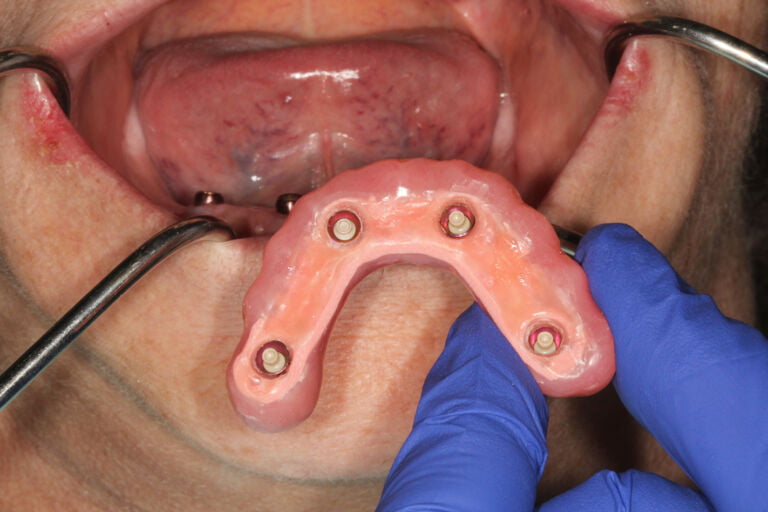
- Dentures
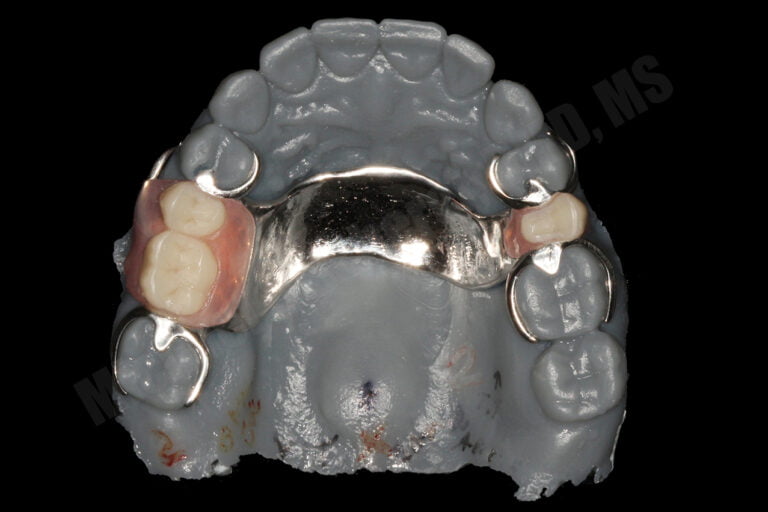
- Partials
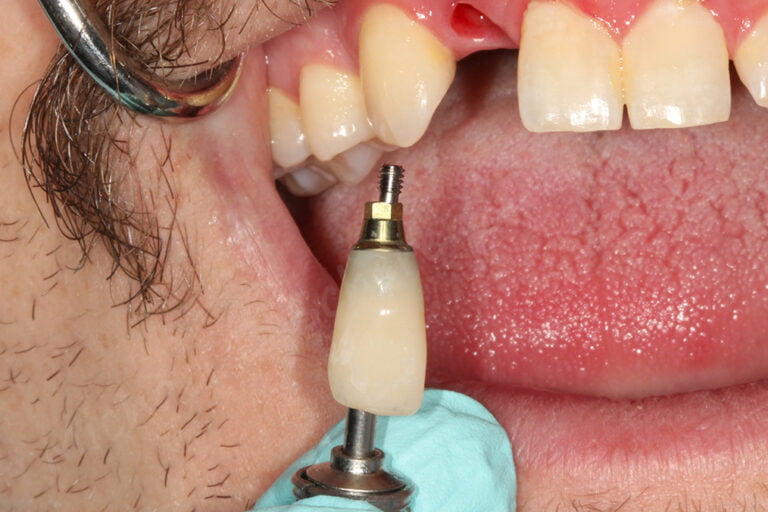
- Provisionals / Temporaries
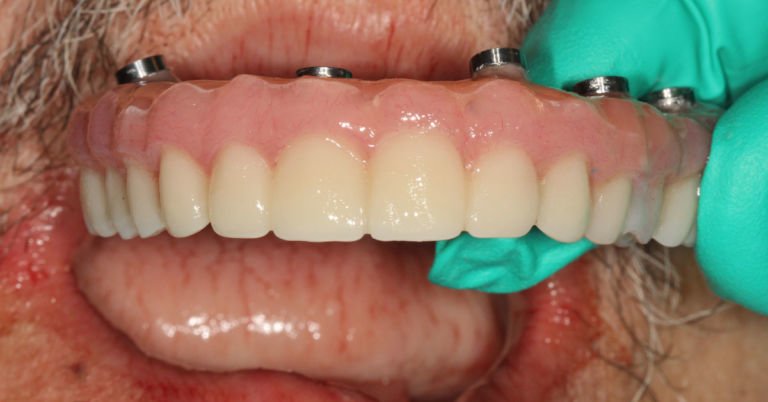
- Prototyping Full-Arch Cases (Try-in Resins)
- Casting Materials for Lab Copings, RPD Frames, Implant Bars
- Indirect Bonding Trays
- Custom Trays
Step 2: Do you have an intraoral, laboratory, or CBCT scanner?
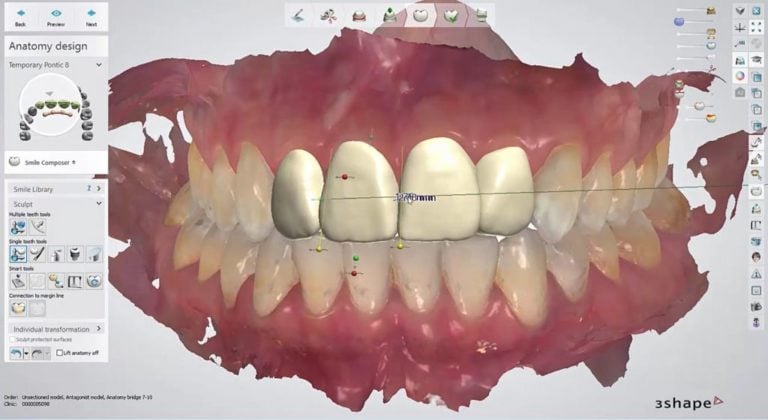
If the answer is yes, then you’re really set to go full-steam ahead. In my opinion, optical scanning is a key part of using 3D printing properly in a dental office. You can use CBCT scanner to scan alginates, stone models, and scan appliances and import them into a variety of software packages to conver them from CBCT DICOM – STL files that will be ready for 3D printing. In my office, I have a CBCT and intraoral optical scanner.
Popular Intraoral Scanners (in no particular order):
- 3Shape Trios 4
- Medit i500
- Dentsply Sirona CEREC Primescan
- Carestream CS3700
- Align iTero Element
- Planmeca Emerald S
- VATECH EZScan
- Heron iOS
If the answer is no, you still can get into 3D printing, but you will be significantly hindered on your journey. If you want to purchase a printer to augment your clinical practice it still works. You can still outsource your intraoral scans or CBCT scans to an imaging center. The problem with that approach is that you are dependent upon those centers for sending you the files properly. It adds time, inconvenience, and frustration. Maybe you want to design cool nick-nacks around the office, such as x-ray holders, or light fixtures for around your office. That’s cool stuff but, in reality, is just playing around. The pure excitement comes when you’re ready to do clinically related procedures with your 3D printer.
Step 3: Know your budget!
No question jumping into digital dentistry can be expensive. Intraoral scanners and CBCT machines can be the biggest cost factor of jumping into 3D printing. That being said, these days you can get a Medit i500 intraoral scanners for between $18-20k USD and CBCT for between $30-150k USD. Now that’s still a ton of money don’t get me wrong… but these are key technologies that I personally could not live without in my clinical practice. Intraoral scanning pays for itself with crown & bridge dentistry, CBCT scanning pays for itself with implant dentistry pre-surgical scans.
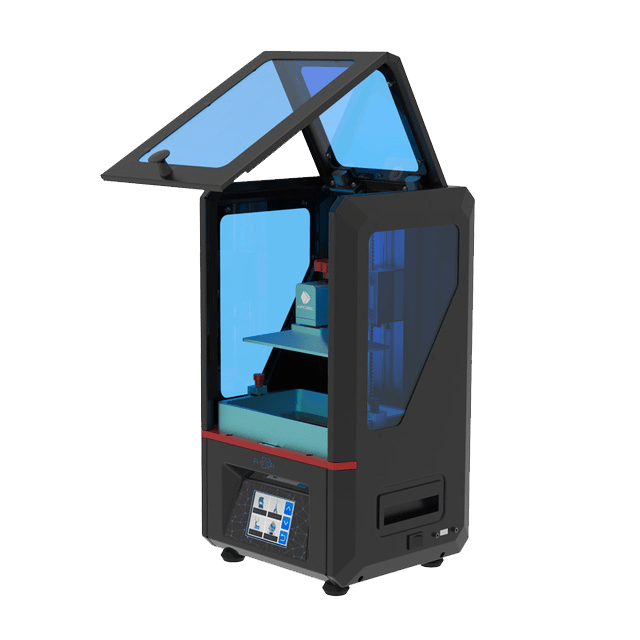
Anycubic 3D Printer
3D printers are much more affordable. Some are very inexpensive like the Anycubic Photon (less than $500 USD). This amazing little printer can do incredible things but has it’s limit. How are you with figuring things out on your own? To use printers are this hobbyist level, you need to be prepared to figure out a lot such as printing profiles, how to connect your printer to your design computer and more. Price isn’t everything, but if you have more time than money to spend, printers in this category can be incredible to get started with.
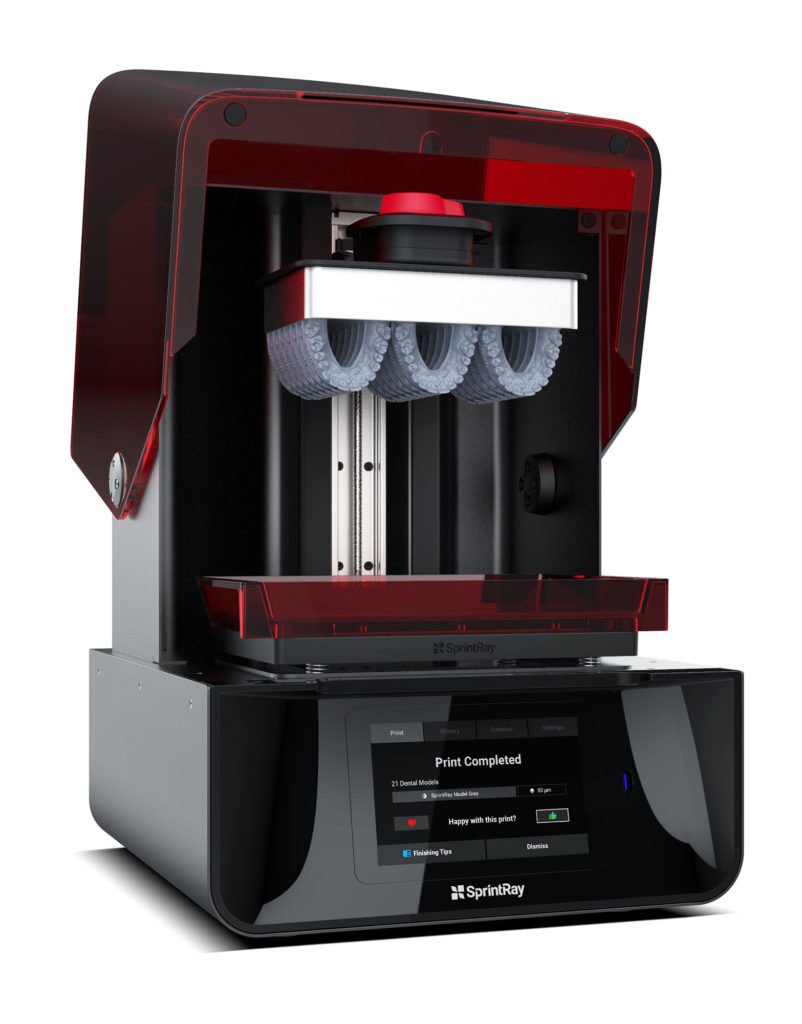
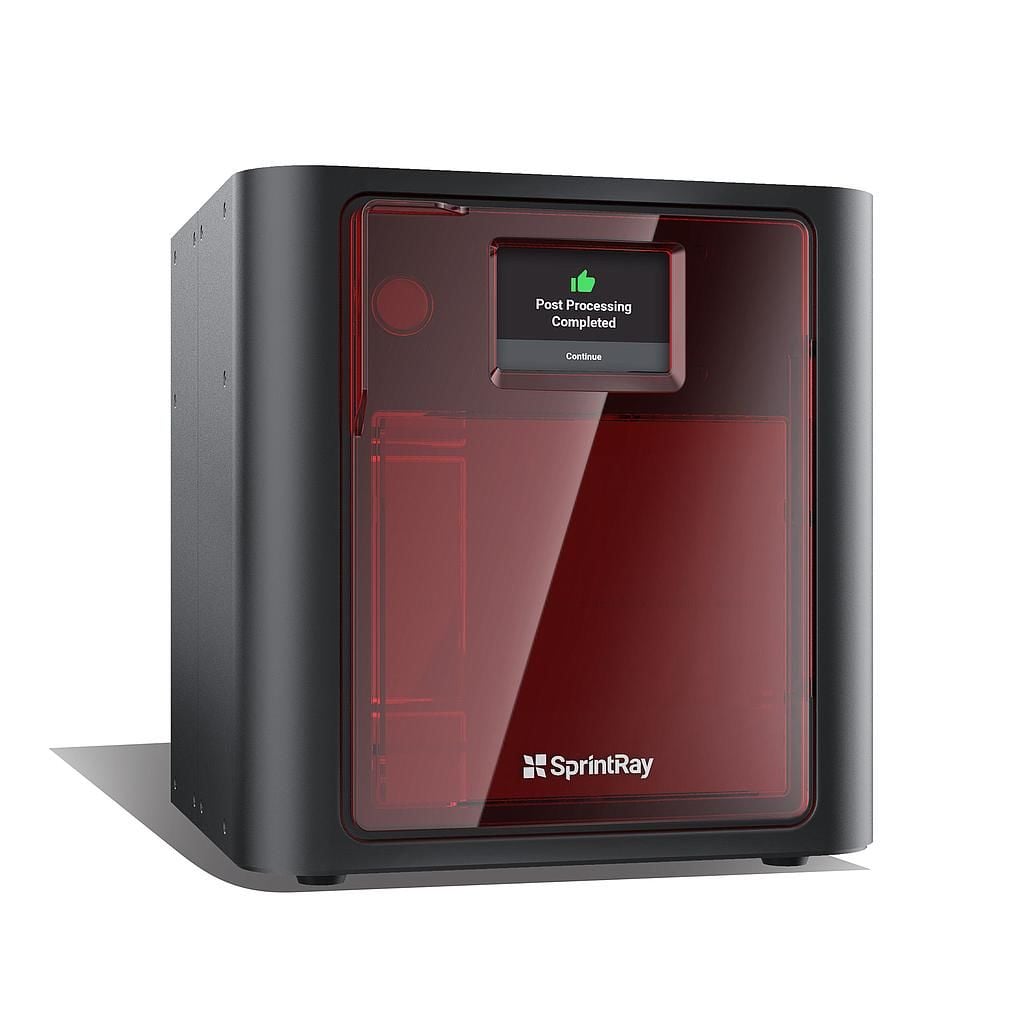
SprintRay Pro
Desktop level 3D printers such as the Formlabs Form3 or (approximately $3,500 USD) or Sprintray Pro ($6,750 USD) are priced in the mid-range. Paying a bit more money compared to the hobbyist level printer will gain you a whole lot. Typically printers at this level have specialized software such as Formlabs’ Preform or Sprintray’s Rayware software and calibration settings built-in to these software packages that ensure that prints come out clean, precise, and predictably.
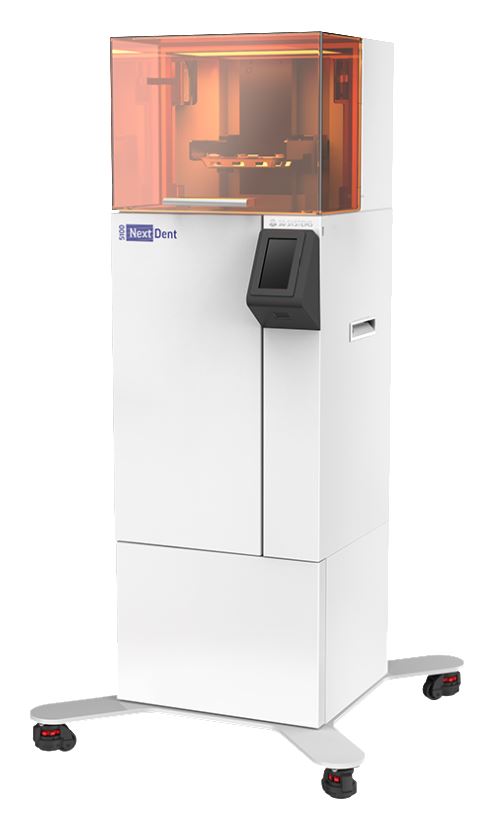
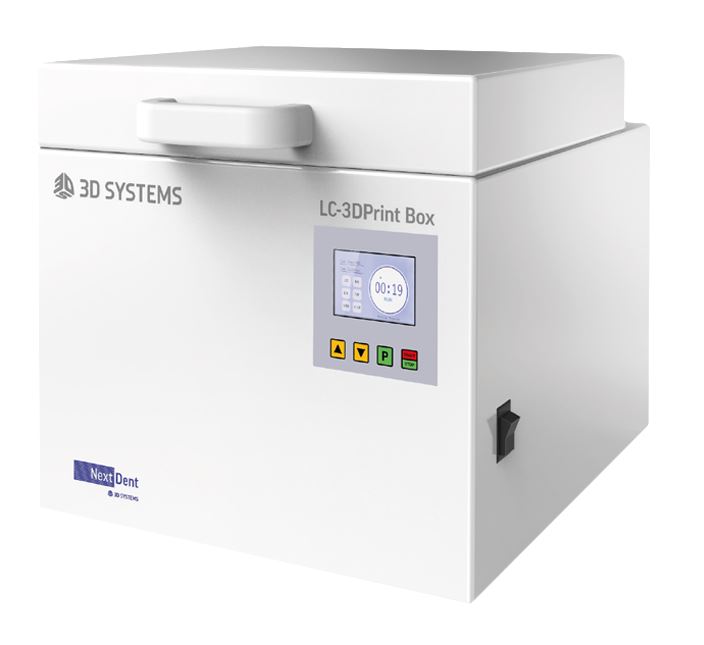
3D Systems Nextdent 5100
Hybrid desktop-industrial level 3d printers such as the Nextdent 5100 or Asiga Max 3D printer (both approximately ~$10,000 USD) are priced a bit higher but still priced appropriately for the dental office or dental laboratory. Printers at this category and price point are suited for for the user that is using 3D printing routinely for high detail crown & bridge models, implant models, and needs them super-fast. Ask yourself, do I need raw speed or can I wait for something to come out of the printer? For example, an arch of teeth for provisionals or a denture will take between 45-90minutes to print on a desktop level 3D printer such as the Formlabs or Sprintray, but would only take 20-30minutes on the Nextdent 5100. That alone is worth the premium price for many users.
Step 4: Accessorize!
The big secret in the world of dental 3D printing is that there’s a whole lot more involved than just clicking print and making things. Part of why dentistry is perfect for 3D printing (and vice versa) is that we are used to the gritty details to make things happen. Remember those days in dental school of carving wax or grinding on denture teeth (lol still my every day world!!)? We aren’t afraid of doing the hard work to get something that fits, looks good, and works.
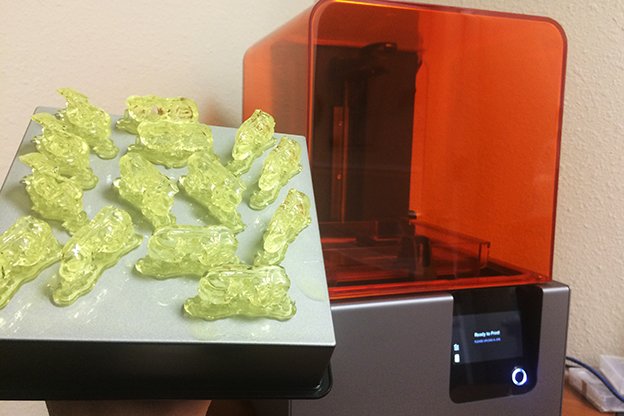
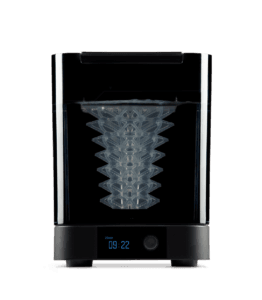
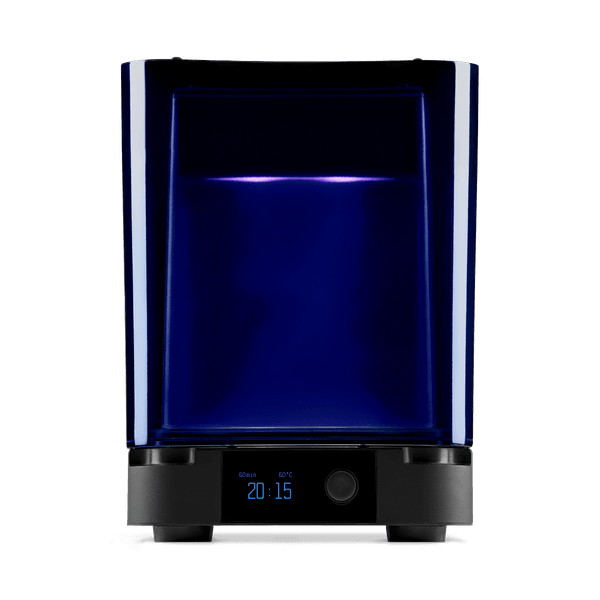
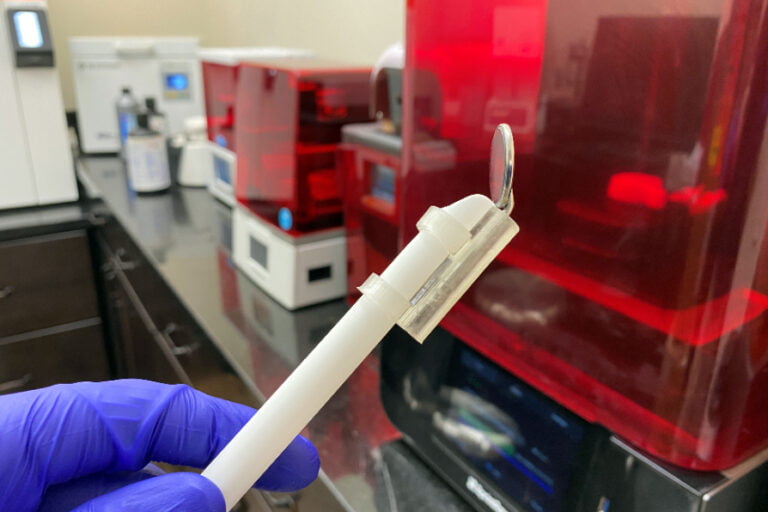
A big part of 3D printing is knowing how to take the object from the printer and cleaning it up and finishing it. After removing the print from the printer, the object needs to get washed in an alcohol bath, dried, and then UV cured before it can be handled or used intraorally. This process is called post-processing. Thankfully many 3D printer companies include post-processing systems and wash stations.
Formlabs has one of the most developed post-processing ecosystems available. When you order a Form3 or Form3B, it comes with a basic finish kit which is essentially two buckets and tools to clean up your prints. Frankly, it’s an awesome little kit and one that can be used with any 3D printer; you can also buy and use it even though you buy another 3D printer type! Stepping it up a bit you can purchase automated washing stations like the Formwash. Frankly, I love this little thing, it just works awesome and highly recommend using it even though it’s a bit more pricey compared to the simple wash stations.
UV Curing machines are a necessary step in the process of 3D printing. Once the printed dental model, occlusal guard, provisional/temporary restoration etc has been washed and dried, it needs to be UV cured to ensure the object isn’t sticky/tacky and considered biocompatible (for biocompatible resins). There are many different curing settings for each individual resin that part of what makes it worth spending a bit more on a 3D printer is knowing that you don’t need to figure out the UV curing cycles.
Step 5: Learn From Others
I’ve been involved with dental 3D printing for approximately 15 years. The early days were fraught with having to rely upon larger industrial laboratories and design centers, having to wait weeks and weeks for a product that you would hope would work. I always wanted my own printer to make things, not having to rely upon traditional delays, schedules, and on-demand application of playing around with the technology was appealing. I was an early adopter for sure. In and around 2010-2011 I was part of the trend with desktop level 3D printing starting take off and jumped in early on those hacker level printers. I spend hours and hours messing around with the printers and eventually got it figured out, but wow it took some effort. Thankfully you don’t need to do that anymore, there are great learning resources of how to get started smartly.
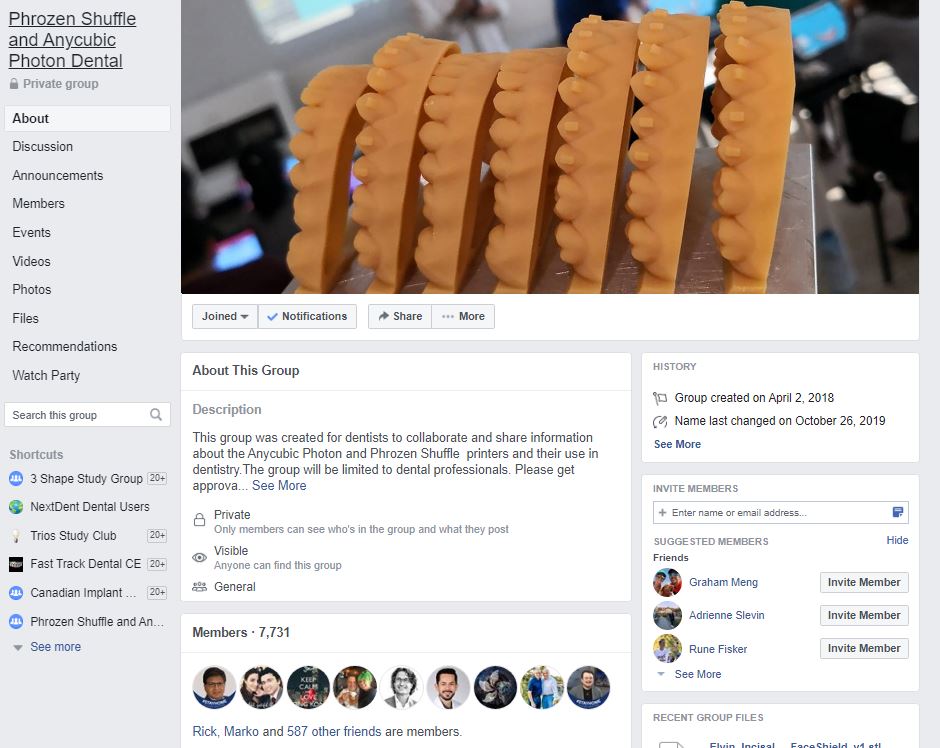
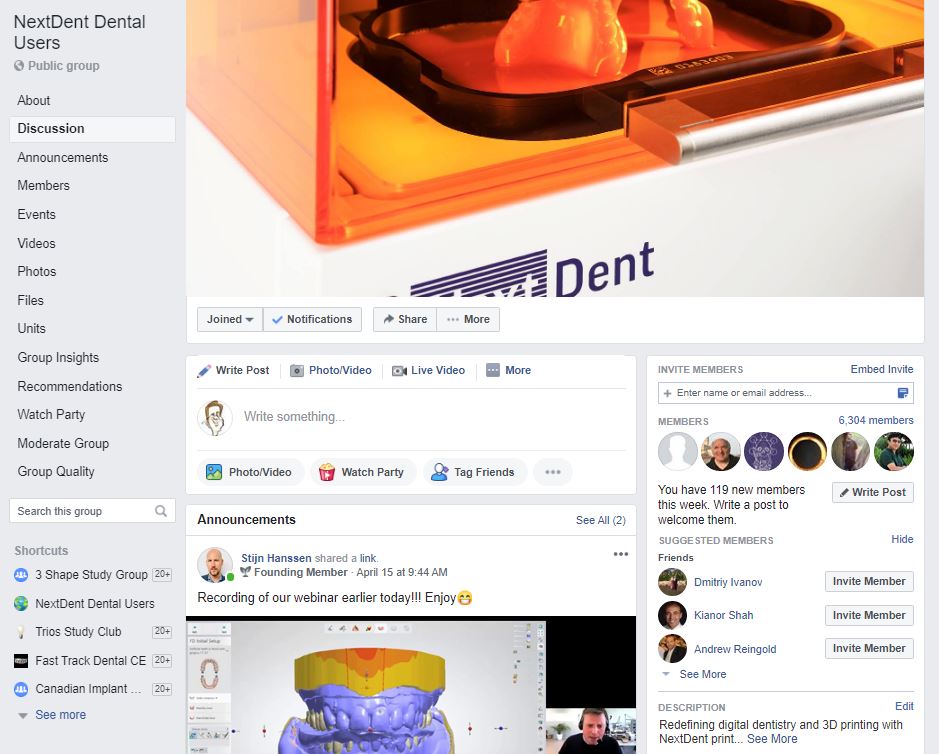
Some of the best places to get started is on social media platforms like Facebook and YouTube. A couple incredible Facebook groups are the “Phrozen Shuffle and Anycubic Photon Dental” and the “Nextdent Dental Users” forums. The first is run by a colleague friends of mine, Rick Ferguson and Reinol Gonzalez. Rick and Reinol have been an incredible team over the years. Rick started with 3D printing right around the same time that I did and he led the way with some incredible and innovative concepts very early on. I consider him a true pioneer of desktop level 3D printing. Reinol has done incredible work pioneering clear aligner and full arch hybrid cases using very affordable 3D printers like the Anycubic line of printers. Both incredible people. Make sure you check out the Nextdent forum as well if you are interested in using Nextdent resins, which are awesome dental resins.
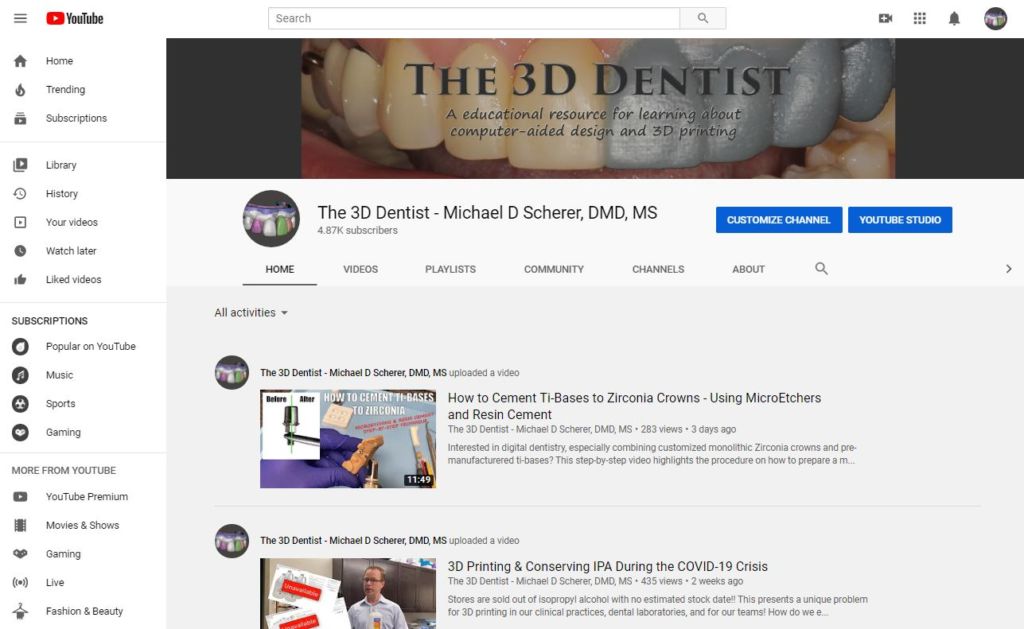
While there are a fair amount of YouTube channels on digital technology, I began the first one focusing on digital dentistry using intraoral scanning, CBCT, software and 3D printing. I was part of the first small group of hacker level dentists playing around with Meshmixer. I loved it so much I launched was many consider the first video on using Meshmixer software for dental applications, check it out!
Facebook and YouTube only take you so far, sometimes it helps to just take formal courses to get you going super-fast into 3D printing. Make sure you check out in-person courses like the ones taught by Rick, Reinol, and Kurt Bally at Digital Educators.
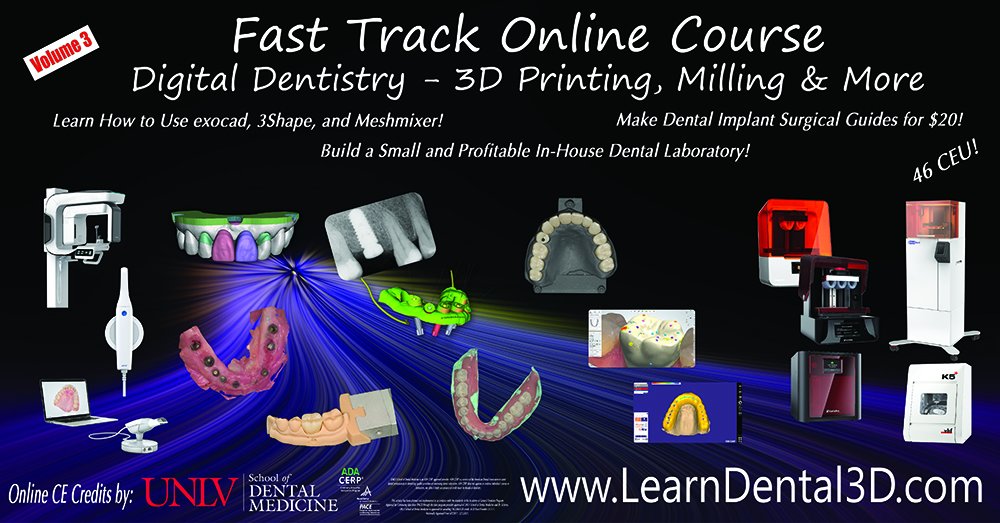
Also check out formal online courses like the one here at FastTrack Dental CE. We have a popular online course that has educated many, from those just getting started to those who are needing a bit of detail to add to their digital understanding. In fact, some of our students have gone on to creating their own courses… inspiring!!
Start smart, learn from us and our mistakes.
Step 6: (most important) Have FUN!!!
If something new is a chore, a drudgery, or just plain boring… what are the chances that you will actually do it? If you aren’t excited about jumping into something new, what’s the point?
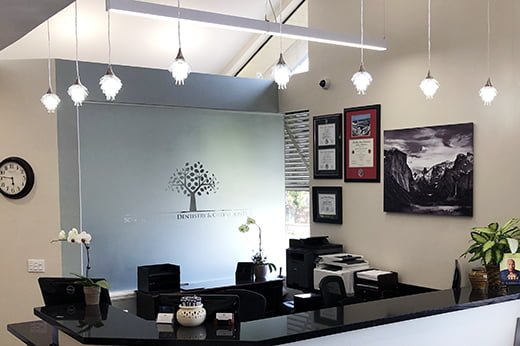
The important thing to recognize is that 3D printing is just plain FUN! I have literally worked on so many projects over the years and it’s been such an exciting journey. Everything from printing replacement brackets for my dental x-ray sensor holders (which are a pain to actually find to purchase) to pendant light fixtures for my dental office reception area.
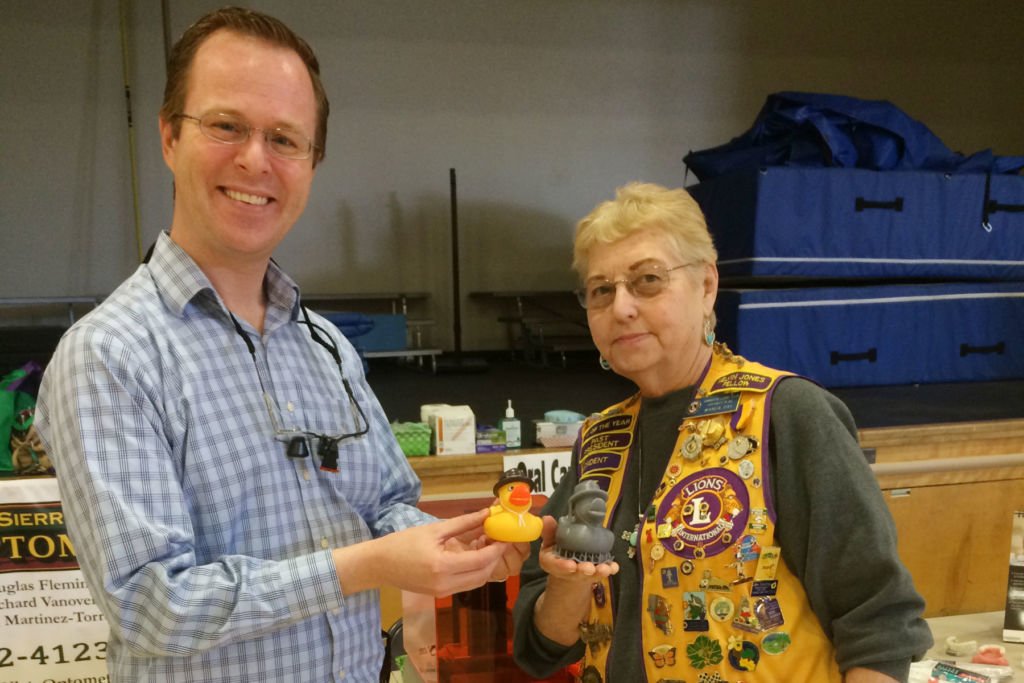
The key for me though is connecting with my patients. Making sure that they know that we are doing things to help grow our fundamental understanding of digital technology and how it can impact their lives. This indirect marketing using 3D printing and displaying how your office is on the cutting edge is always a wonderful benefit of jumping into new technology. Each and every time that I print something that is a novel concept or helps minimize the number of appointments, makes it easier for them, or enhances their final dental restoration outcome… I show it to them. Explain how it matters to them individually. That for me is an incredible way to help grow a practice.

Dr. Michael Scherer, DMD, MS
Dr. Michael Scherer is an Assistant Clinical Professor at Loma Linda University, a Clinical Instructor at University of Nevada – Las Vegas. He is a fellow of the American College of Prosthodontists, has published articles, books, and in-person and online courses related to implant dentistry, clinical prosthodontics, and digital technology with a special emphasis on full-arch reconstruction.


