Case Report: Guided Surgery Technique to Make a Challenging Edentulous Case Predictable
Guided surgery for dental implantology is something that I am a big fan of, especially when using it in places where there’s challenging existing structures, immediate placement, creative bone positions, or one needs to be creative with prosthetics. The last one is key for me, as guided surgery has always been more about guided prosthetics than actual surgical procedures!
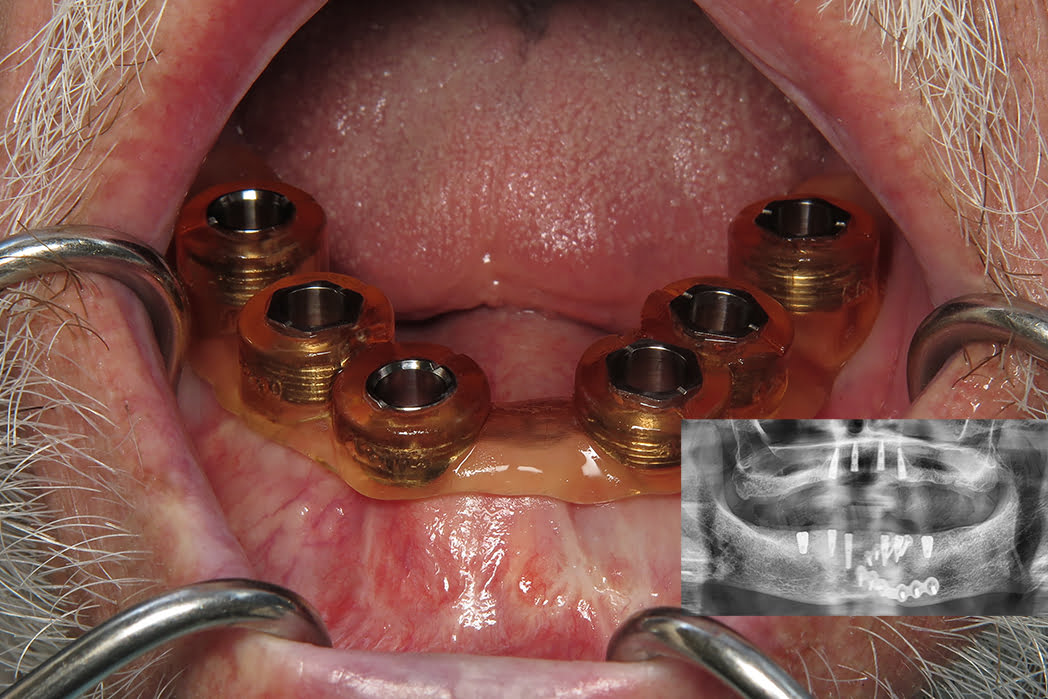
Let’s take a look at a recent case highlighting the benefit of when a surgical guide can really come in handy. An older male patient presented to my office looking for solutions. Since he is 80 years old, he asked me about minimally invasive dental procedures with dental implants. We agreed and discussed that this could be an excellent approach for his case and made a panoramic radiograph with my VATECH Green CBCT machine for diagnostic purposes. We had a thorough discussion about what I found… turns out he broke his mandible many years ago and they placed fixation hardware. We discussed referring to my local oral surgeon (who’s amazing) and removing the hardware but the patient was fearful of the expenses and had a very tight budget as a retired senior-citizen.
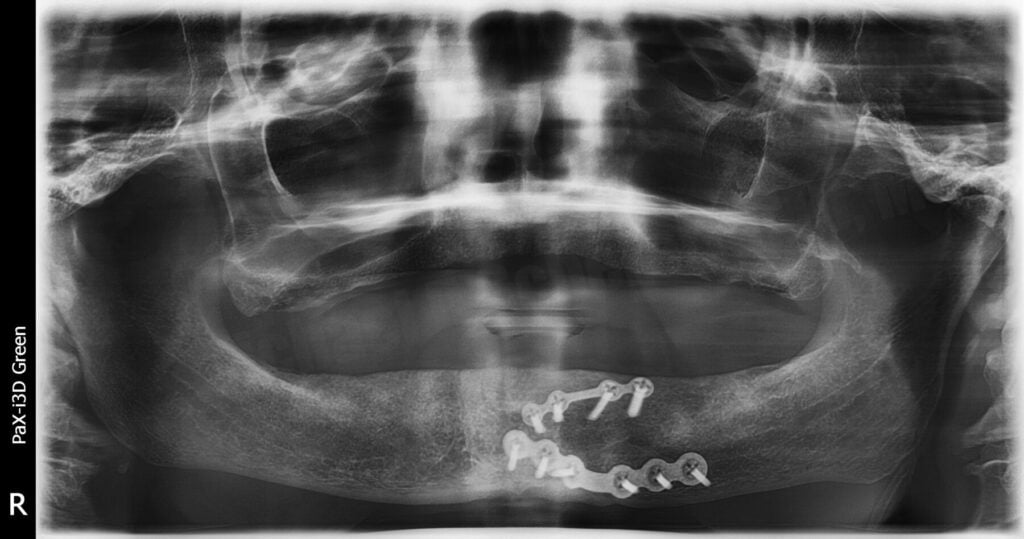
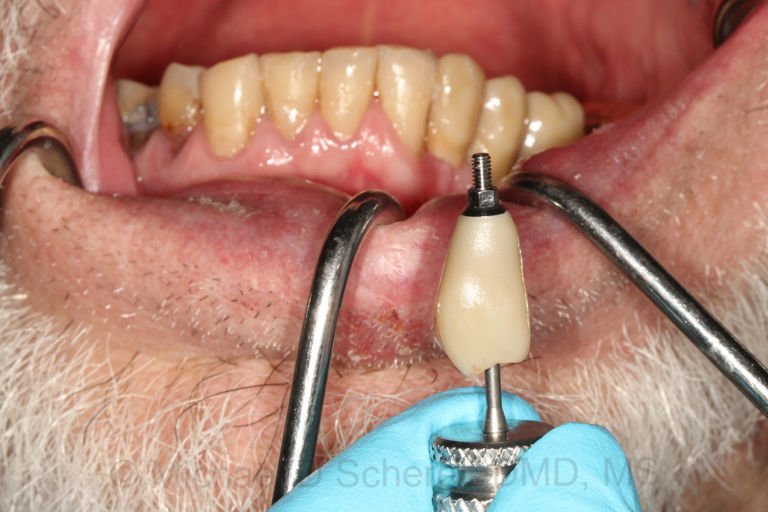
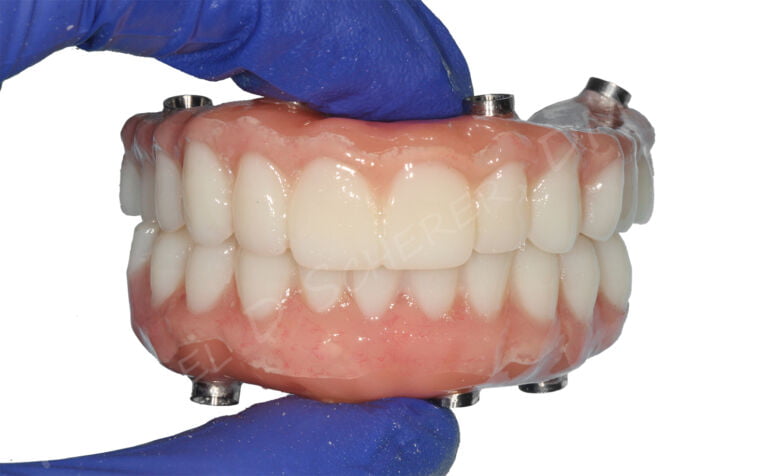
We came up with a plan, 4 implants on the maxillary arch for a future LOCATOR R-Tx overdenture and 6 implants on the mandibular arch for a future LOCATOR F-Tx fixed bridge. We came up with the 6 implants and fixed option because the patient was nervous about removing the fixation hardware and a tissue-supported overdenture would cause tissue impingement on the frame. With a fixed bridge, we could suspend it over the top with little pressure on the ridge.
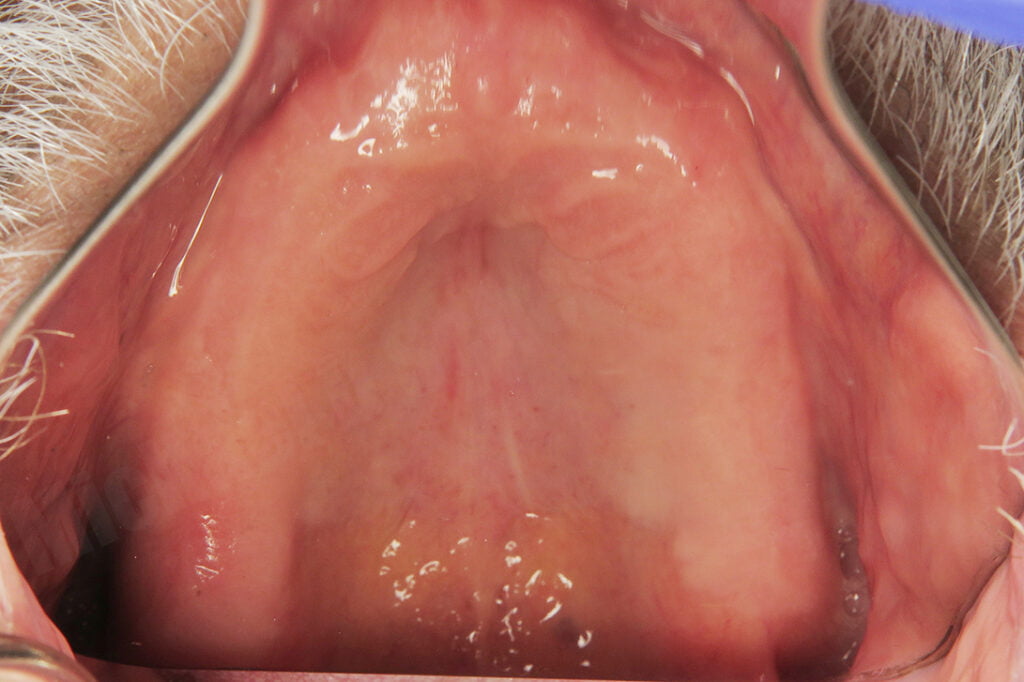
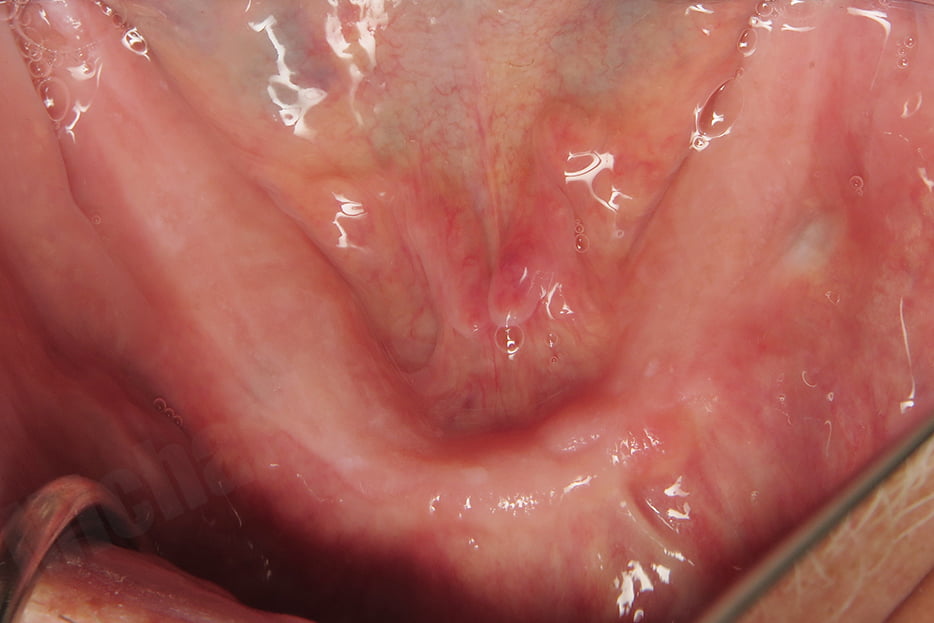
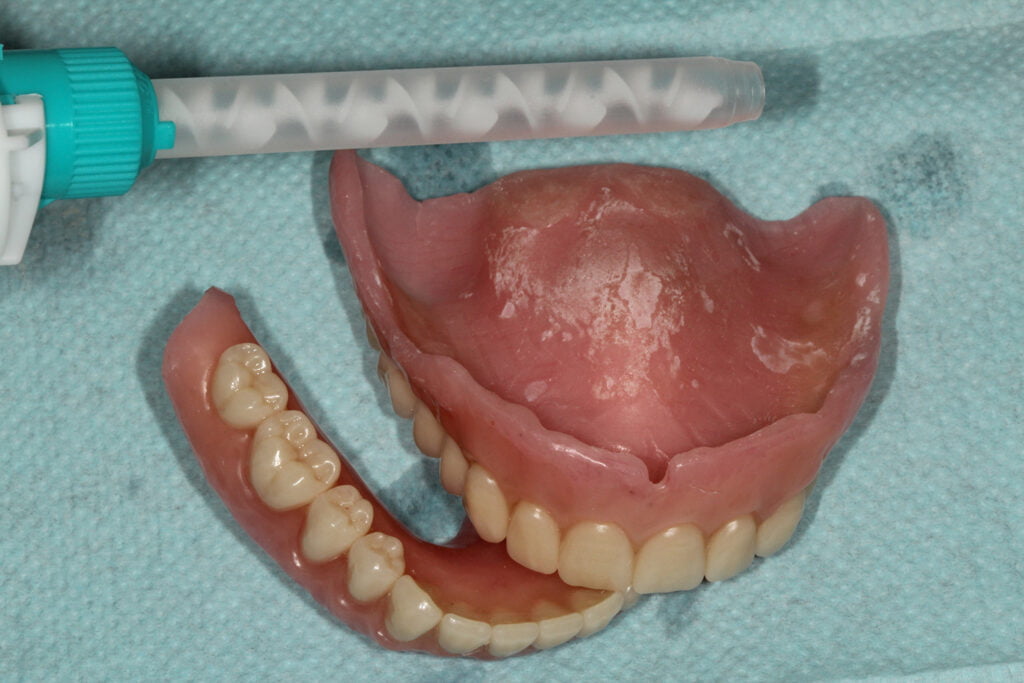
Since he was wearing a very old maxillary denture and no mandibular denture, we discussed needing to use a restorative plan down philosophy and scheduled him for traditional denture wax-up procedures. We need to know where the teeth are going before we can do the surgery! This is so important yet many just skip right to the surgery without regards for prosthetics.
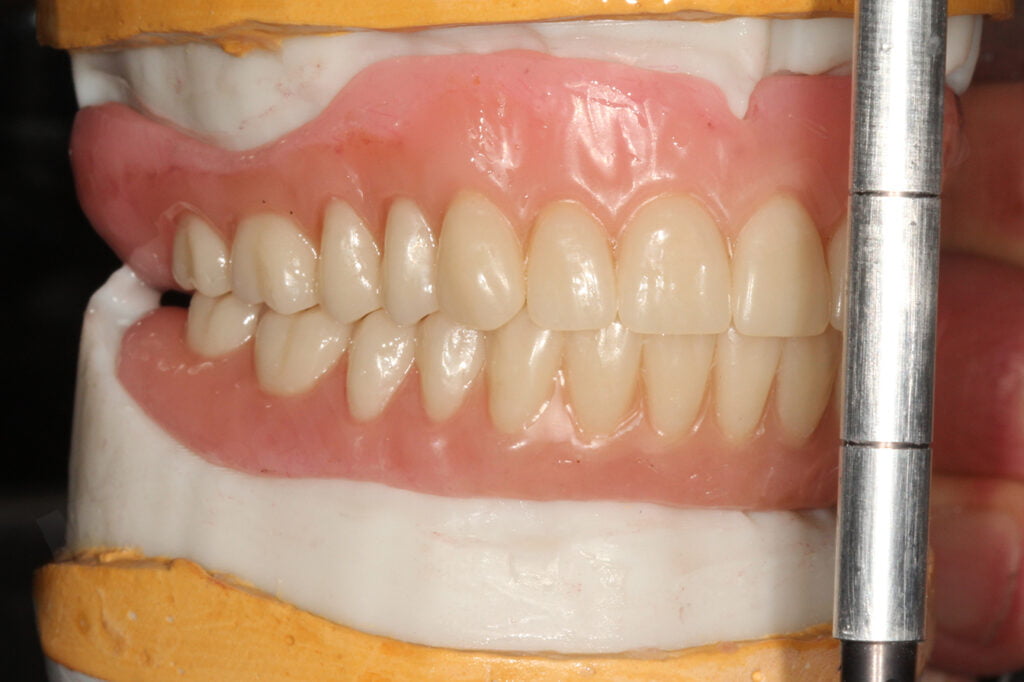
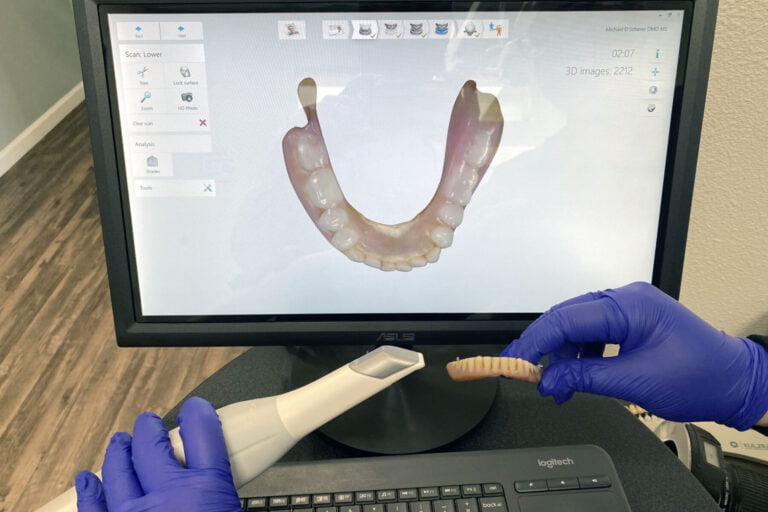
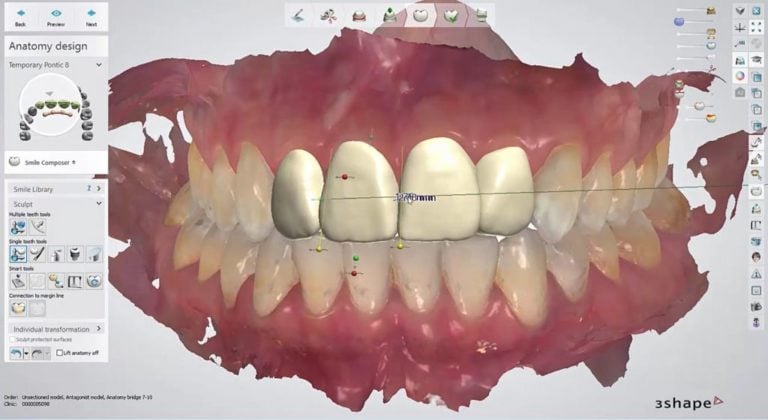
The patient returned for a wax-up try-in based upon intraoral scans using my 3Shape TRIOS scanner. My removable technician used TRIAD record bases and denture teeth in a traditional sense. I tried the wax-up in his mouth and he loved it. Checked phonetics, esthetics, OVD, CR, everything looks great so we now feel comfortable knowing where his future teeth need to go!
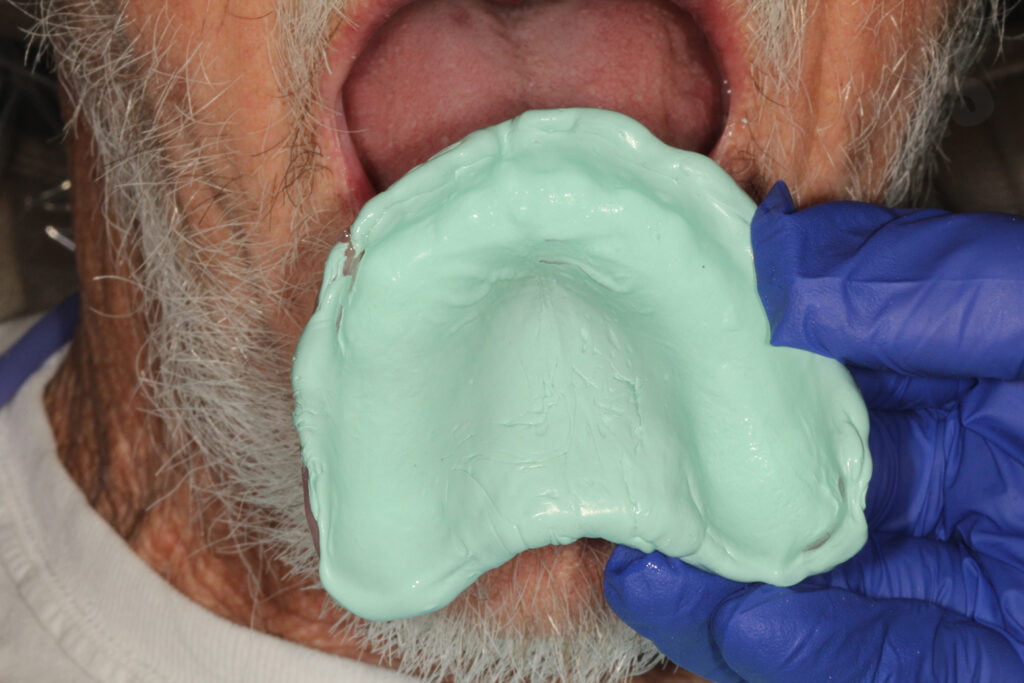
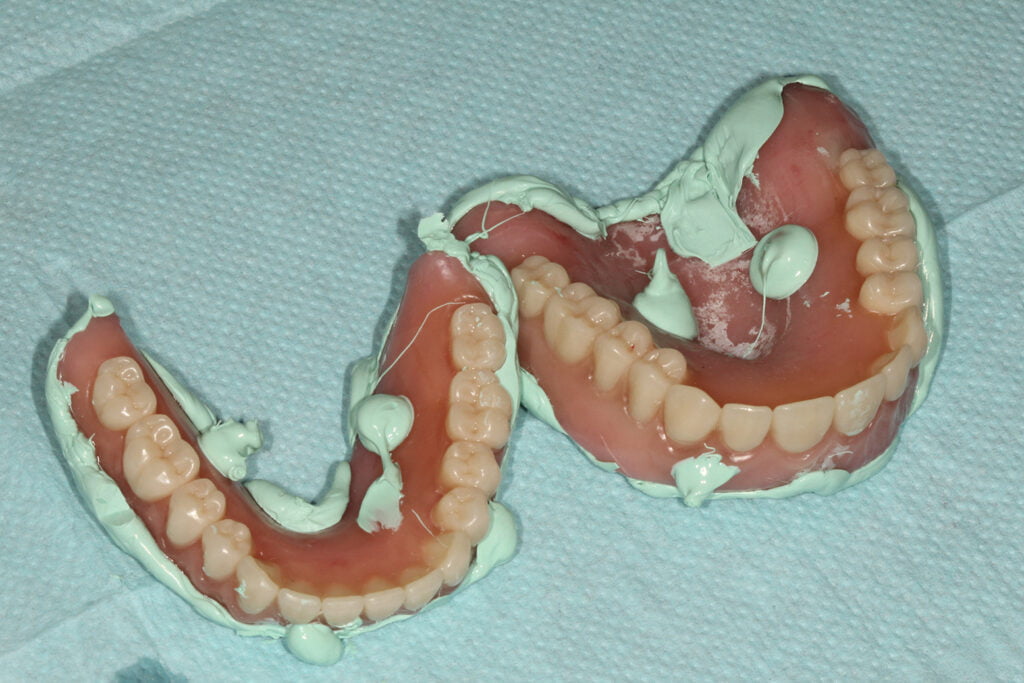
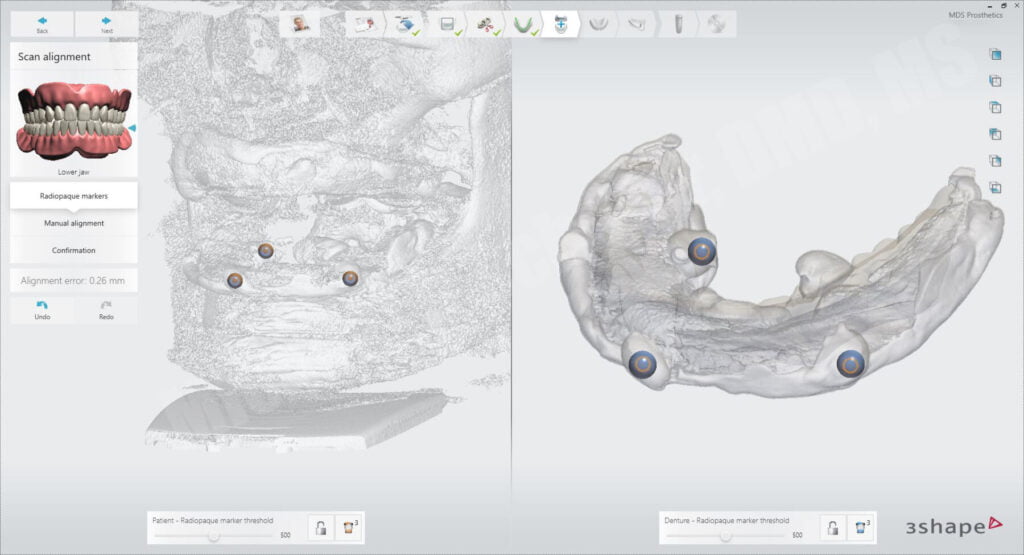
The next step was to take his wax-up and reline it using radiopaque PVS impression material. This is an innovative technique I pioneered years ago and have used successfully on many cases and has been part of my courses where many students around the world use it. It’s relatively simple… closed-mouth reline impression, border molded, in CR with both prostheses. After removing from the mouth, I trim away any excess and then put in a few blobs on the outside of the denture in the shape of traditional fiduciary markers. These markers allow me to simply and easily align the prostheses in most software packages, although you don’t need the blobs on the outside, many programs can align without the points. Since my plan was to use 3Shape Implant Studio, it does require these discrete fiduciary markers for alignment so I put them on there.
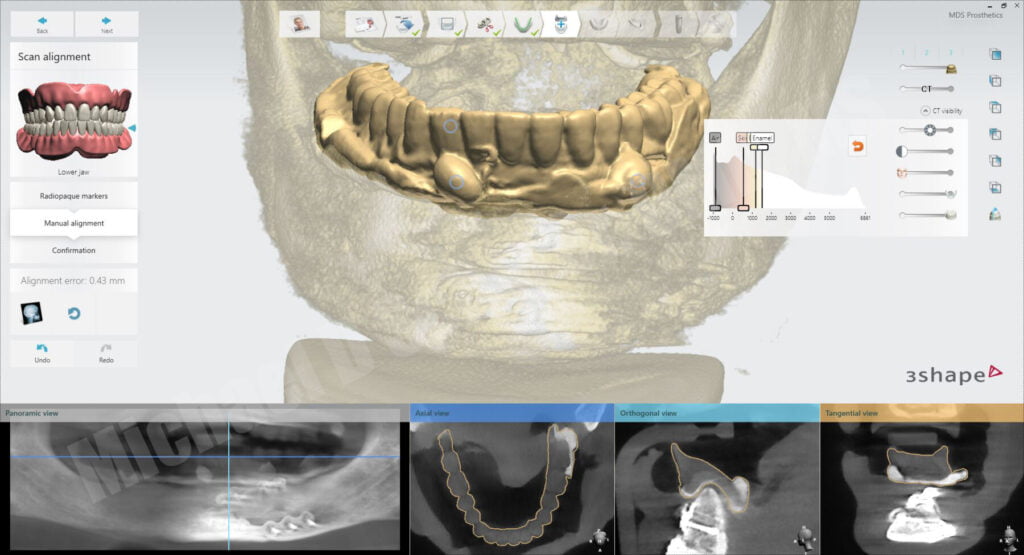
I scanned him in my VATECH CBCT with the relined prosthesis on top of the tissues and cotton rolls surrounding the prosthesis in an open bite position. Placing cotton rolls substantially helps to enhance visual appearance of the prosthesis in the implant planning software. It also helps with alignment algorithms to ensure the prosthesis is properly adapted virtually.
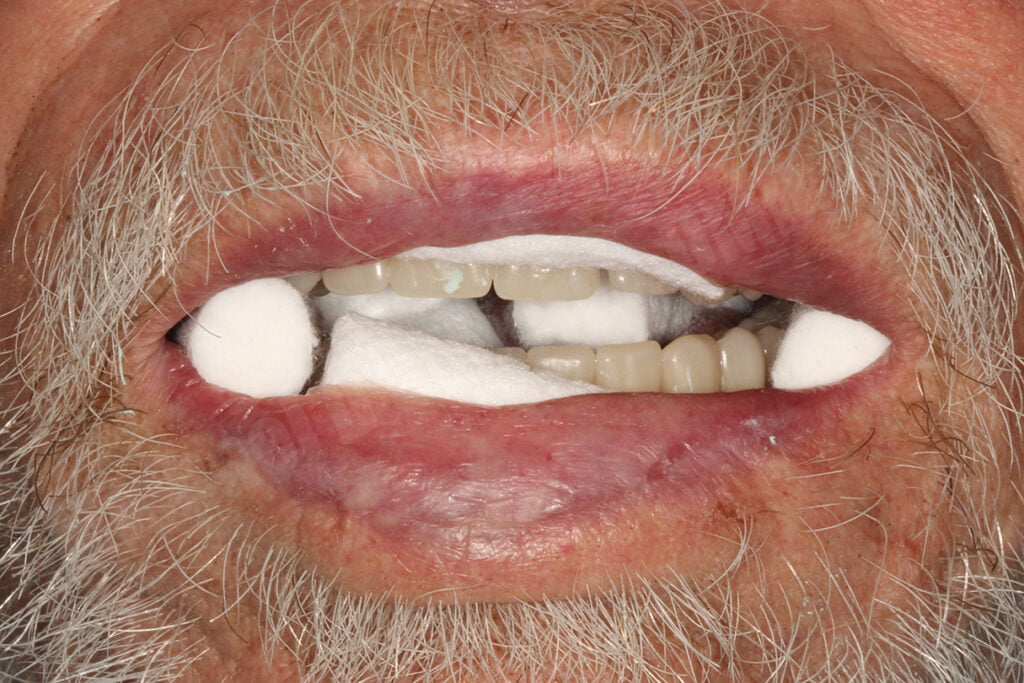
After scanning the patient wearing the prosthesis, I had him sit down and removed the prostheses and cotton rolls. I placed each arch of the denture/radiopaque PVS into the CBCT machine and scanned each prosthesis separately. Since it was a wax-up, I could dismiss the patient and keep the relined denture for analysis in the laboratory.
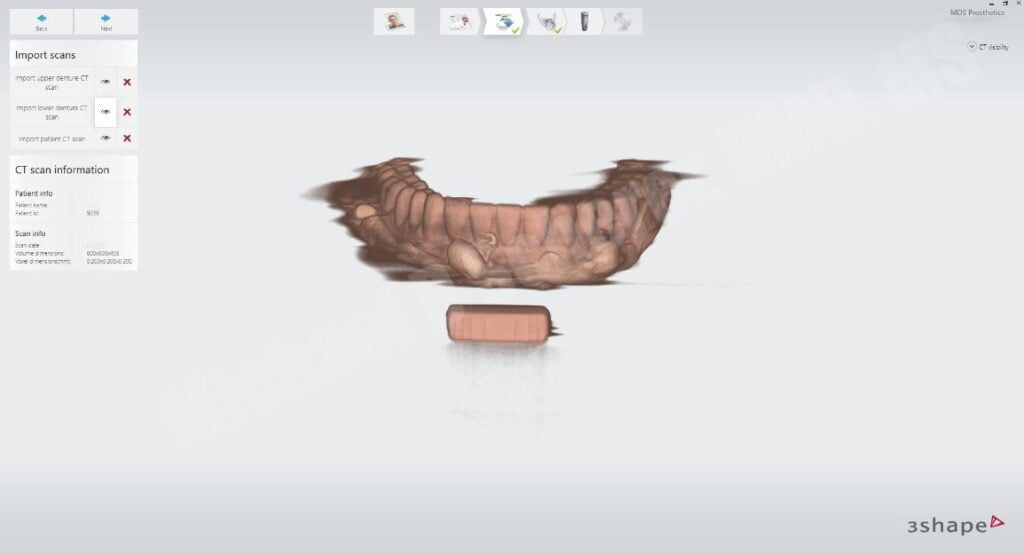
In total, I made 3 CBCT Scans: 1) Scan of the patient wearing the prostheses with radiopaque PVS reline in an open bite and with cotton rolls, 2) Scan of the maxillary prosthesis with radiopaque PVS, 3) Scan of the mandibular prosthesis with radiopaque PVS.
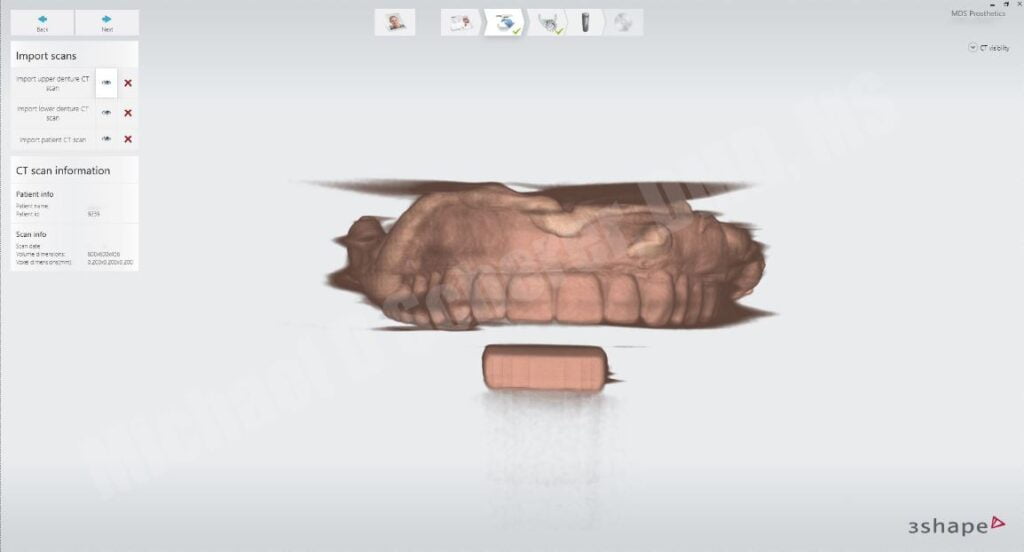
I brought in the DICOM files into my 3Shape Implant Studio software and created a new case using their edentulous guide module.
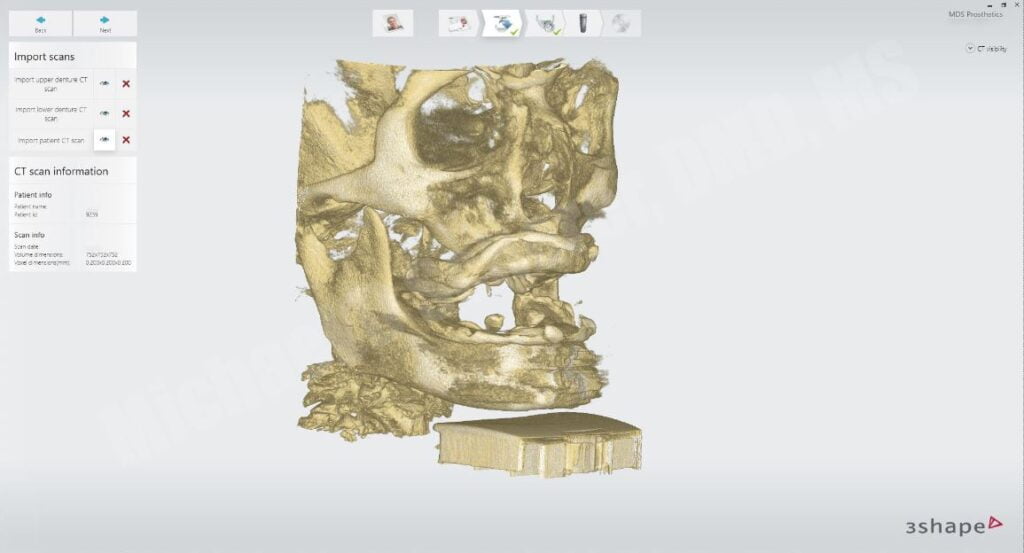
After importing the scans, Implant Studio asks me to align the scans of each of the arches to the main patient scan using point-point markers. By choosing similar bumps on each side of the screen, the software can interpret the alignment algorithms based upon ICP (iterative closed point) methodology. Meaning, clicking on what is similar on both sides of the screen!
The software has a manual function to allow for small discrete movements to confirm that the outline line visually shown aligns with the radiopaque PVS and outline of the denture. By using the cotton rolls, the lips and cheeks are separated from the prosthesis, giving the clinician/technician the ability to predictably see the proper alignment of the arch.
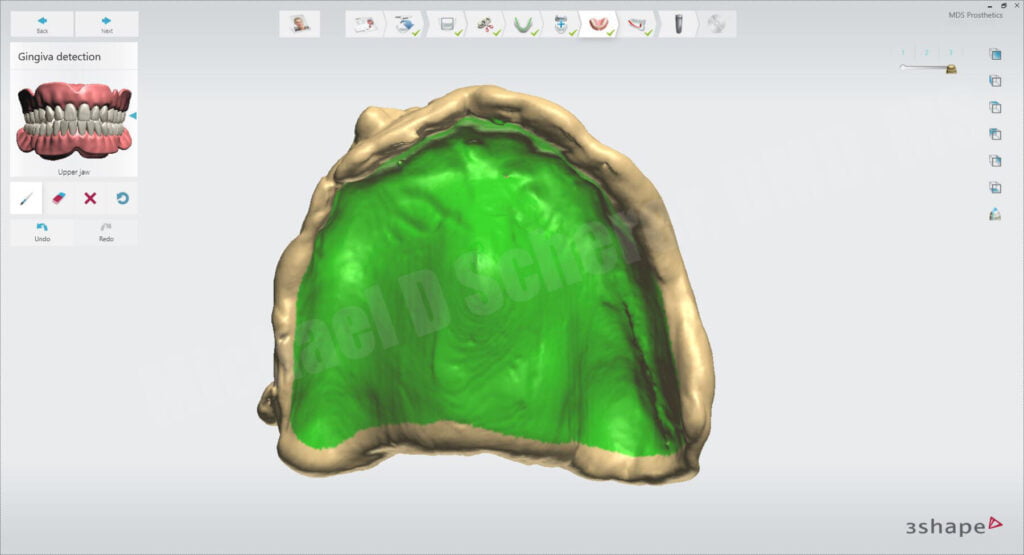
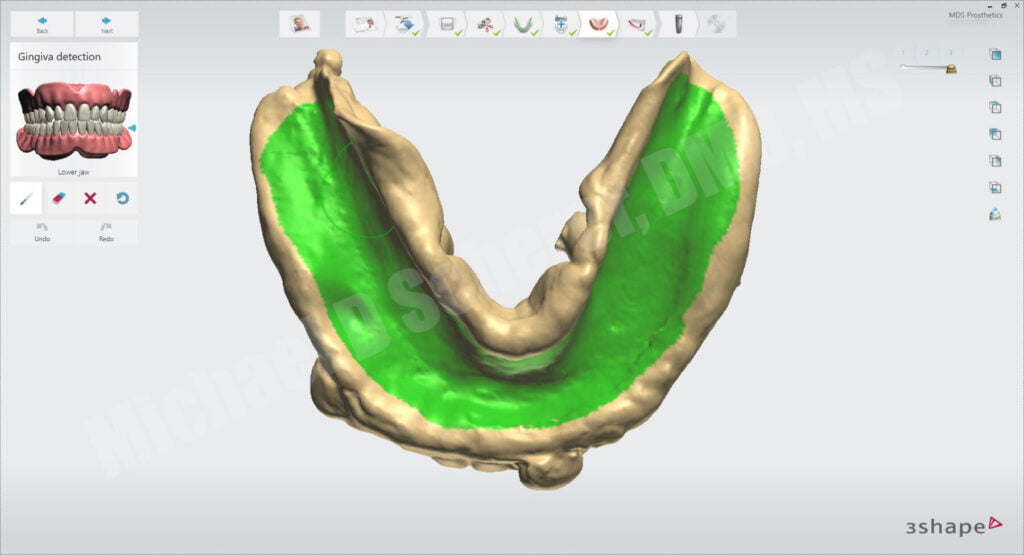
After confirming alignment, I continue to follow the step-by-step functions of the software including drawing the soft tissue form which will automatically create an aligned soft tissue arch based upon the alignment algorithms performed earlier.
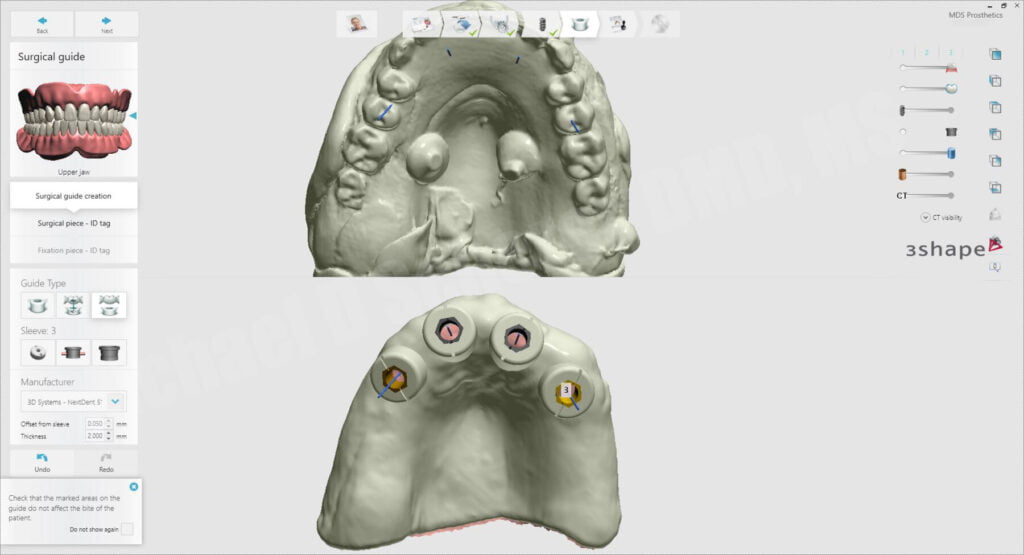
We decided on using Paltop Advanced Classic implants, 4 for the maxillary and 6 for the mandibular arches respectively. I started by placing the maxillary implants just medial to the anterior sinus wall, helping to define my most posterior extent of the maxillary arch. Since I’m going to be using LOCATOR R-Tx, I can angle my implants up to 60 degrees of total divergence. I then place the anterior implants, roughly in the place of the lateral incisors to keep a nice broad distribution of implants.
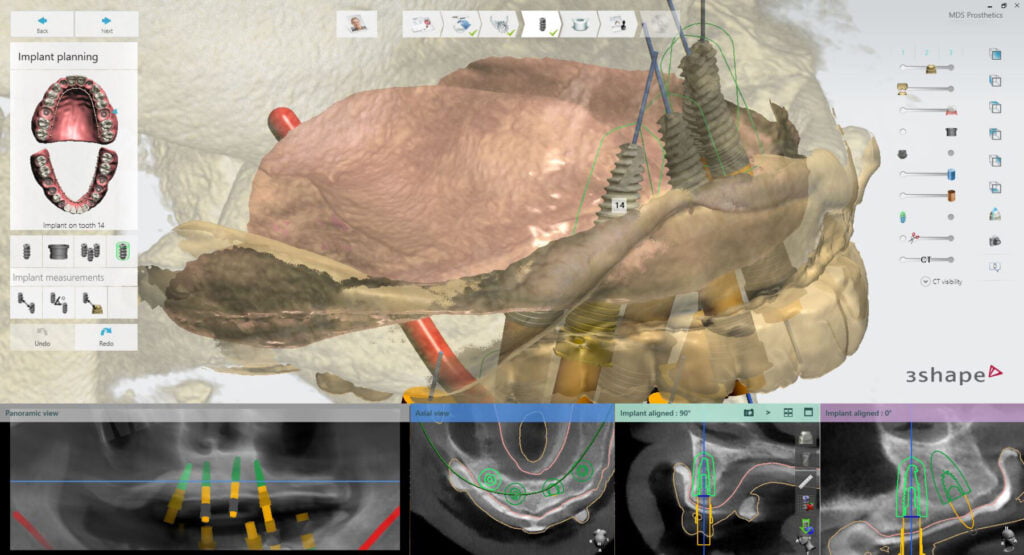
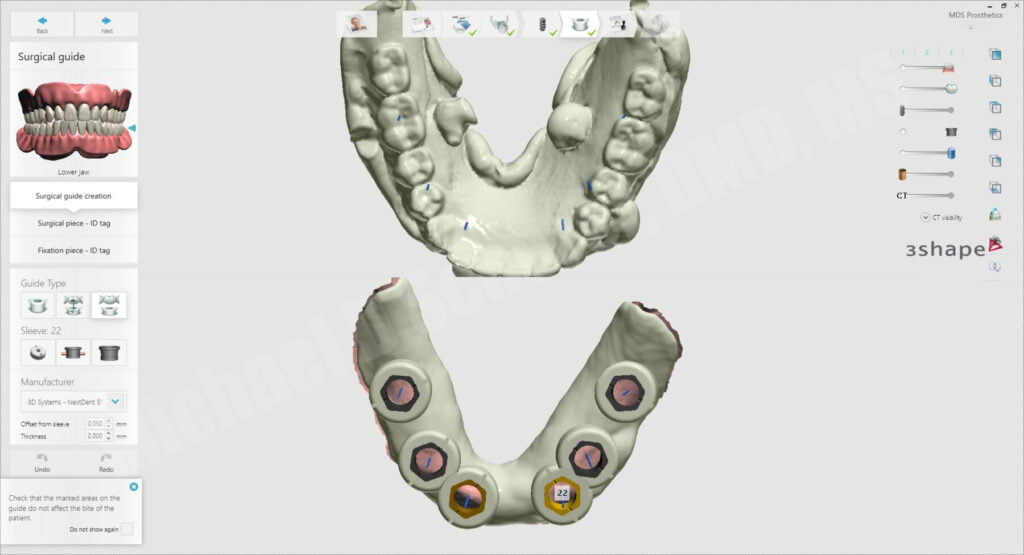
After placing the maxillary implants, I move onto the mandibular arch. Since we have to work around some of the plating hardware, I placed the implants in creative positions. Ideally I would want to see implants in the #19, 21, 22, 27, 28, 30 positions for a fixed prosthesis, I did have to wiggle around in that left side. I got the implants in position so that way I was keeping clear of the screws and plating. Guided surgery will allow me to navigate this tricky position because if I was placing implants free hand, I would have to elevate huge flaps and likely need to remove the plating before surgical procedures.
Importantly to note I’m not a huge fan of using pins or anchors for my guides. I know that will surprise many of you and many will call me crazy, but my intention here isn’t for fully guided surgery; I intend to use these guides for my pilot drills plus one osteotomy drill. As a result, this case I intended to be partially guided surgical guides. I don’t think anchor pins are necessary for those cases so long as you have pretty good soft tissue support for your guides and hold them carefully during drilling procedures.
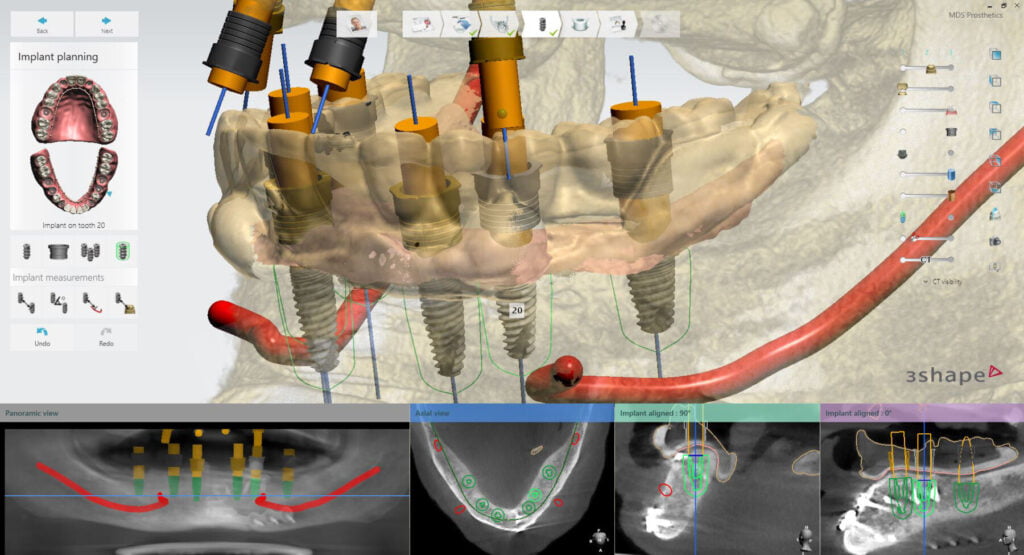
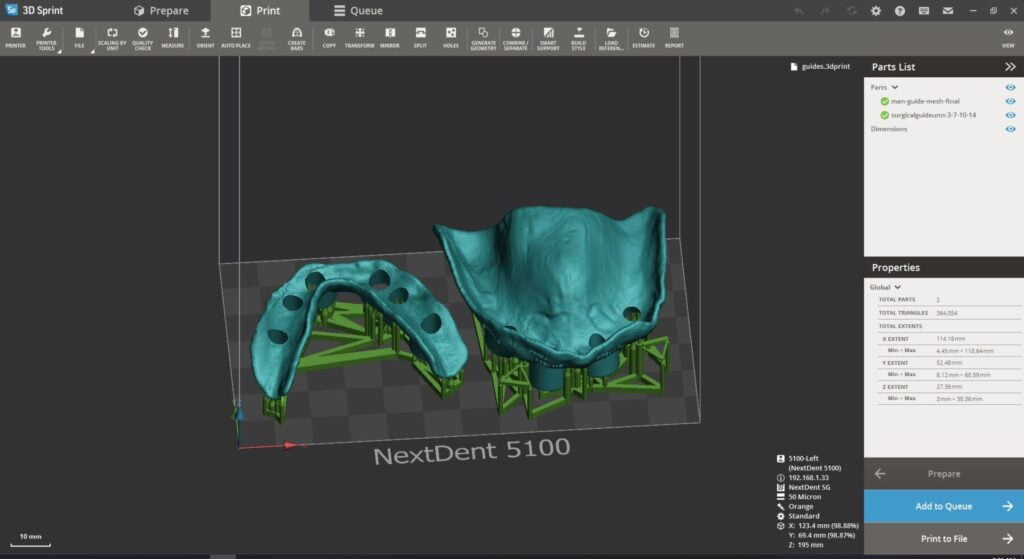
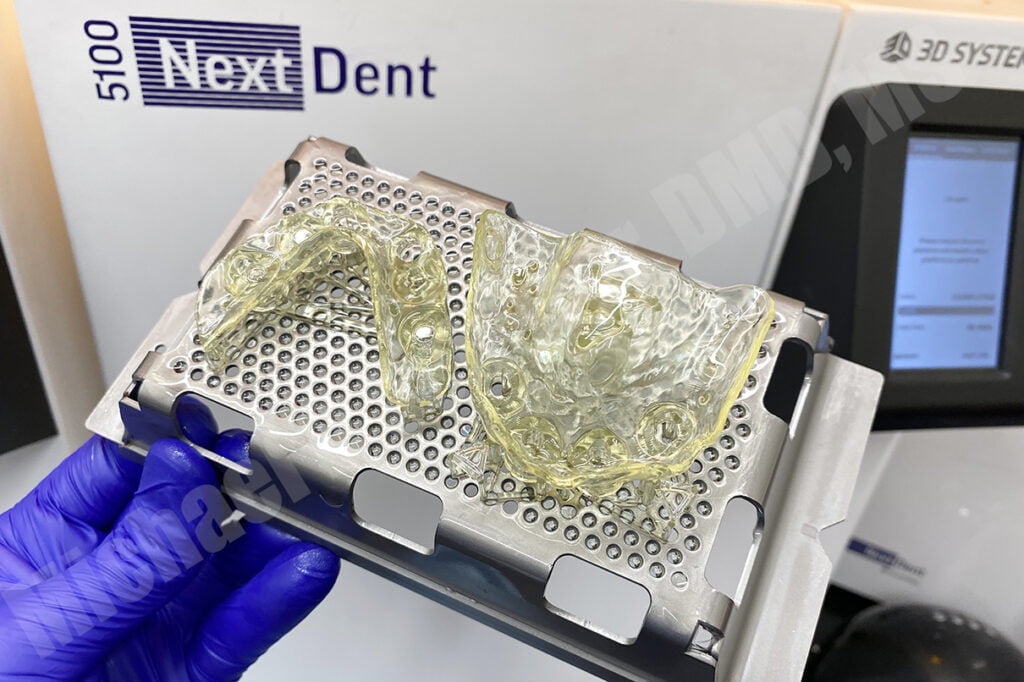
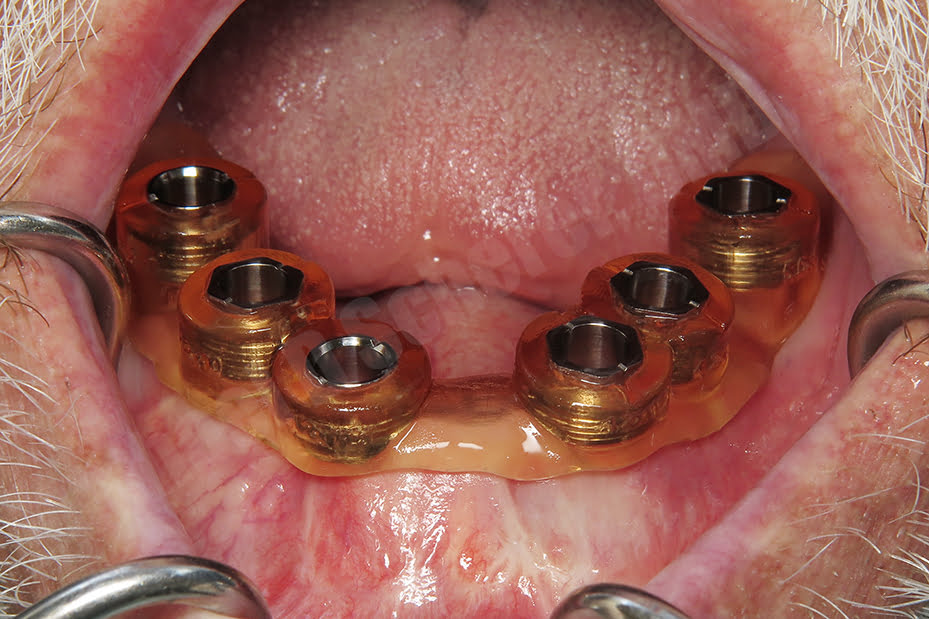
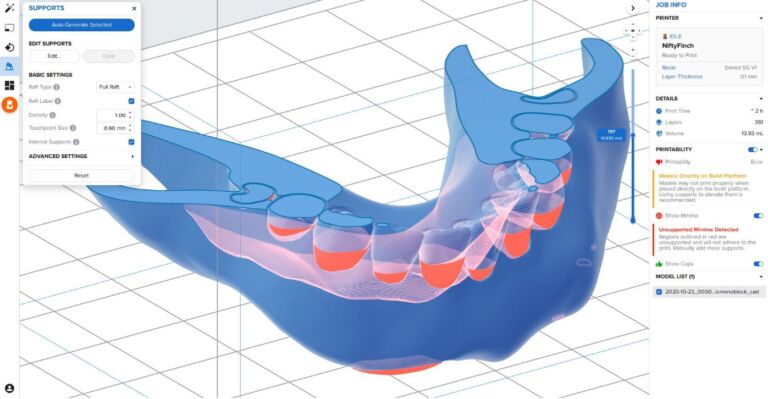
I exported the completed tissue-supported surgical guides from Implant Studio and brought the files into 3D Sprint software to print on my 3D Systems / NextDent 5100 3D printer using NextDent SG resin. The surgical guides printed in approximately 30 minutes. I also printed the models in NextDent Model 2.0 resin to confirm the fit of the guides on the models.
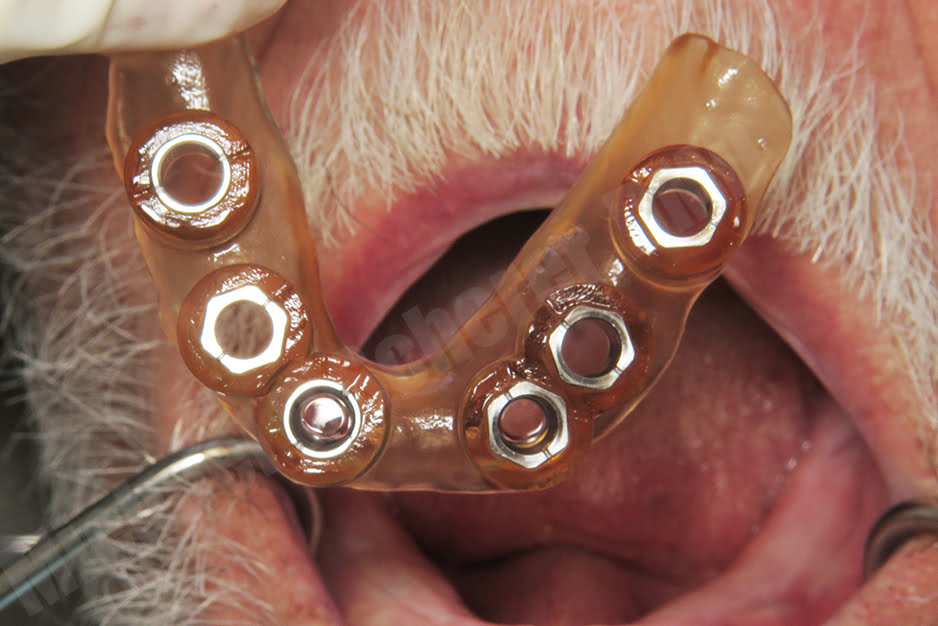
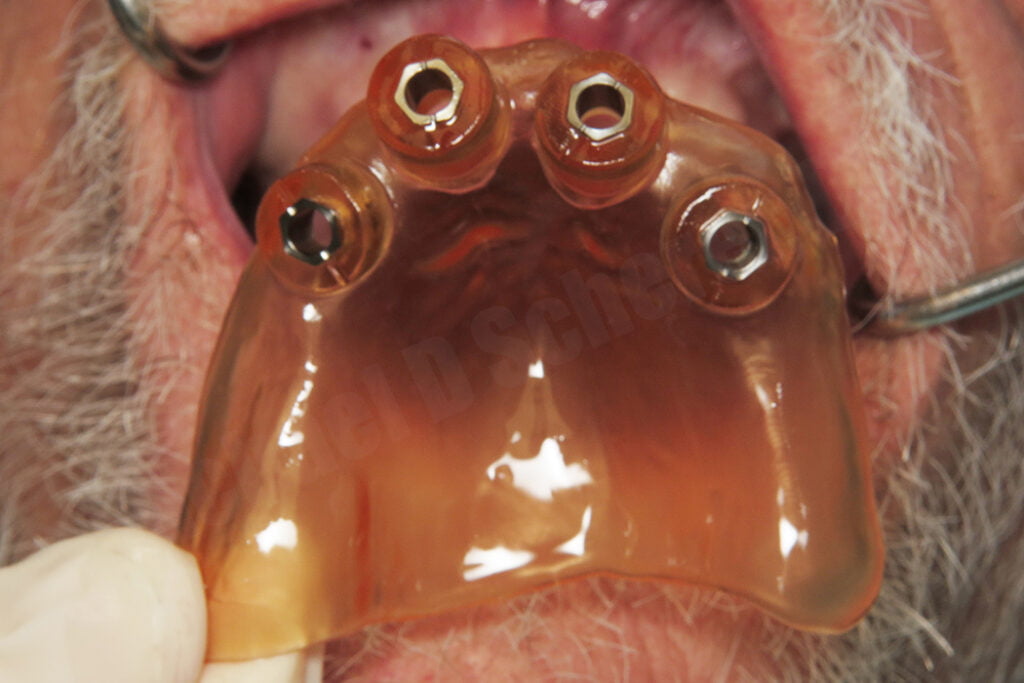
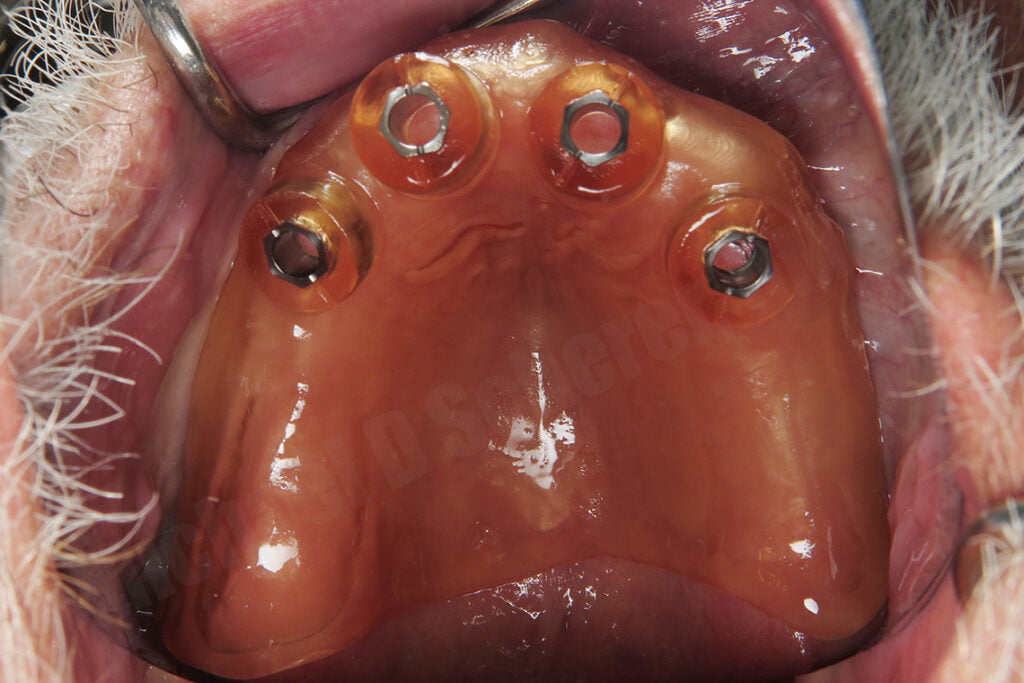
The patient presented for surgical procedures and we fitted the surgical guides… fit was perfect and stability excellent.
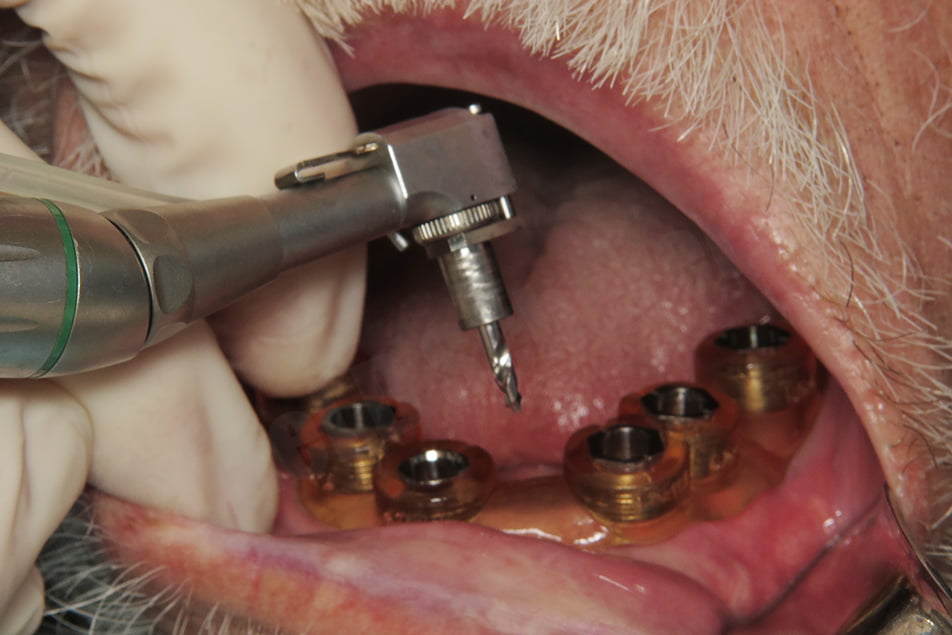
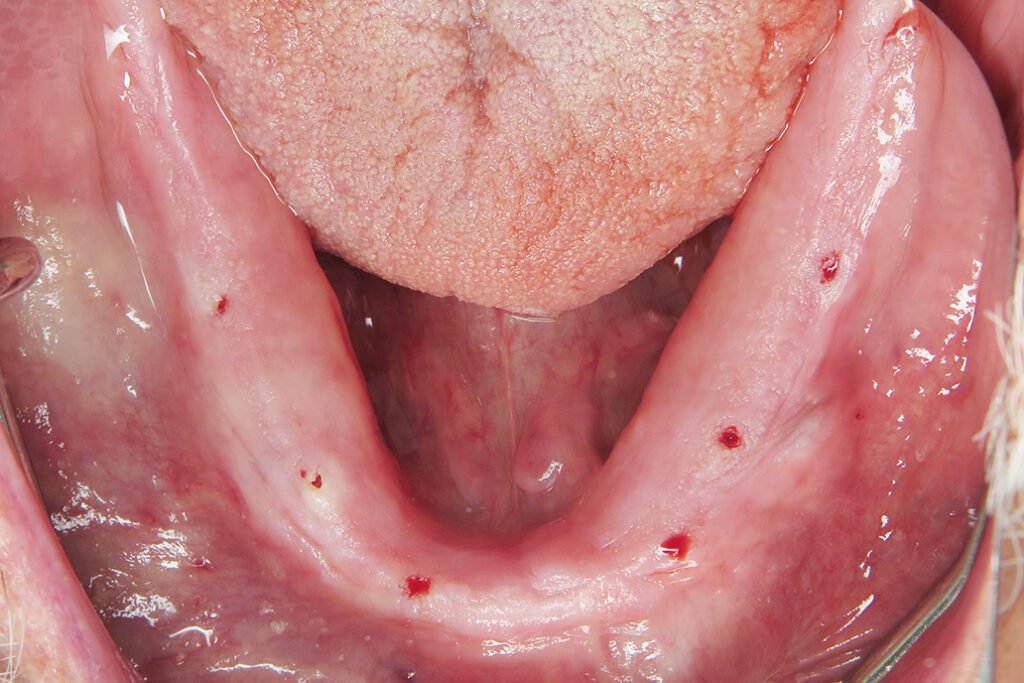
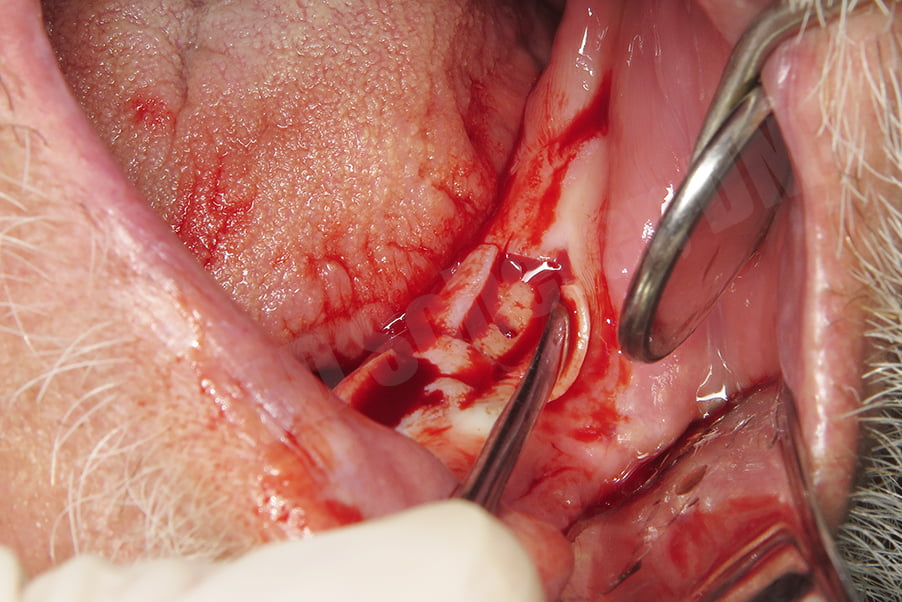
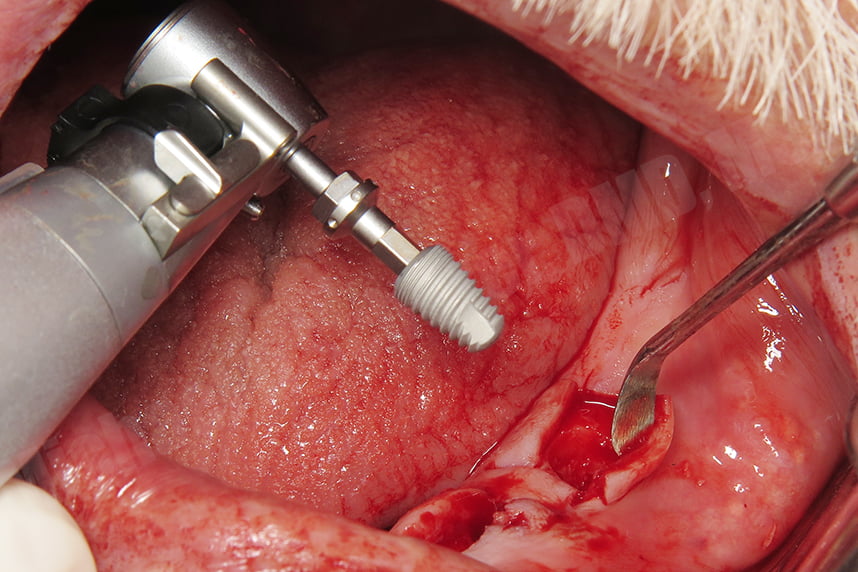
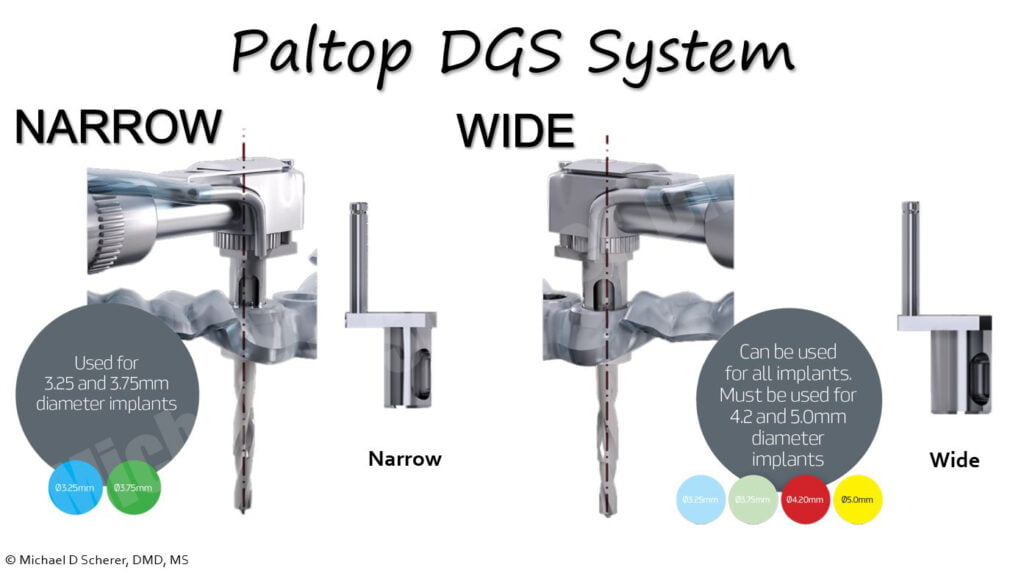
We started with the mandibular arch, the guide was properly adapted to the tissues. The Paltop Fully Guided Kit has a novel and very interesting approach, it uses a special handpiece with a fitting sleeve control handle called a DGS or “Digital Guidance System” which results in drilling without spinning on the metal tube like traditional systems. It’s essentially a totally passive drilling mechanism in regards to the master sleeve! Using the pilot drill with the DGS system on the handpiece, initial pilot holes were placed through the guide. The guide was removed, you can see how clean the surgery is appearing so far. Our goal was to elevate crestal incisions with minimally invasive procedures, just enough to visualize the bone and place implants and grafting if needed, but to use the surgical guide to get us started!
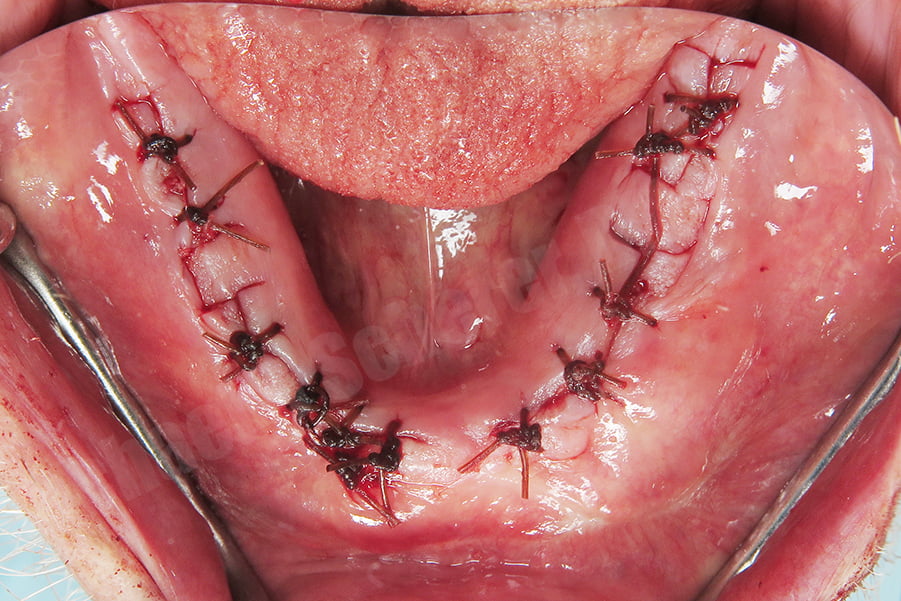
After flap elevation, the guide was palced back and the second osteotomy procedure completed through the guide. The guide removed and conventional osteotomies performed freehand and implants placed. Chromic gut sutures were placed to close the surgical site.
After the mandibular implants were placed, maxillary implant procedures were completed, placing 4.2×11.5 Paltop Advanced Classic implants. The patient was thrilled with the result and is very much looking forward to his completed prostheses!
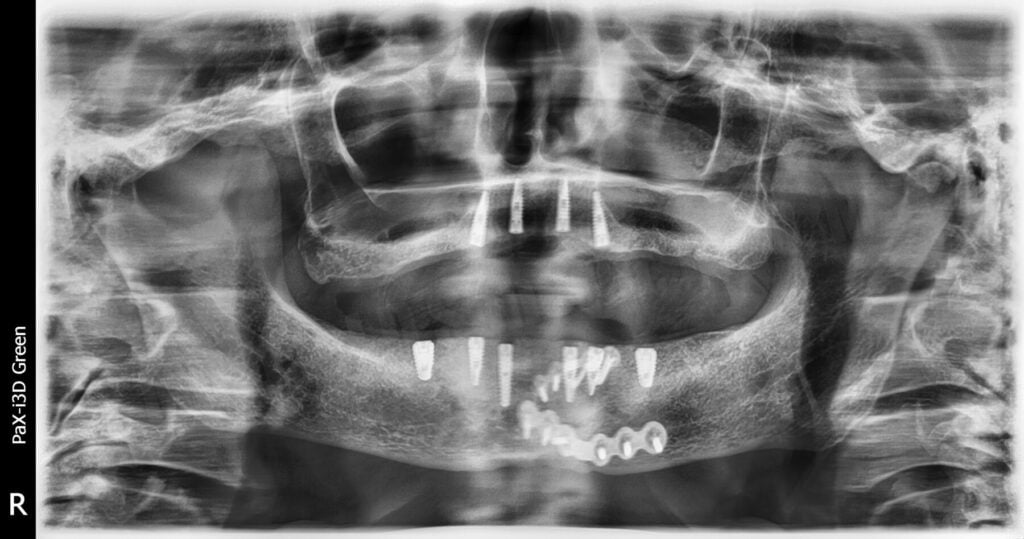
This case illustrates the benefit of using guided implantology as traditional surgical procedure would be quite invasive. As a result, I was able to keep my surgical site clean, minimally invasive procedures completed, and also ensure that my implants are in sufficient positions of bone volume and prosthetic positions to ensure health of the implants and future restorations!
Interested in learning more about CBCT, implant planning, 3D printing, and some amazing step-by-step guided surgery protocols in your office and/or laboratory? Check out our innovative step-by-step online digital dentistry course at www.LearnDental3D.com

Dr. Michael Scherer, DMD, MS
Dr. Michael Scherer is an Assistant Clinical Professor at Loma Linda University, a Clinical Instructor at University of Nevada – Las Vegas. He is a fellow of the American College of Prosthodontists, has published articles, books, and in-person and online courses related to implant dentistry, clinical prosthodontics, and digital technology with a special emphasis on full-arch reconstruction.

