Horizontal vs. Vertical 3D Printing for Aligners
As more and more dentists and technicians embrace 3D printing in dentistry, the movement toward in-office production of clear aligners is rapidly becoming embraced in the field. Historically, software to design clear aligners in-house has been challenging to use, however, the software is rapidly evolving as to become more user friendly and functional. The advances in software combined with easy to use 3D printers that are now becoming commonplace in many dental offices and laboratories is driving the movement of in-office aligner production.
Usability of software and simplicity of workflows is often critical with any computing system and the smartphone metaphor applies to 3D printers. All one needs to do is look back at the smartphone in the early-to-mid 2000’s and compare that to when the iPhone first debuted in 2007. The iPhone ushered in a new world of functionality with the single swipe of a finger. In comparison, when we look at 3D printing software, the user interfaces has quickly become one of the primary defining attributes when selecting a software or 3D printer.
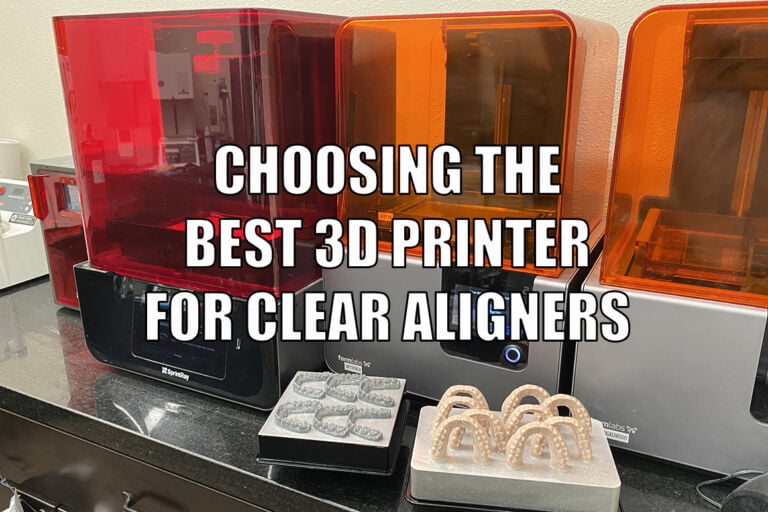
When it comes to clear aligners, one of the main distinctions noted among software is the ability to print models horizontally, vertically, or both simply with the click of the mouse. Some companies have spent considerable time developing simple to use software to make this process efficient. Example of these include SprintRay’s Rayware software, Formlabs’ Preform software, and Nextdent’s 3D Sprint software. While a clinician/technician can purchase a 3D printer for less than a few hundred dollars to print aligner models, a key distinction between these ultra-low cost printers and full-fledged desktop 3D printers like Form3B, Sprintray Pro, and Nextdent 5100 is often the difference in their usability. Software and how it integrated with the printer is often a critical aspect of the usability of the printer.
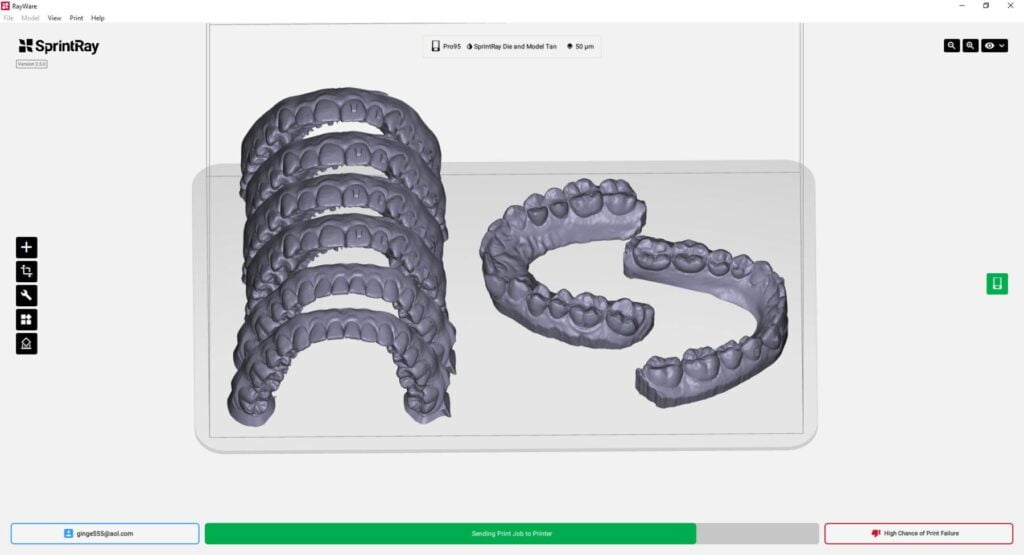
When selecting a clear aligner software or a 3D printer it is important to consider how the two will work together, it is critical to see how the printing software (also known as the “CAM” software) functions with the aligner design software (also known as the “CAD” software). The CAM software controls the printer and the actual 3D printing process where the CAD software is the software that initiates the simulated movement of teeth and builds the models necessary to replicate the movement with individual vacuum aligners. When they function together, they are simply called “CAD/CAM” or “computer-aided design and computer-aided manufacturing.”
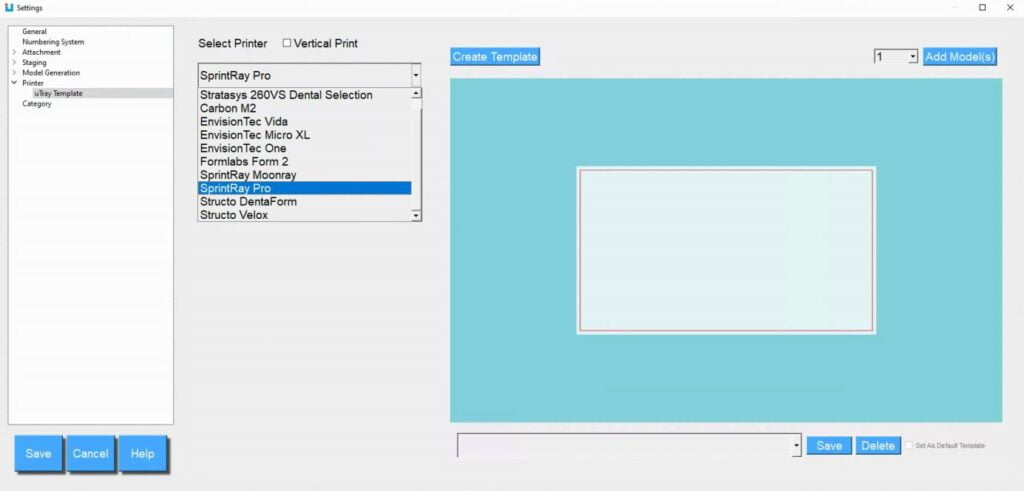
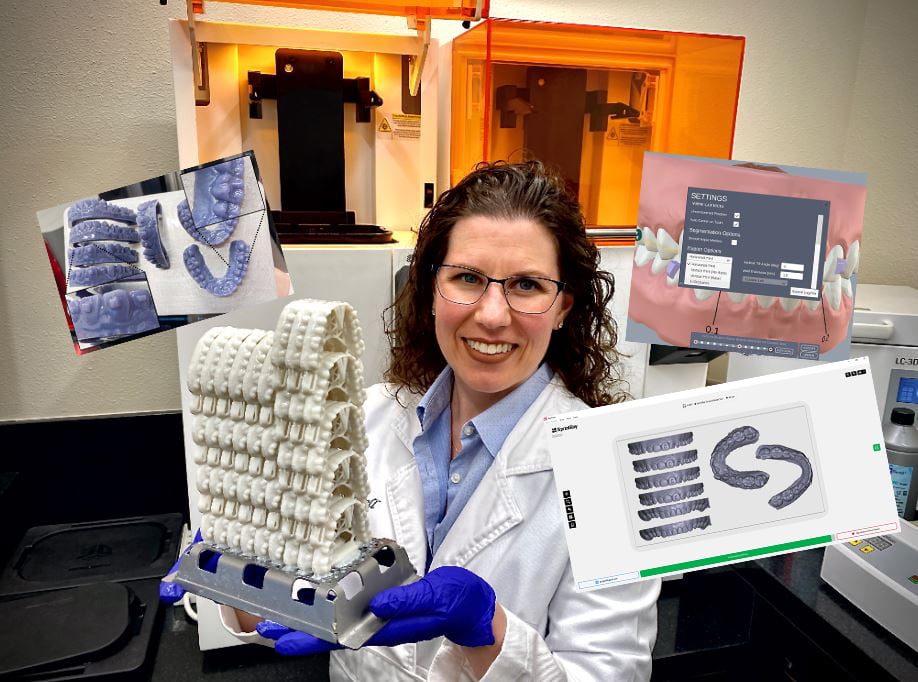
When the two are coordinated and potentially connected (as shown in the screenshot from the uLab software), seamless workflows can enhance simplicity. When a CAD software permits the user to calibrate their printing style to match the 3D printer, a seamless transfer can occur. As a result, it can permit the user to use just a few efficient steps to produce to the printed models.
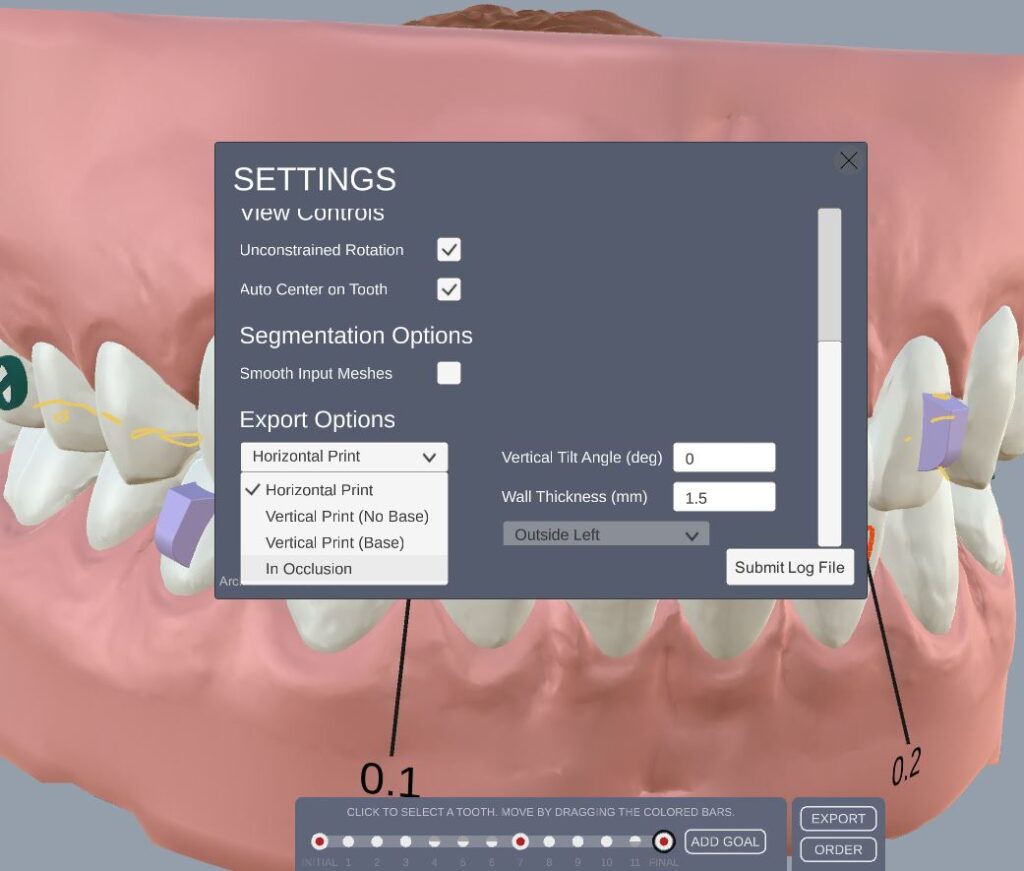
The CAD software (as shown in the screenshot from the Archform software) also has the functionality to automatically modify the model output to 3D print either a solid or hollow model. Additionally, Archform has long had the ability to print in horizontal or vertical models; the ease and versatility of the software allows the user to set the print orientation in the settings function when designing the treatment plan set-up. Recently, uLab software added the ability to print vertically with their new 5.5 software update. Print orientation in uLab is selected in the global settings function and can be changed per job prior to opening a patient case. Outsourcing and design services, like eXceed, permit the user to request horizontal or vertical print orientation for models. Furthermore, the clinician/technician can select the print orientation for all cases when setting up the doctors account and preferences when getting started.
The attributes of horizontal or vertical 3D printing is a strongly debated topic in dentistry. In my experience, I have found that many of the desktop-grade 3D printers are accurate enough for clear aligner models when printed either horizontally or vertically. The choice and preference to print horizontally or vertically typically comes down to the clinician or technician. While several factors are involved with that decision, the overriding reason someone would choose one or the other would be the speed of 3D printing.
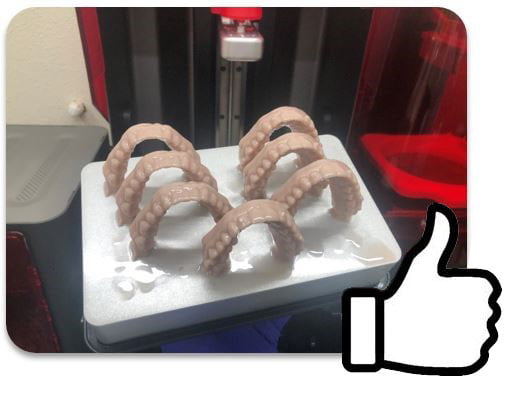
3D printers build the print from bottom to the top of the model in layers, typically upside down! When all printing variables are taken into consideration, printing a horizontally positioned model should print faster than a vertically positioned model. While there are some differences between types of 3D printers, this is generally true mostly of DLP or cDLP style printers, such as the Sprintray Pro or Nextdent 5100 3D printer. Printing variables of horizontal printing for speed can be used to the clinician/technician’s advantage if models are needed quickly for immediate start aligner cases or for essix style retainers.
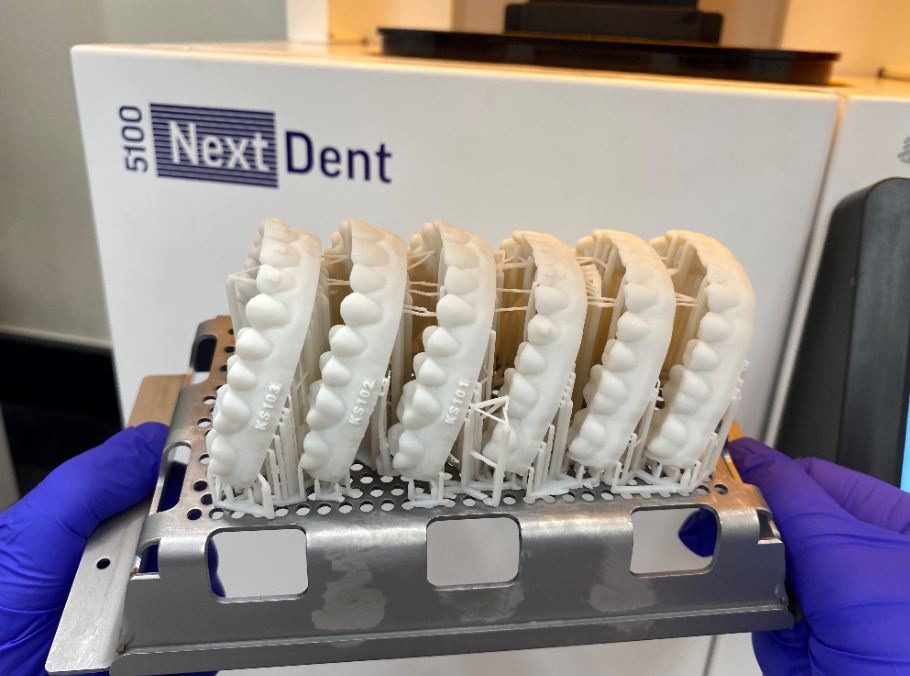
Often these printing requests are while the patient is waiting so printing horizontal can result in much faster printing speeds. The trade-off is the limited size of the build platform and the reduced number of models that will fit on the build platform in the horizontal versus vertical orientation.
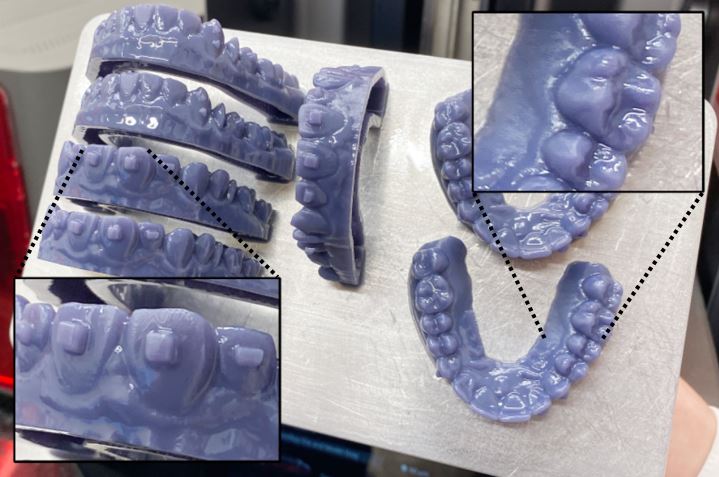
If models are printed vertically they have a smaller footprint and a larger number can be printed in one print-cycle on the build platform. While it doesn’t print as fast, a user can typically place many more models in the vertical orientation rather than horizontal. As a result, vertical printing is highly advantageous for printing large volumes of models for aligner production of full cases in one print.
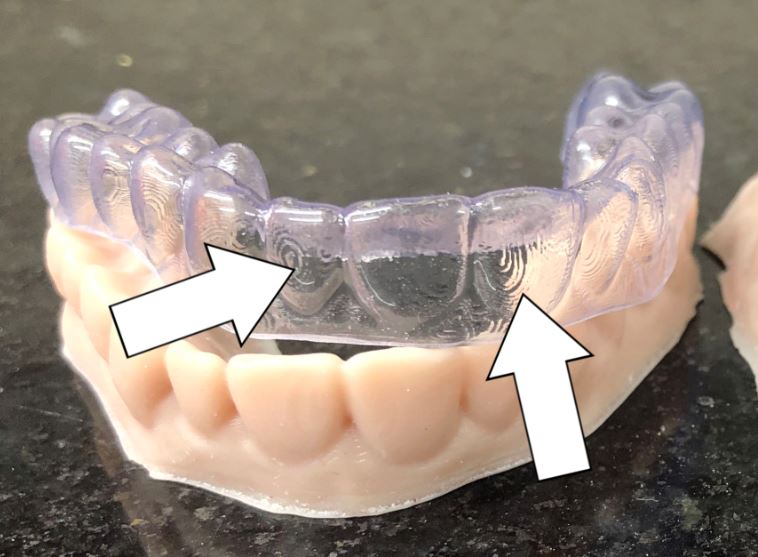
While there are many positives of vertical printing, it typically results in an increase in visible layer lines on the facial aspects of anterior teeth. This is in contrast to horizontal printing which typically results in visible layer lines on occlusal surfaces of posterior teeth and lingual surfaces of anterior teeth. The visible “stair-stacking” appearance is result of the pixels from the DLP projector layering resin like a set of toy bricks such as Lego’s. While this appearance doesn’t affect the quality and/or tracking ability of the aligner, some patients potentially may object to the visible appearance of the stair-stacking appearance. Let’s take a look at the two in this video:
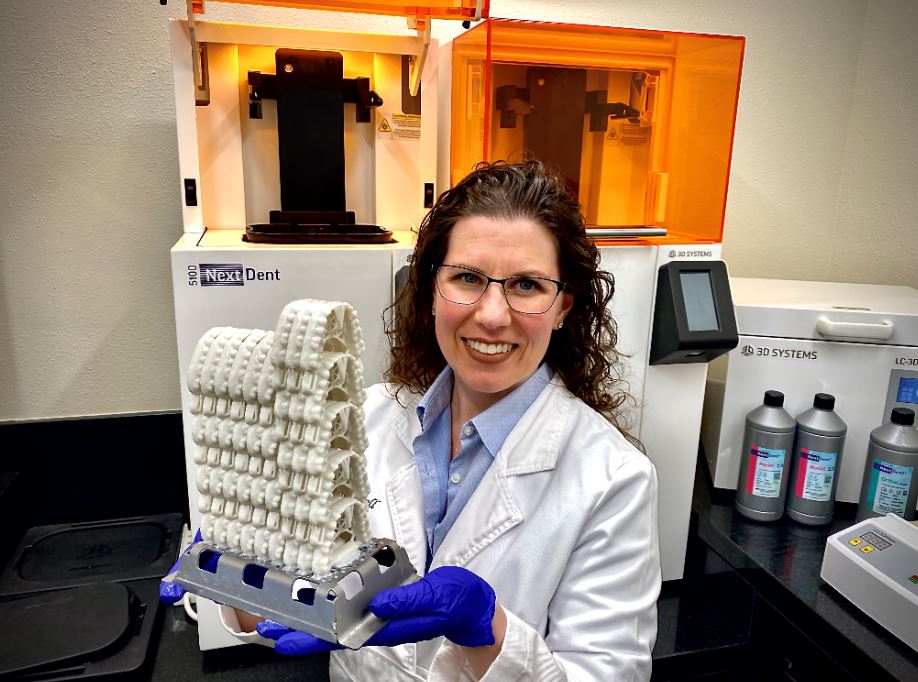
Some printers offers a unique feature to increase production of printed models to new levels: auto-stacking. One example of this is the Nextdent 5100 printer. Using the build-in 3D Sprint software, a user can easily create stacked models with the single click of the mouse. This stackable printing feature in combination with the incredibly fast print speed and accuracy of the printer makes it ideal for a large production laboratory. I have two of these printers in my laboratory and I can print up to 40 models in approximately two hours. Additionally, the printer has special smoothing features to help minimize stair-stacking appearance on the vertically oriented aligner models.
When a clinician/technician needs to make the decision regarding horizontal vs. vertical printing of models, it is important to select that based individual print time for models needed quickly vs print time for large batches necessary for large scale production. Evaluating the printing needs of the office when selecting a software and checking printing options is important prior to selecting a software to begin using for treatment planning and aligner design.
Are you interested in getting into clear aligner therapy but unsure if they really work? Are you a general dentist interested in getting into orthodontics but not know where to start? Check out our comprehensive fast-track clear aligner course featuring diagnosis and treatment planning, how to get started with clear aligner laboratories, the differences in technology, step-by-step clinical procedures from taking records to delivering aligners and monitoring your patients until case completion. We cover the basics to getting you started with clear aligner treatment using traditional and digital methods for recording taking, step-by-step clinical and laboratory workflows, insurance/billing and growing your clear aligner practice through innovative marketing strategies. The clear aligner course is eligible for up to 12 hours of continuing education credits.
Interested in 3D Printing your own clear aligners? Check out our step-by-step 3d printing course featuring creating your own branded in-house clear aligners by designing and 3D printing your aligner cases. We teach you the secrets, step-by-step on how to set-up your cases (or outsource setup!) and then 3D print models for aligners, vacuum forming aligners, and then finishing and delivering them to the patient! The clear aligner course includes the entire fast-track clear aligners course mentioned above and is eligible for up to 26 hours of continuing education credits.

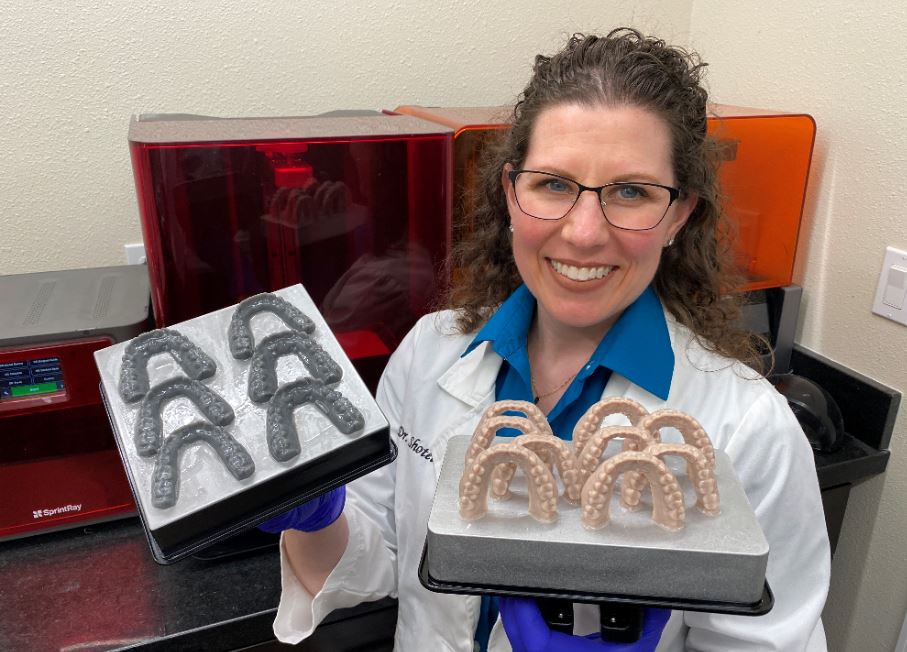
Dr. Melissa Shotell, DMD, MS
Dr. Melissa Shotell is a Board Certified Orthodontist, focusing on the interplay of Orthodontics and restorative treatment. Dr. Shotell received her DMD at Nova Southeastern University and advanced hospital training a General Practice Residency Certificate from The Ohio State University. After spending years in general practice treating a broad range of patients, Dr. Shotell returned to complete a certificate and master’s degree in Orthodontics from Loma Linda University. At Loma Linda University, Dr. Shotell focused her training on cutting-edge three dimensional imaging technology for diagnosis and treatment planning for interdisciplinary dentistry. Dr. Shotell considers education to be her passion and regularly consults and lectures on dental technology, clear aligner therapy, orthodontics, office efficiency and workflow, and teamwork.

