Intraoral Scanning Partials Using the LOCATOR Scan Body
I am obsessed with two things – implant overdentures and digital dentistry. There’s something about how happy patients are with overdentures and removable partial dentures with implant retention! Then, to be able to combine digital dentistry and intraoral scanning with overdenture type cases, it’s incredible. I just cannot imagine going back to PVS impressions for fabricating crown & bridge or removable partial dentures (RPD).
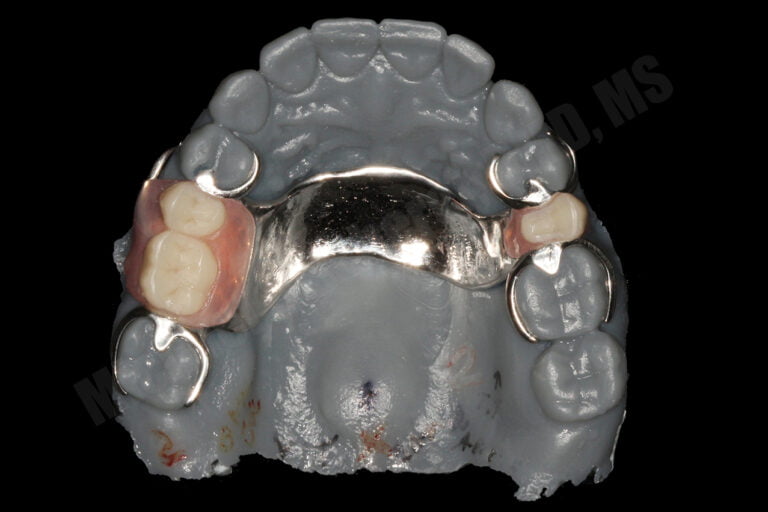
I have been using intraoral scanning for fabricating removable partial denture frameworks for years. Now keep in mind, it was a leap of faith to do that first case with a scanner versus the good ol’ fashioned PVS. I was nervous the first time I tried in the framework made solely from an intraoral scan, but after seeing that CoCr frame drop right in, I was hooked! It’s been years since I had to pull out PVS to make a framework for traditional RPDs and routine cases without implants.
When we add LOCATOR and other type of abutments to our RPD cases with implants or roots, patients immediately feel a sense of security and improvement of retention and stability. As we make the move to incorporate overdenture abutments into overdentures and overpartial cases, digitally scanning those cases can be tricky! The clinician has the option of two approaches to using LOCATOR abutments: 1- make an impression using a traditional impression post and fabricate model with a metal analog in place so the laboratory can pick-up the attachment in the lab, or 2- make an impression using the housing and pick-up the housing in the mouth when delivering the partial. While I often use either approach in my clinical practice, I’m a big fan of processing the housing intraorally, or picking it up in the mouth. For many of those cases I have had to use creative tools to get abutments and housings to scan properly including using optical spray and sandblasting the surface of the housing. Some scanners easily pick up the metal housings where others have difficulty; as a result it’s hard to be predictable to scan RPD cases with implants.
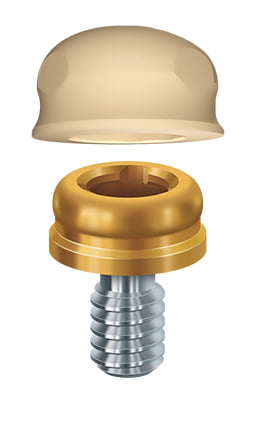
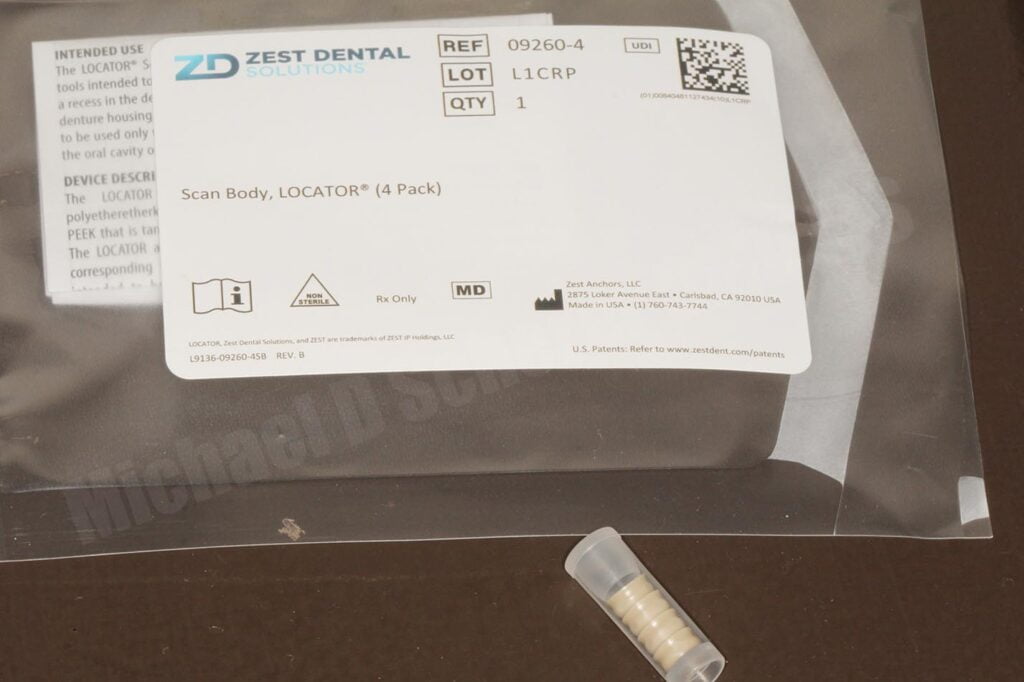
LOCATOR Scan Body
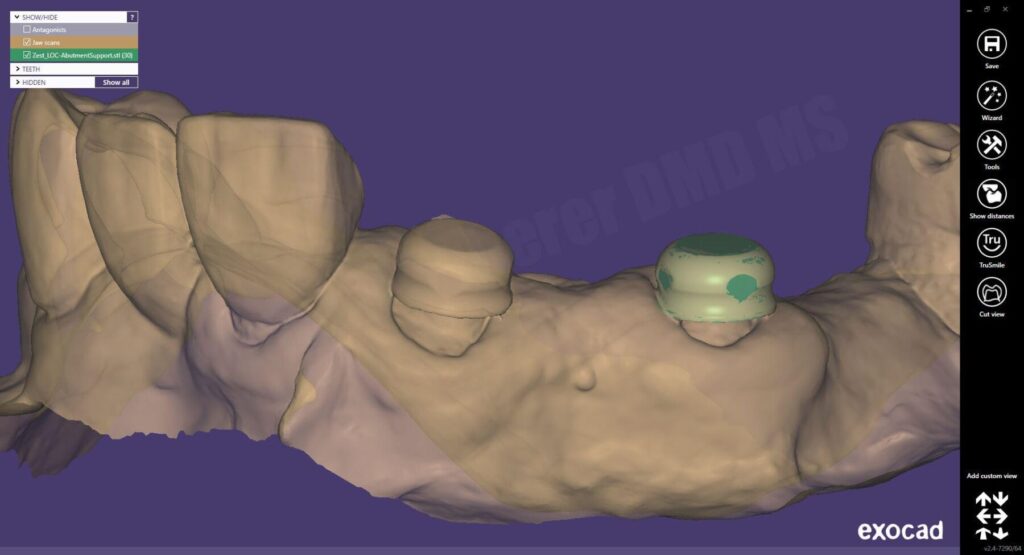
Zest Dental Solutions has heard feedback from clinicians regarding scanning for overdenture and overpartial cases and launched an initiative to develop a LOCATOR Scan Body. The unique features of the scan body including an opaque exterior surface that’s easy for scanners to scan and grooves and notches to allow for alignment in software like exocad. Additionally, Zest designed the scan body to be the ideal size of the future recess within the prosthesis so even if the laboratory didn’t use it as a true scan body, they could simply print the model and process a denture to the model.
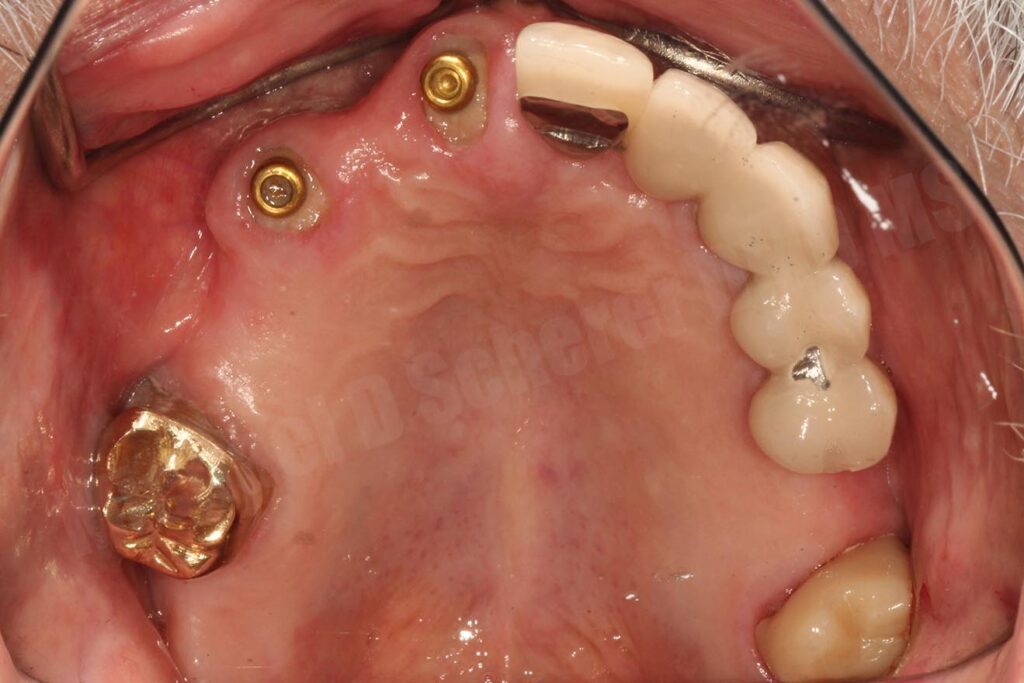
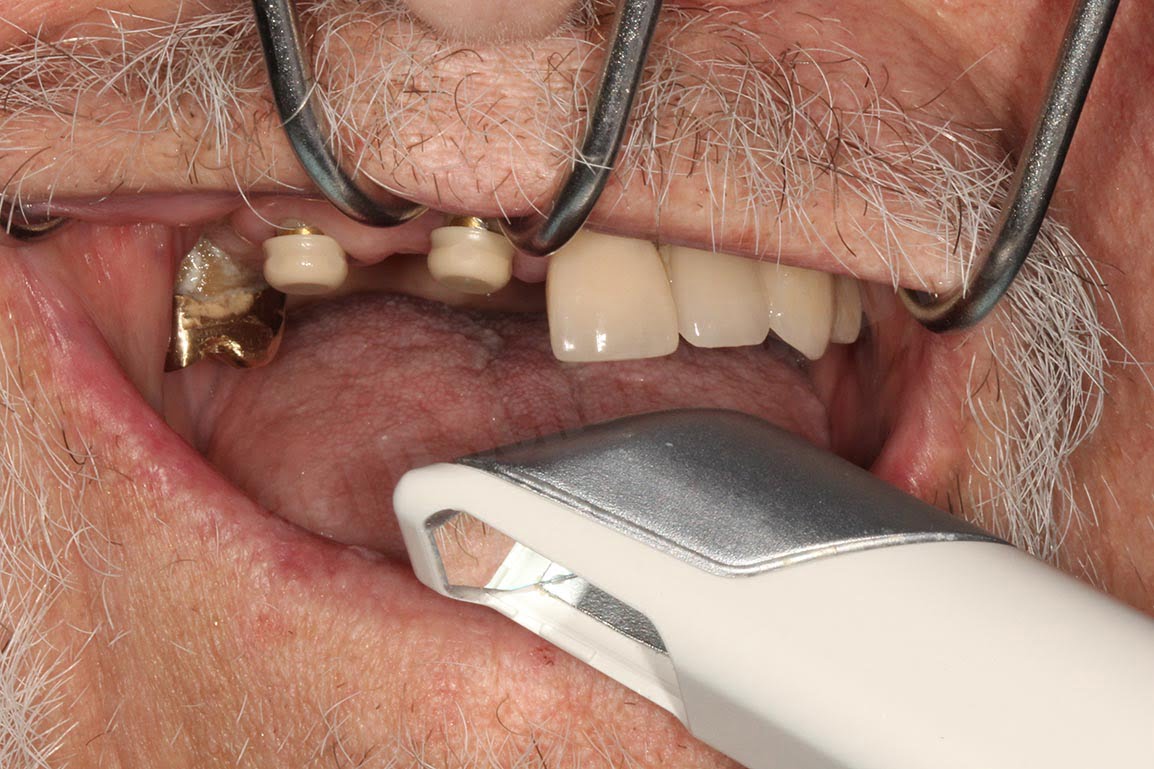
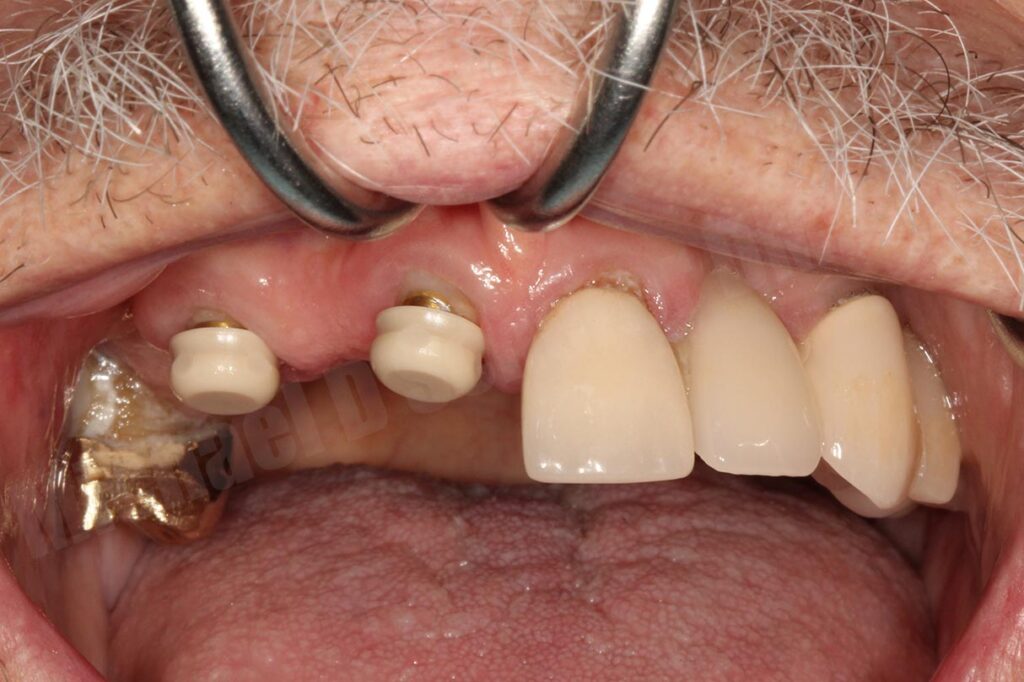
I wanted to put the scan bodies to the test with a recent RPD case! A patient fractured off a bridge on teeth #6-8 and we discussed options of implant treatment but since he was an older patient with not the greatest health, he didn’t feel comfortable moving forward with grafting and surgical implant procedures. We proposed LOCATOR Root Attachments as a middle-ground, he will thrilled!
Traditional root canal procedures were performed on each tooth root. LOCATOR Root Attachments placed into each tooth root using Danville CEM-EZ to cement the posts together. The scan bodies were placed onto each root attachment, pressing firmly into place to confirm full adaptation of the scan body.
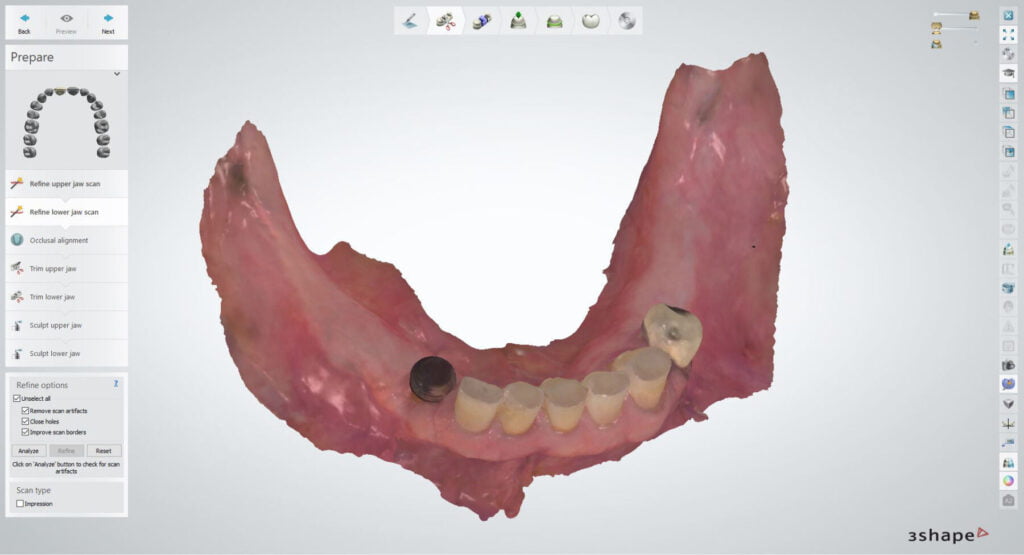
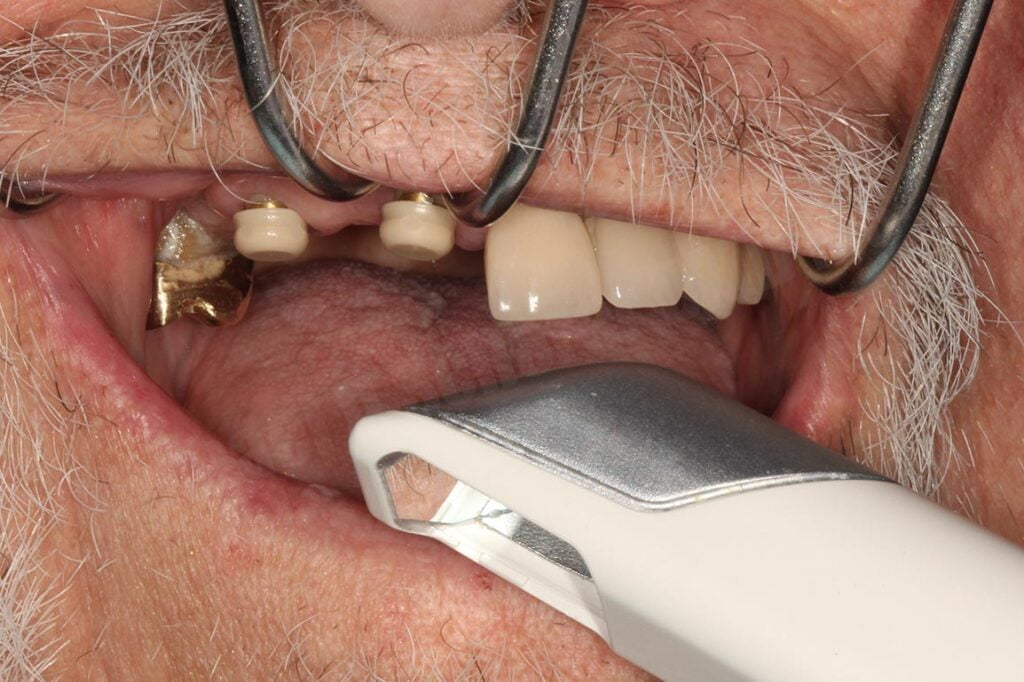
Using a 3Shape TRIOS intraoral scanner, the arch was scanned with the Scan Body in place of each attachment. The opposing arch and the MICP bite record were both scanned. The LOCATOR Scan Body was fast and easy to scan with my intraoral scanner. It also post-processed clean as well, giving me a good visualization of where the grooves and notches are for each of the attachments.
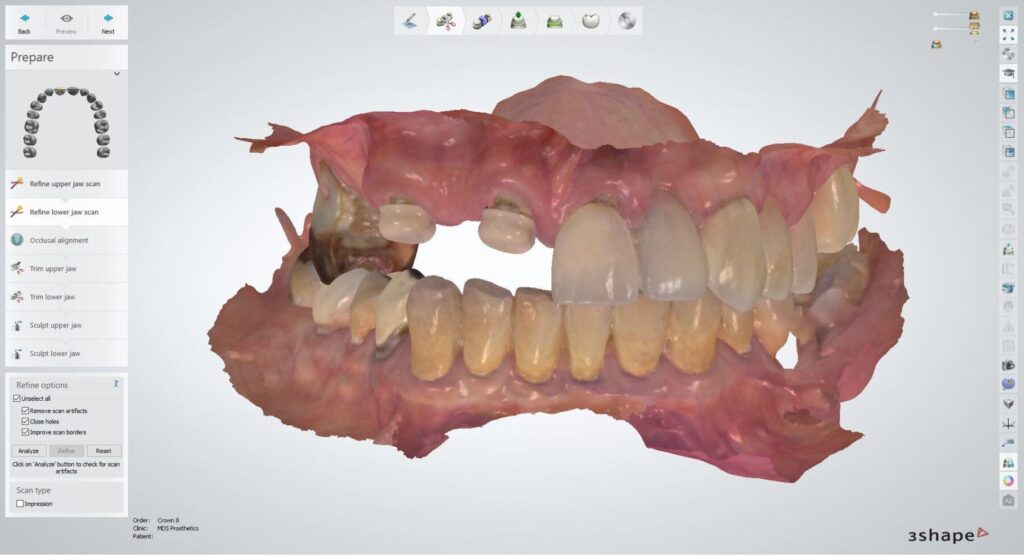
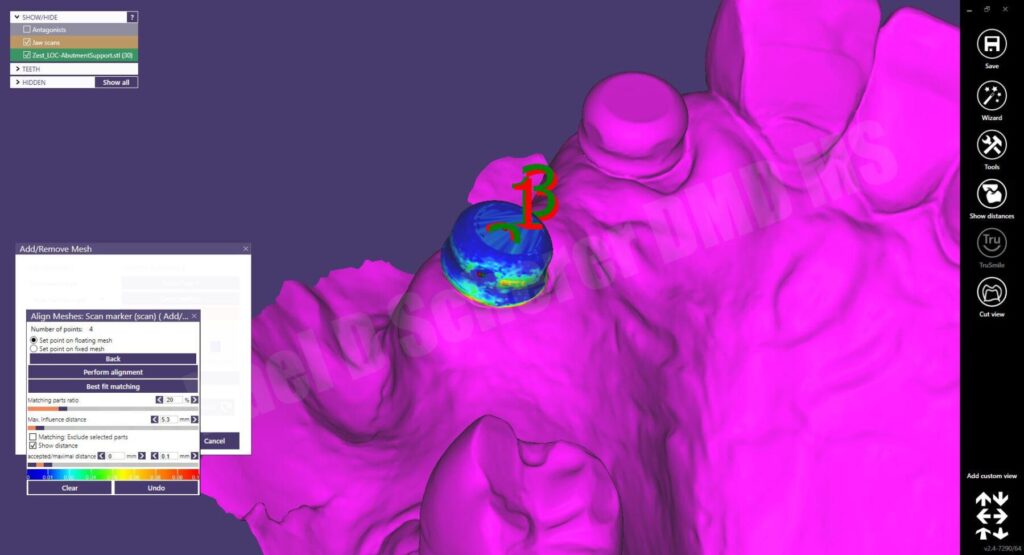
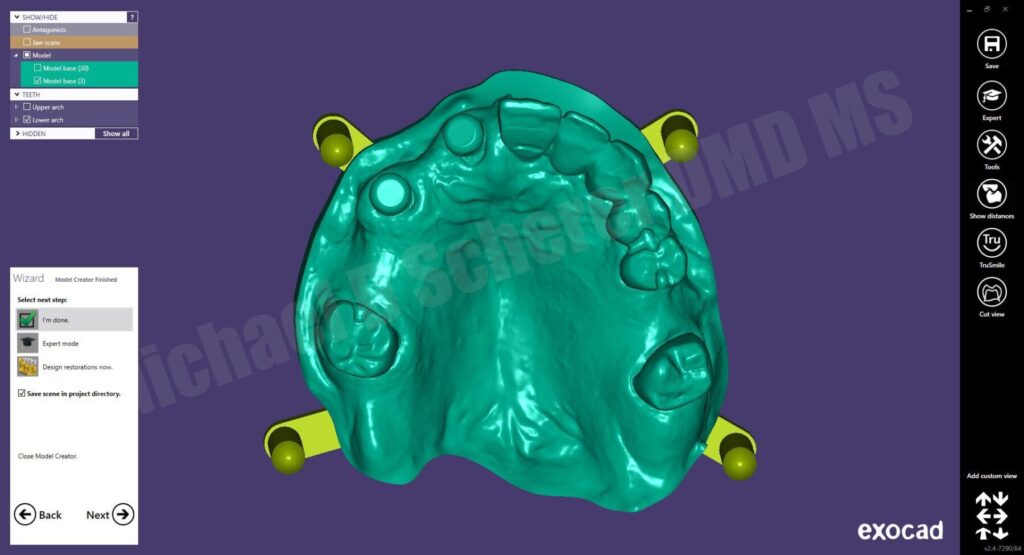
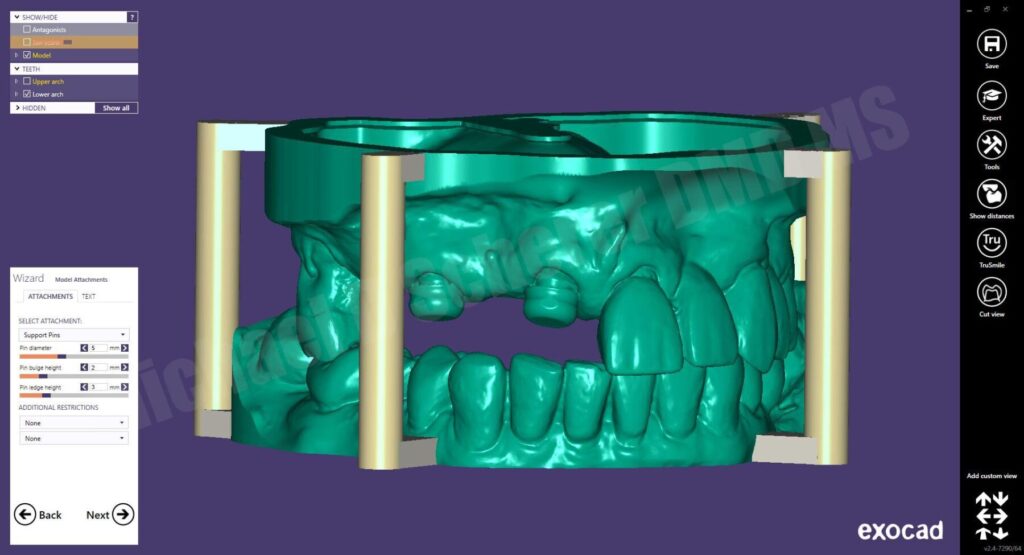
After scanning the patient, I imported the scan files into exocad software for alignment of the scan body functionality and processing of the models. The scan body registration process was fast and precise, easily allowing me to build models for my patient. Alternatively, I could have designed the RPD framework within exocad and outsource my design files to a laboratory for 3D printing of the metal partial framework.
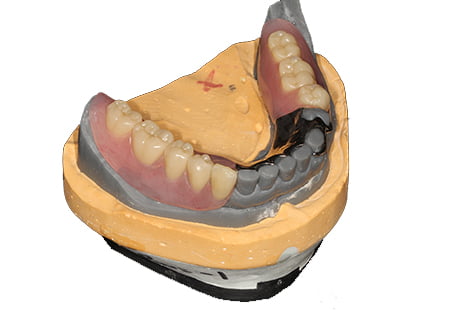
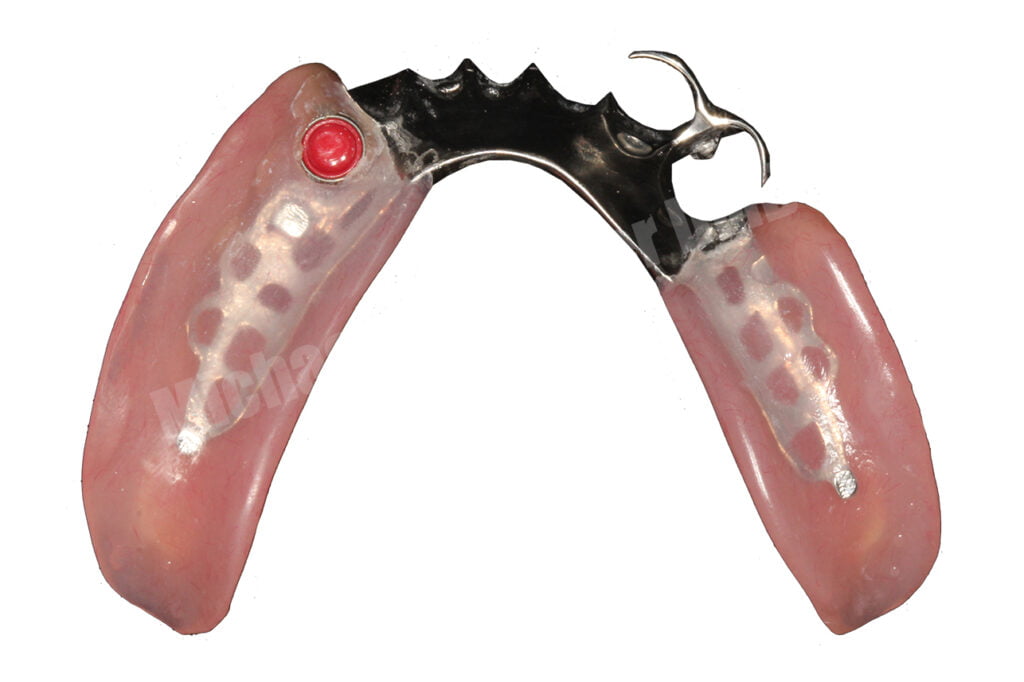
While we could have gone either way – laboratory processing of the attachments or processing recesses in the RPD for chairside pick-up procedures, I chose the latter approach. In this case we are 3D printing the models and outsourcing the design of the RPD to a laboratory. The laboratory will send us the 3D printed metal framework and we will use the 3D printed resin models to process the acrylic.
This was a fun case and was a good opportunity to try out the new Zest Dental Solutions Scan Body for LOCATOR!
Want to learn more about full arch implant dentistry and implant overdentures? Make sure you check out our online course Fast Track Full Arch Dentistry – Implant Overdentures with 11hr of CEU by UNLV School of Dental Medicine. Visit www.LearnOverdentures.com

Dr. Michael Scherer, DMD, MS
Dr. Michael Scherer is an Assistant Clinical Professor at Loma Linda University, a Clinical Instructor at University of Nevada – Las Vegas. He is a fellow of the American College of Prosthodontists, has published articles, books, and in-person and online courses related to implant dentistry, clinical prosthodontics, and digital technology with a special emphasis on full-arch reconstruction.

