3D Printed Dental Mirror Handle High-Vac HVE Aerosol Prototype
Aerosols are a challenge to manage in a dental office, especially that from a high-speed handpiece or ultrasonic hygiene machine. Some articles have described the challenges of aerosol generation during dental procedures including dental hygiene. We are impacted by the COVID-19 pandemic in the regards that the NY Times pointed out that while dentists, oral surgeons, and dental assistants are some of the highest risk workers in the post COVID-19 world, dental hygienists rank #1 in their list of riskiest positions. How do we help, is there anything we can do?
A tremendous amount has changed in the global rise of COVID-19 and 3D printing aims to help address that. Frankly speaking, I’m not one of those opportunistic folks that are capitalizing on the media cycle of 3D printing for COVID-19; nothing wrong with prototyping ventilator parts or nasal swabs, that type of exposure doesn’t interest me. What has driven my attention is the challenge within our offices that we need to address in the post-COVID-19 world including the realization of how we approach our systems to improve the lives of our patients and staff/team members alike. I wanted to help promote how to really get going with 3D printing in clinical dentistry and this just seems like a novel and interesting approach considering the challenges we are facing.
3D printing always been exciting yet strangely very routine almost utilitarian for me. I like trying to solve clinical challenges and problems using digital dentistry and 3D printing has allowed me to venture into incredible avenues to help overcome those challenges.
So if I could combine a similar approach using 3D printing to help minimize aersols, is portable so I could easily deploy it to each dental chair without specialized equipment, and was affordable… that would be perfect!! The challenge is that many of the commercially available vacuum suction units like the Dry-Shield, Isolite, and Purevac are simply not available at dental distributors (find out in the detailed section below!) or are extremely expensive. I wonder if, using 3D printing, I could help address a solution to help me through managing aerosols sooner rather than later because I’m having trouble ordering commercially?
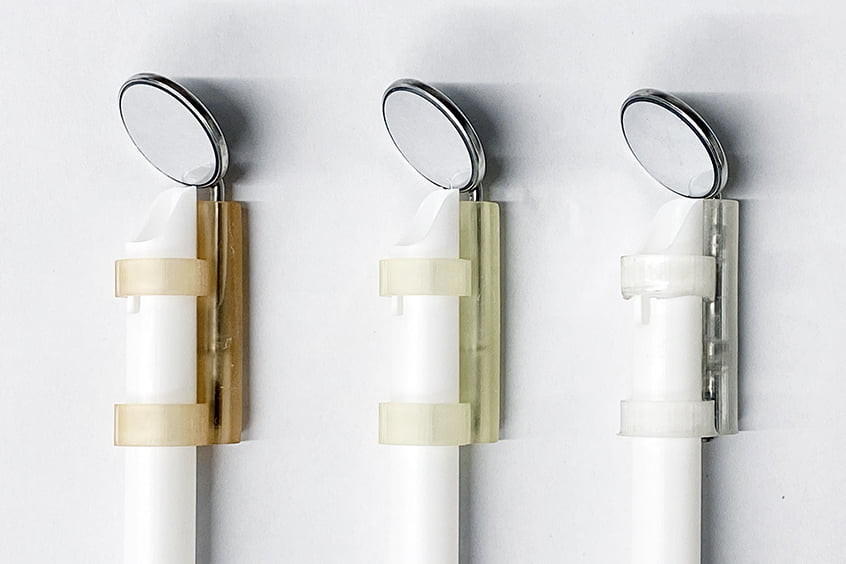
After playing around a bit, I came up with flexible HVE adapters that can allow myself, a hygienist, and a dental assistant to minimize areosols while working clinically. I determined a bio-compatible flexible 3D printing resin is ideal for creating HVE mirror tips because it’s a bit more forgiving. Important to note, these design prototypes are designed for specific HVE units and mirrors (see details below). It SHOULD work for most other systems as I gave it a bit of “wiggle” in the design, but you may need to dial in your settings to make it work. Additionally, you can make the design a bit tighter for both the actual HVE suction device and the mirror stem by messing around with Meshmixer. I like it a little tight on the design, which is how the IBT/IDB resin flexible is designed, slightly tight also permits modest retraction while working intraorally and since the material is soft, it’s comfortable for the patient!
Interested in checking out how the HVE tips work and want to see them in action? Check out this video below:
I do caution you, however, that you alone are responsible for the use of these HVE tips and should exercise judgment while using any 3D printed parts intraorally. During any use of a prototype, use extreme caution to ensure nothing falls off or gets dislodged posing an aspiration risk. By clicking to download these STL files below, you assume any and all risks associated with using these designed files and/or 3D printing your HVE Tips.
HVE Mirror Tip for IDB/IBT 3D Printing Resin – STL File
HVE Mirror Tip for SG 3D Printing Resin – STL File
In this crazy post COVID-19 world, when we learn together, we grow together. Enjoy the files and feel free to make modifications that work for you!
Interested in learning more about CBCT, Meshmixer, 3D printing, and some amazing step-by-step protocols on how to get on the fast track in your offices and laboratories? Check out our innovative step-by-step online digital dentistry course at www.LearnDental3D.com
Want to know more on how I did it using CBCT, Meshmixer and how I got to the point of a digitally designed HVE mirror tip? Continue reading!!
Necessity is the mother of invention
English proverb
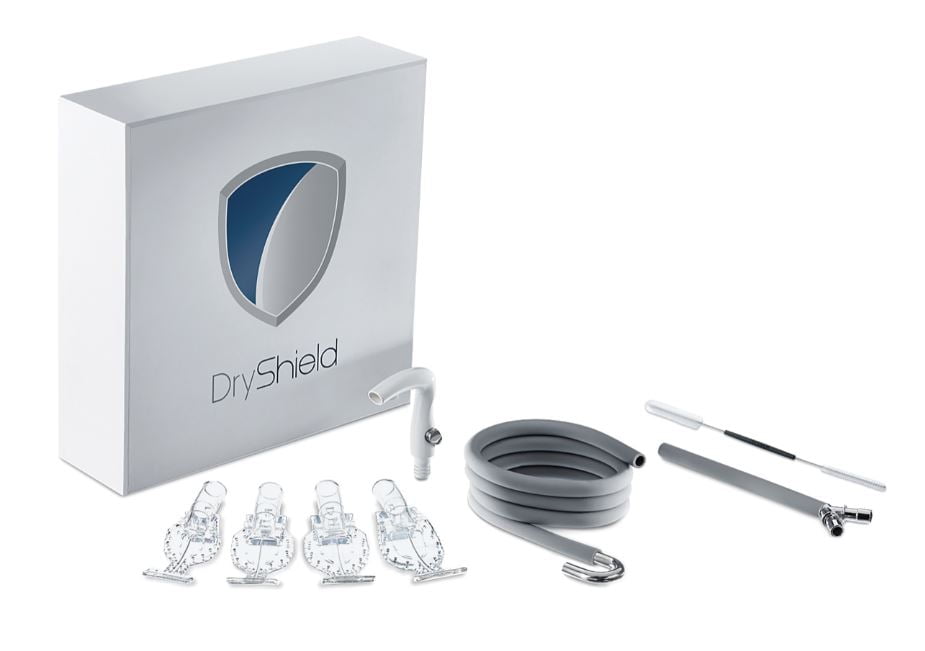
I have attempted to get my hands on simple, commercially available products that help address aerosol containment within a dental office. The first is from Dry-Shield, who makes a special mouthpiece that aims to combat dental aerosols. I would love to try it, but it’s out of stock and can’t get it! I have used Isolite and Dry-Shield products before in my clinical practice and I just love them. They work great, but I need something I can easily deploy to the entire dental team, rather than just one or two chairs at a time.
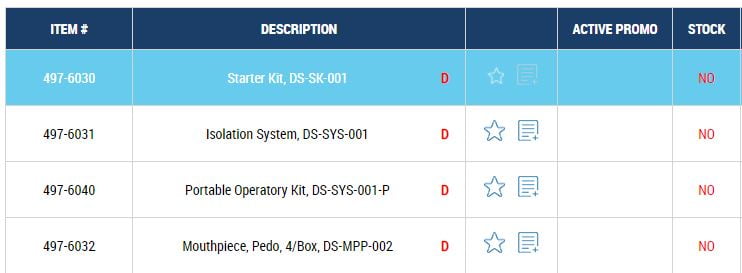
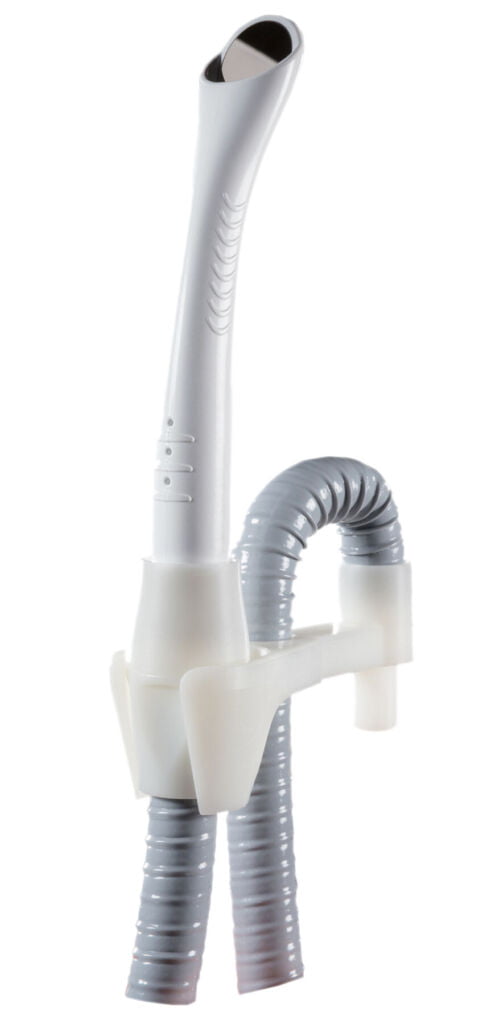
The second, from Dentsply-Sirona, the “Purevac” system system aims to address a simple solution of combining a high-vacuum dental unit with a dental mirror. I think this is a wonderful idea and product and I would also love to try it, but it’s also out of stock… although I’ve put in an order that hopefully will be here, ETA 60 days. Also, while this looks reasonably portable, it’s also something that I need to install into each dental chair, so I would need 6x the order which potentially means I will be waiting a while for my purchase order to come through!!
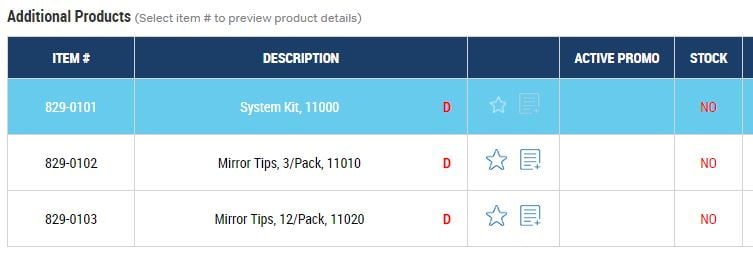
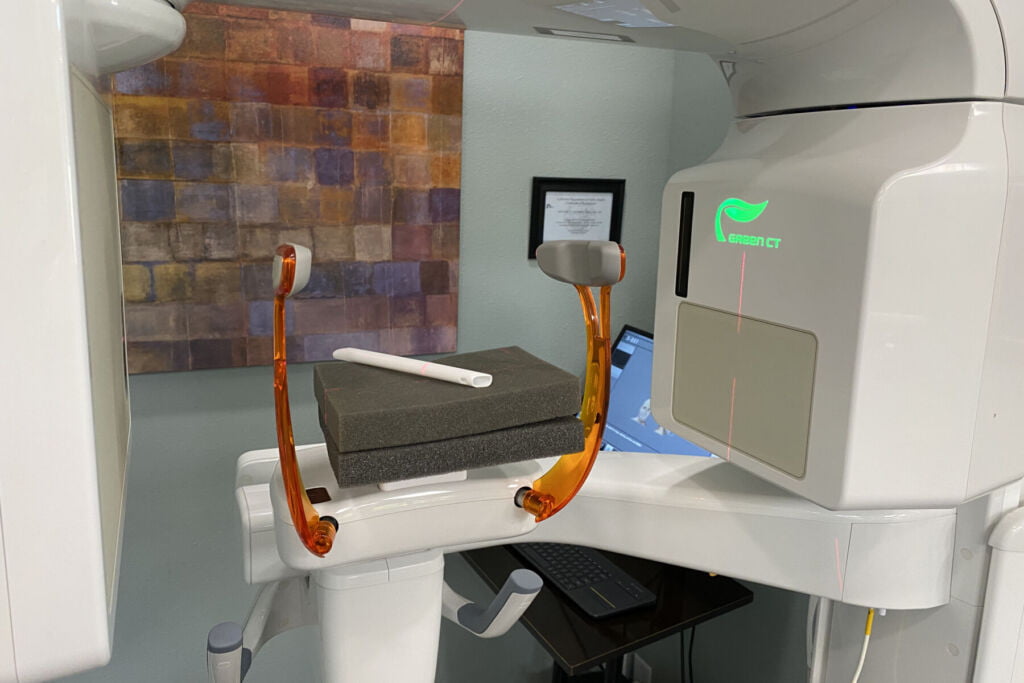
I love using my Vatech Green CBCT 3D x-ray unit to scan just about anything. It’s a great way to instantly get a reliable 360 scan of a part prior to modeling or making something cool. So wait a second… you can convert a x-ray scan into 3D models?!?!?! I have long been working out systems and protocols that work well in a clinical environment, and I cover them step-by-step in our online course if you would like further info on using CBCT in creative ways.
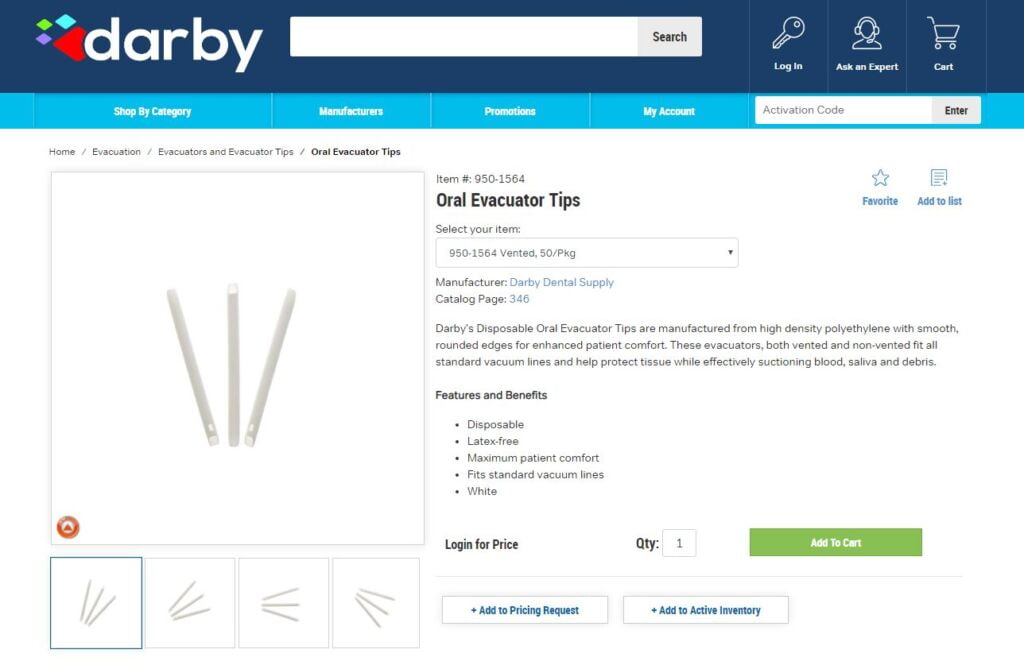
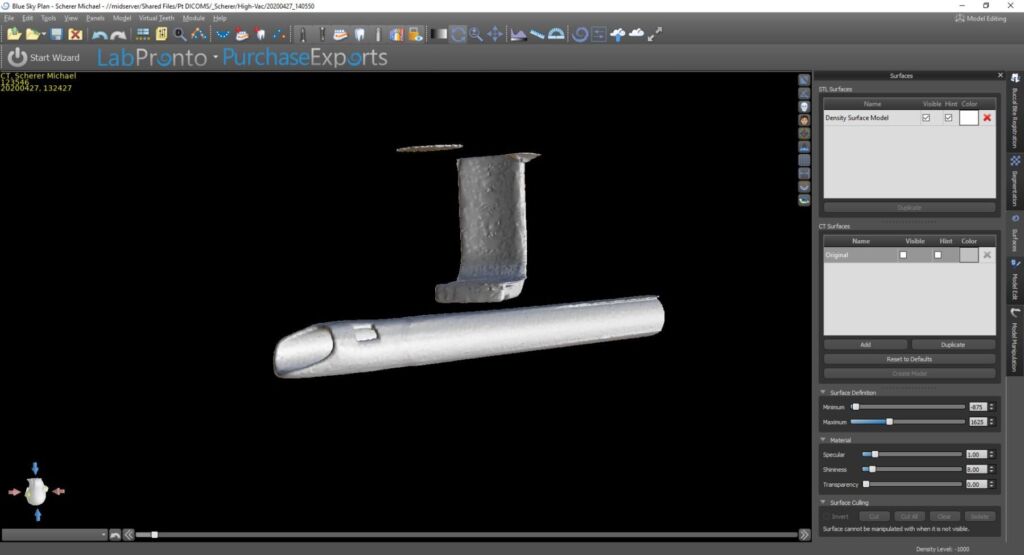
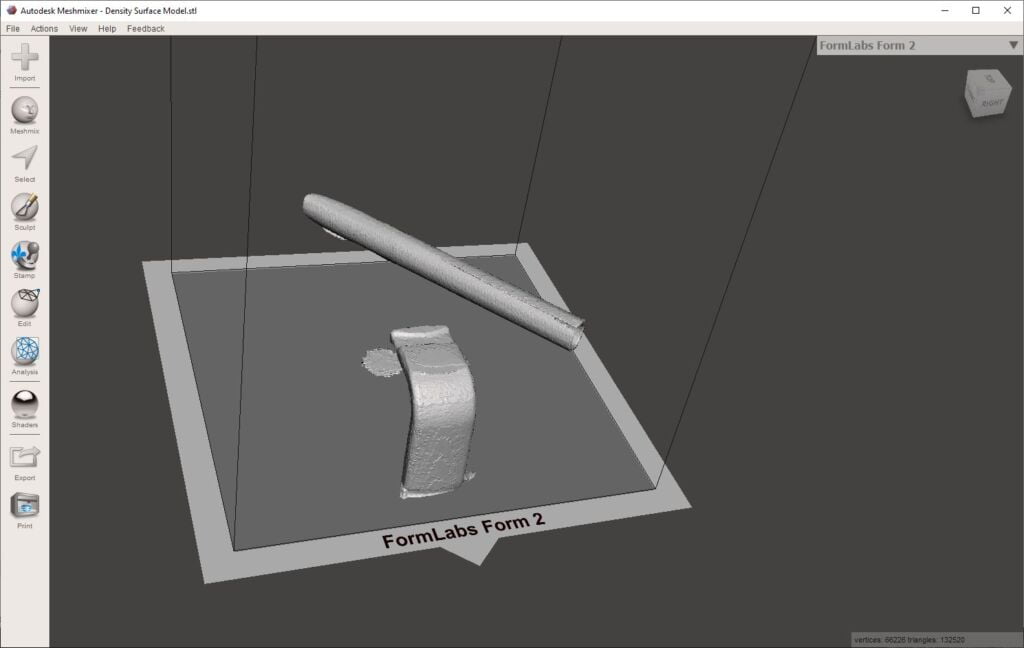
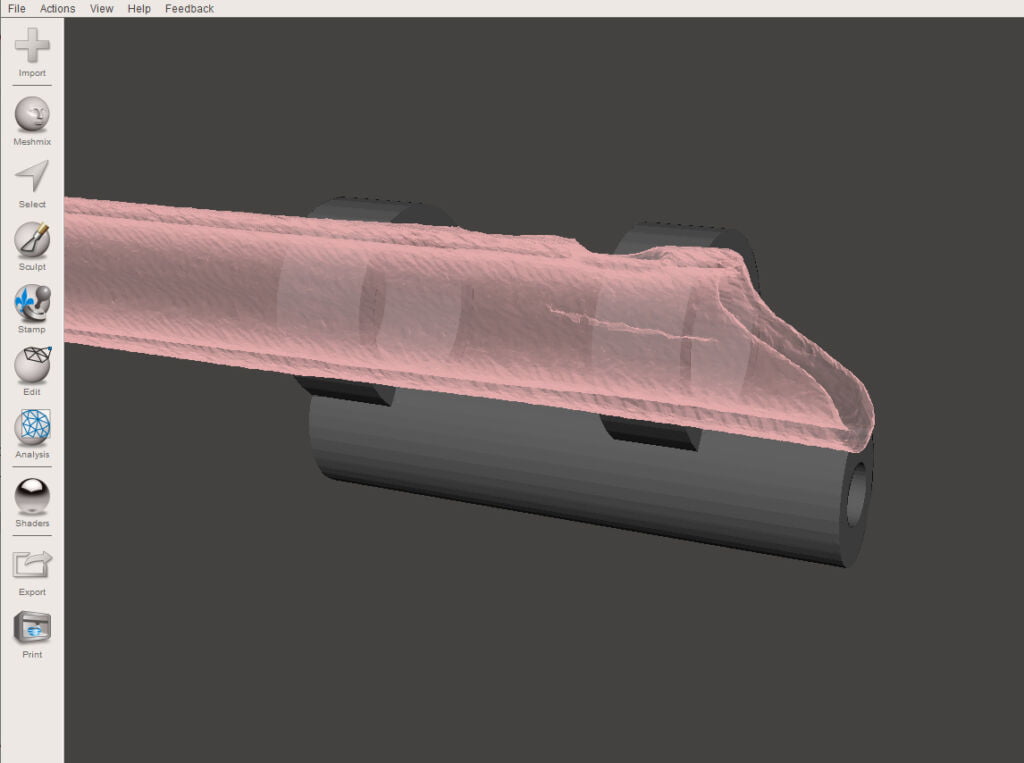
Starting with HVE suction tips that I purchased through Darby Dental, I put one into my CBCT machine using foam pads to suspend the suction tip. Hint… don’t scan metal this way, it works best with plastic. After scanning the suction tip, I export the DICOM files to a folder where I can open them in Blue Sky Bio or Invesalius software to convert into STL. I import that STL file into Autodesk Meshmixer software to use a scaffold for building a device.
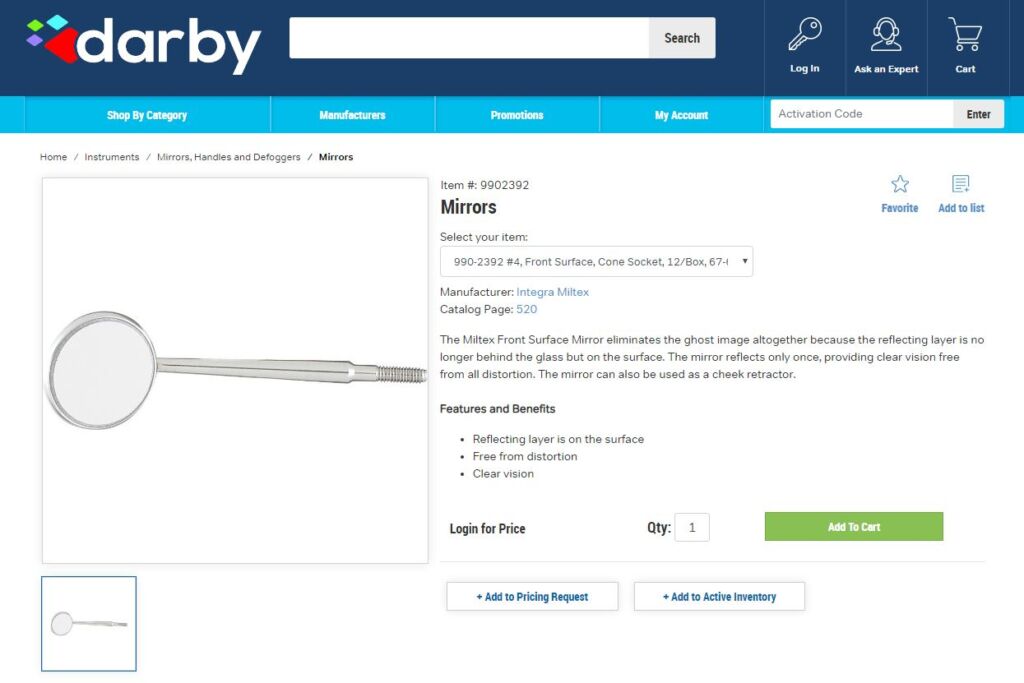
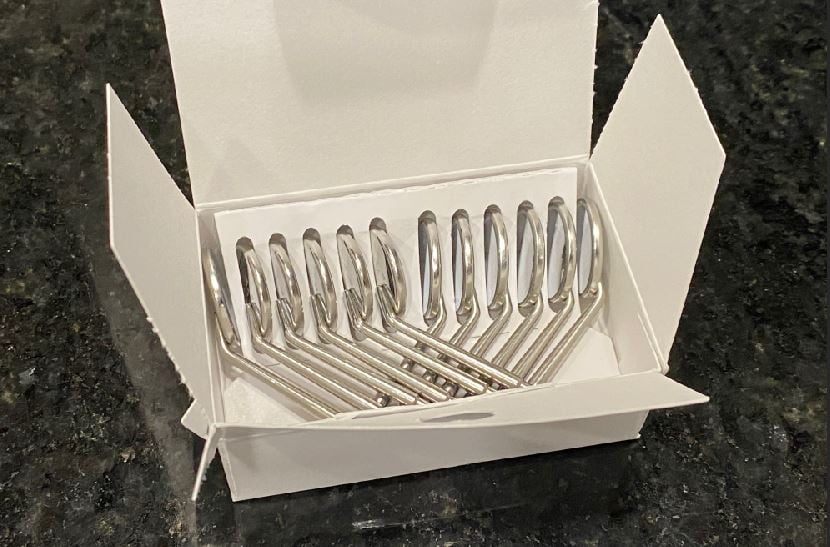
I start conceptualizing what it would look with a high-vacuum suction unit with parts lying around the dental office. I took a piece of tape and taped one of my dental mirrors from an instrument kit, bingo! I keep a bunch of Milltex #4 mirror heads in my office for easy replacement when mirrors get scratched… because a scratched mirror head drives me crazy. I purchase them 2-3 boxes at a time a few times a year from Darby Dental and keep them around so my assistants have plenty available for quick changes.
I took a measurement of my suction tips and mirror handles and started reverse engineering a design. It took multiple drafts and print attempts to nail down exactly the right parameters of how something should fit tight, but not too tight, and loose enough, but not loose where it falls out easily. My goal… print in a few different types of bio-compatible 3D printing materials, some that could be autoclaved / heat-sterilized for re-use, like NextDent SG (SG = Surgical Guide) and SprintRay Surgical Guide 2, and others that are intended for single use only, like NextDent Ortho IBT (IBT = Indirect Bonding Tray) and SprintRay IDB (IBT = Indirect Bonding Resin). Note: these companies are registering their products for use for those intended purposes only and printing anything other than those indications are considered, “off-label use.”
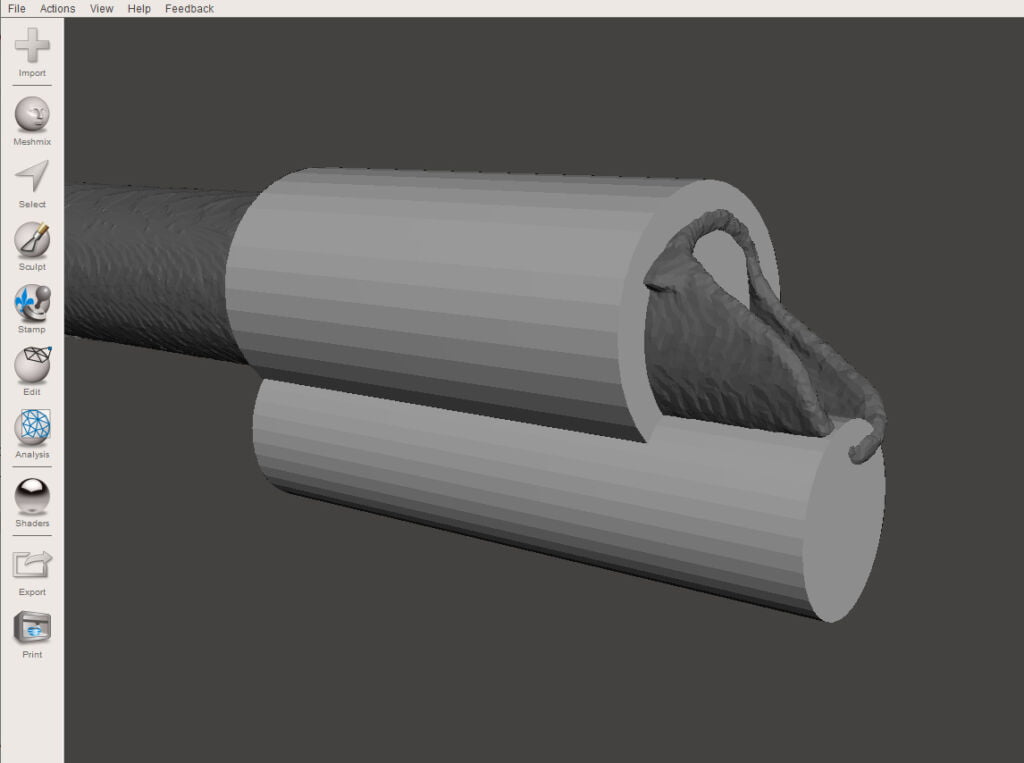
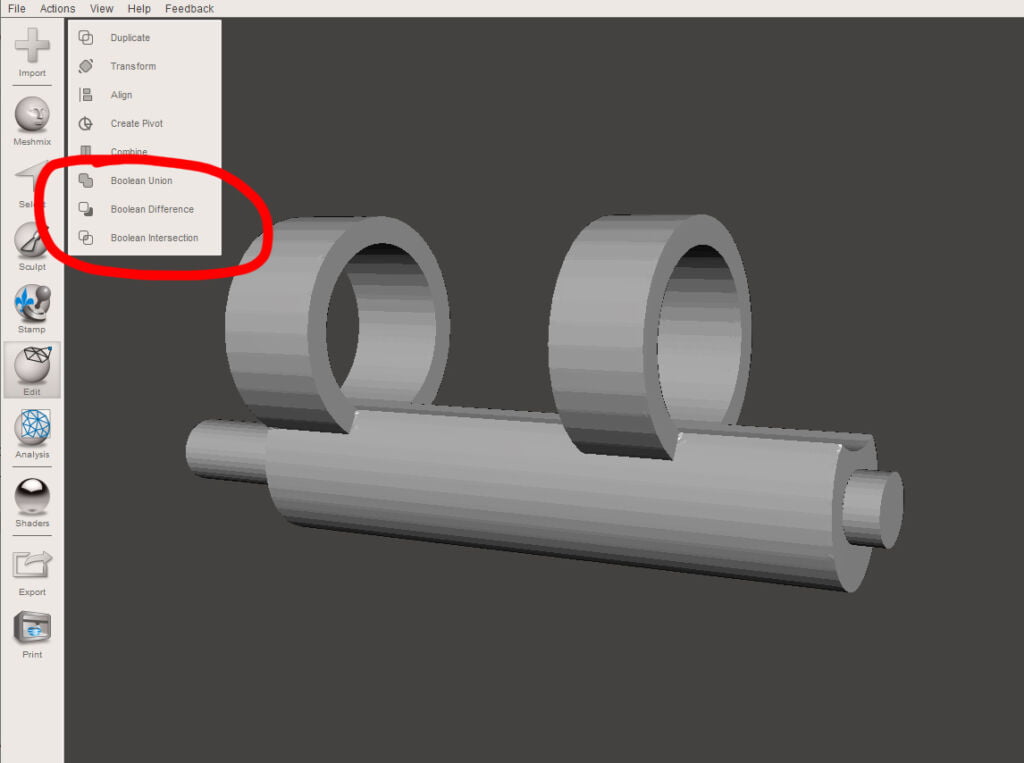
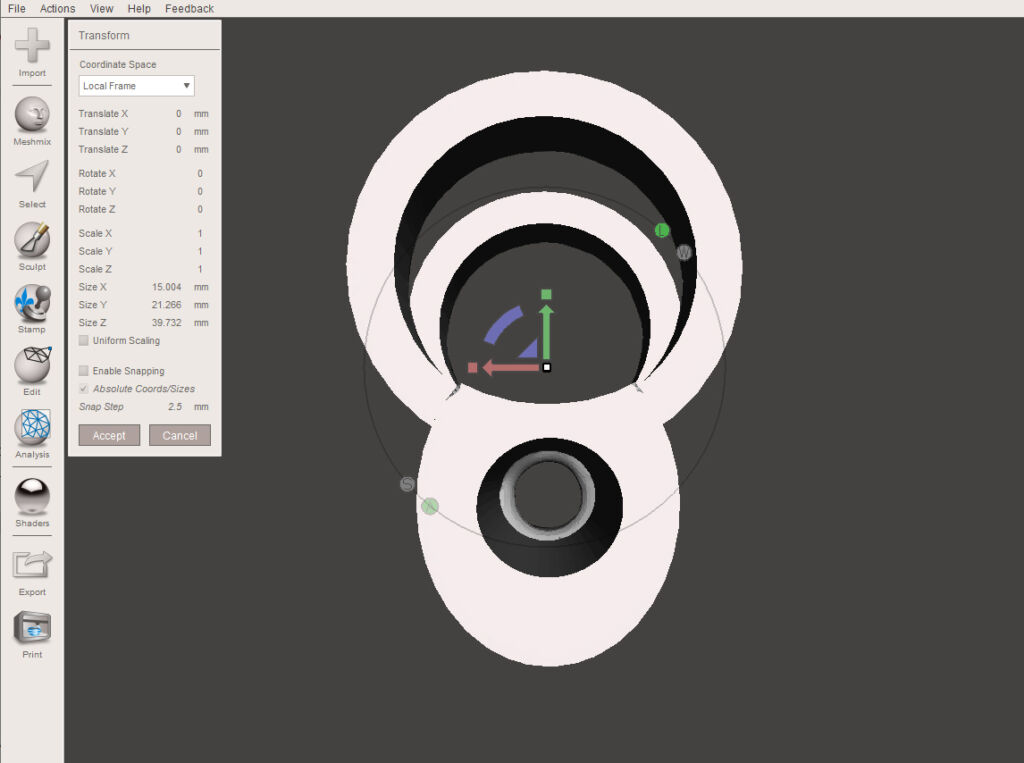
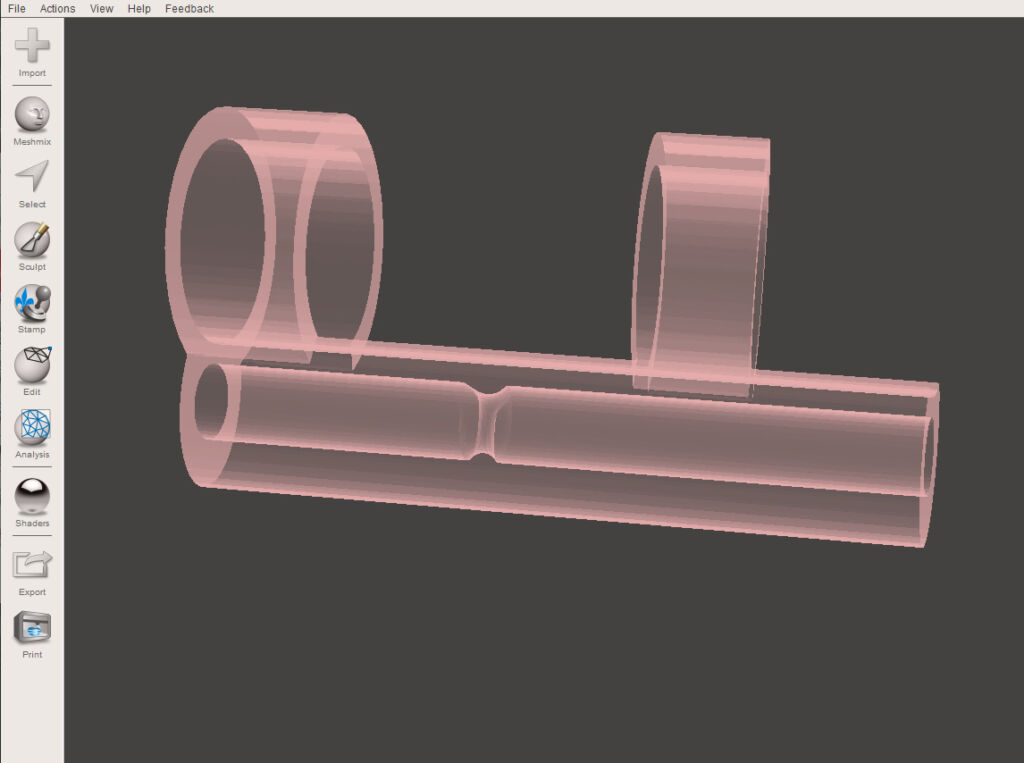
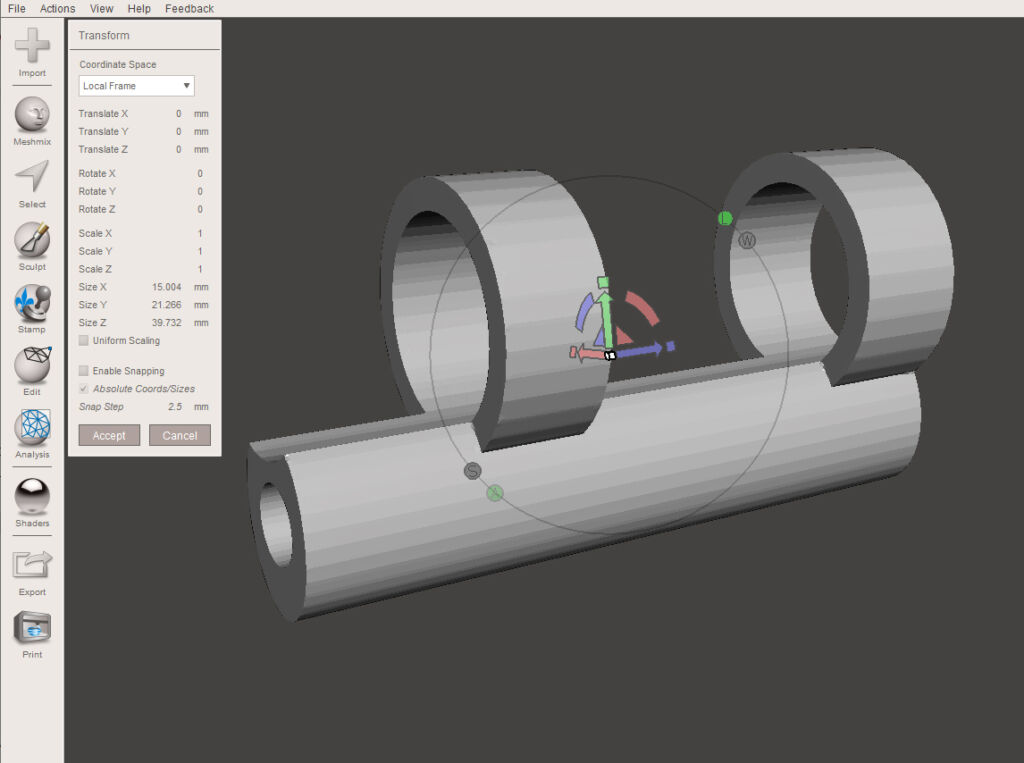
So for Meshmixer fans, what I am doing is creating a few cylinders for the exterior of my shell. Using Meshmixer’s incredible boolean tools, you can build cylinders of certain sizes and shapes, create analog of the vacuum tip and mirror handles according to the sizes visually seen from the CBCT scan of the HVE tip as a guide. Additionally, I’m using those parameters to run “boolean subtraction” protocols within the software, which is essentially a “cookie-cutter punch” algorithm. If you are feeling a little nerdy (which I have been accused of on many occasions lol), you can even tweak it a bit to include an o-ring mechanism in the mirror stem holder to hold the mirror from easy removal (below). That approach works great for flexible materials like IDB/IBT resins, but with SG resins it can be too tight so I modified my design for SG purposes.
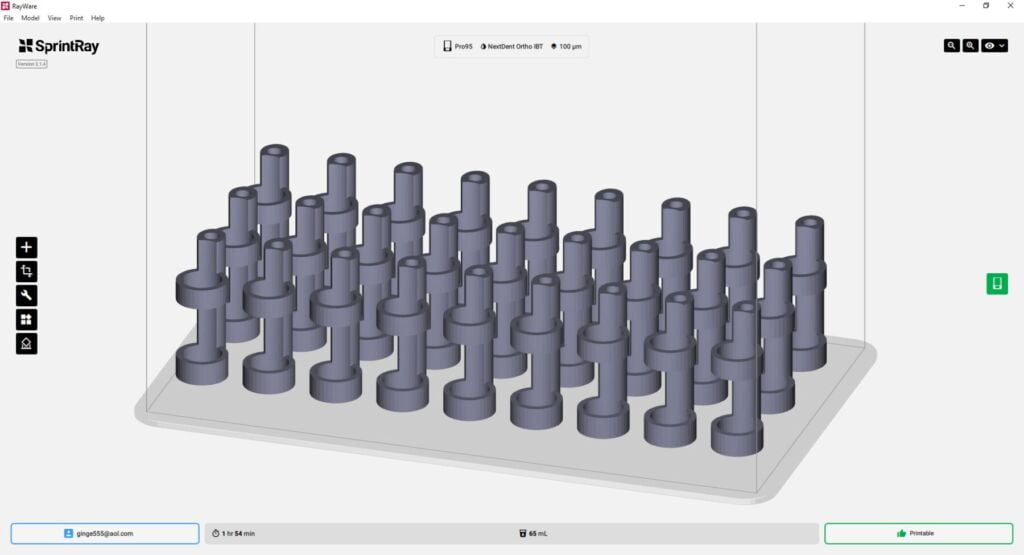
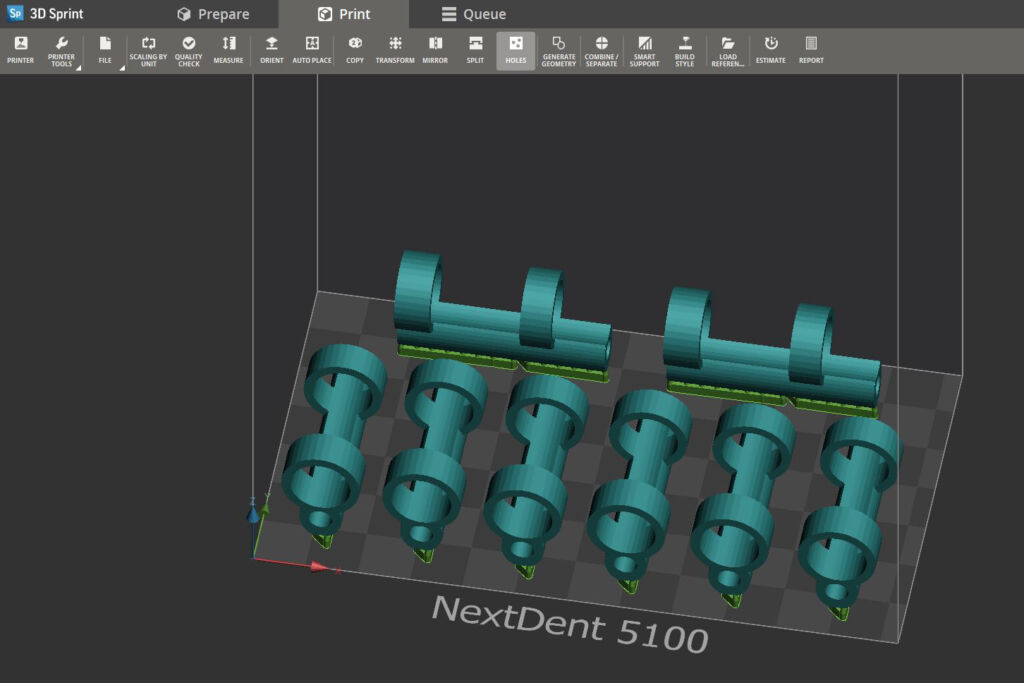
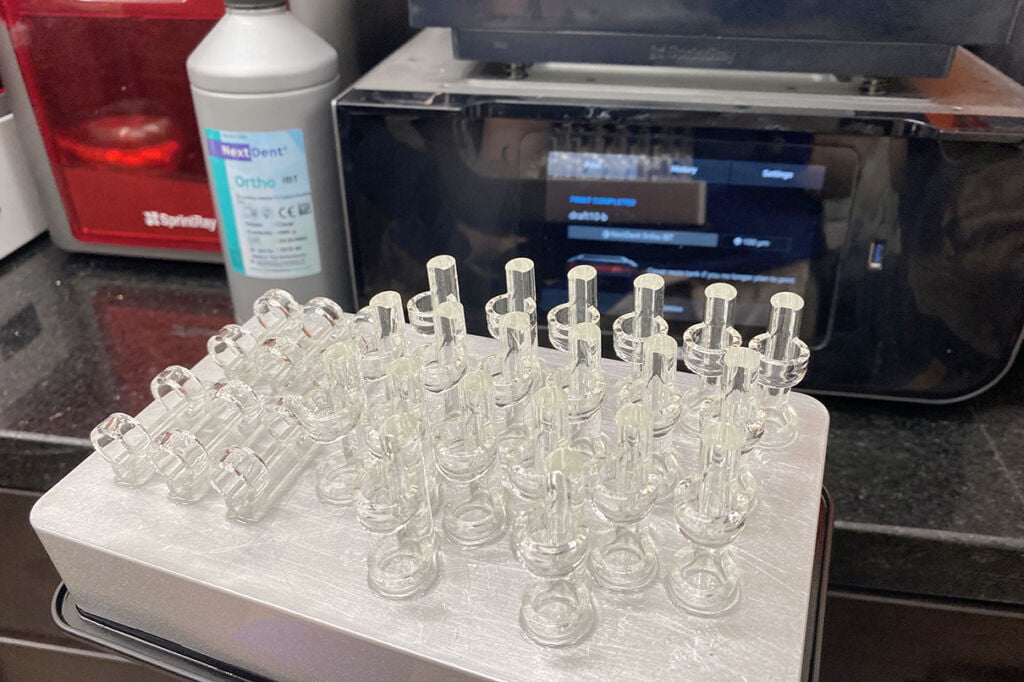
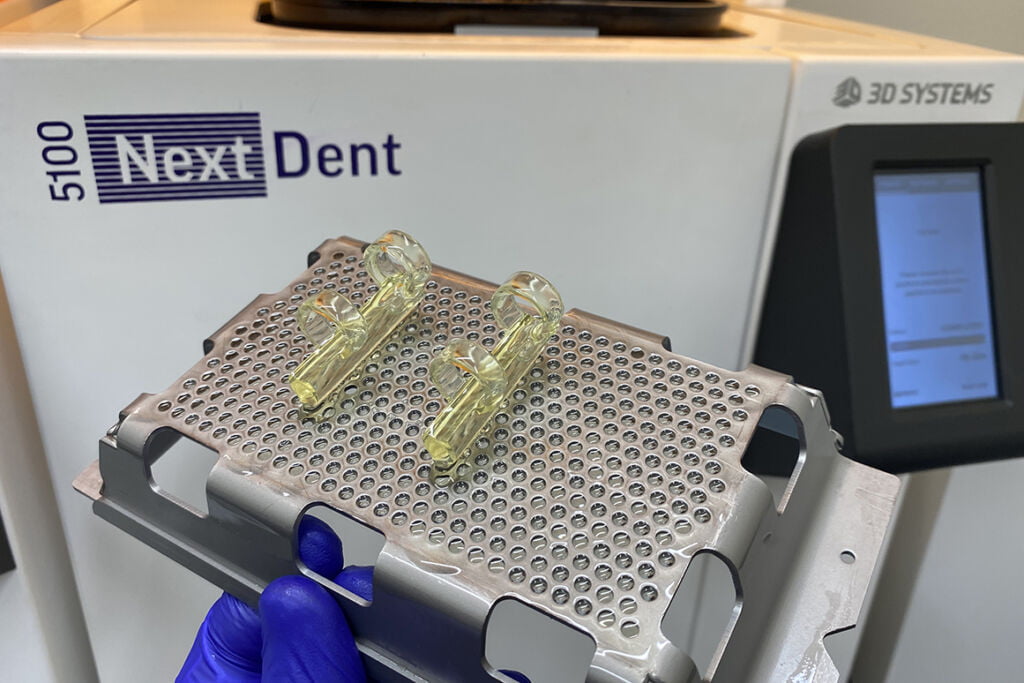
After completion of my design in Meshmixer, I imported the STL files into several different 3D printer software packages. The two that I focused on are the SprintRay Pro and the 3D Systems NextDent 5100 3D printers because I have them in my office and frankly they are both such incredible machines. My goal was to 3D print as fast as possible and for the least amount of resin cost as possible! While the NextDent 5100 has the edge on speed, it’s so fast and precise like a Porsche 911 Carrerra, the SprintRay is also fast and precise but it’s build platform is huge, allowing me to print a large amount of the tips on a build-platform. Plus, I don’t need supports in the SprintRay Pro, so it saves on resin cost. Regardless, both printers are in use every day in my practice so why not use them both!!
Using the Rayware and 3D Sprint software packages, I uploaded my IDB/IBT designs and SG designs respectively. In each of the software packages, I can orient the designed files to 3D print fairly easily. In the NextDent 5100 3D printer, I can fit enough tips for an entire day of hygiene, 8 HVE tips, and print them in approximately 30 minutes! In the SprintRay Pro, I can fit enough for a full day of 2 hygiene columns plus enough for my own restorative dentistry side, 27 HVE tips, in a printing time just shy of 2 hours. On the SprintRay Pro example of 27HVE tips, my total resin use is estimated to be 65mL, each HVE tip averaging 2.4mL.
Looking in depth at costs of the HVE tips, if a bottle of IDB/IBT resin costs approximately $299.00 a liter, that means that each HVE tip costs me $0.72 each in resin cost. Assuming local sales tax of 7.5% and shipping costs of $15 per bottle, that means each tip runs $0.80 each to print in IDB/IBT resin. Using slightly less expensive SG resin, at $249 a liter, you can get your per HVE print cost down to $0.68 each. On top of that, SG resin can be autoclaved for re-use if you have limited resin in stock.
After 3D printing multiple different prototypes and drafts, I came upon the right settings that worked for my printers. I encourage you to make sure you learn the Meshmixer skills in this online course to be able to do these tasks prior to embarking on your own designs. It took me multiple drafts and designs to get it just right! In the spirit of giving in this crazy world… I will be sharing both of these files with you though, to help save you the time. :).
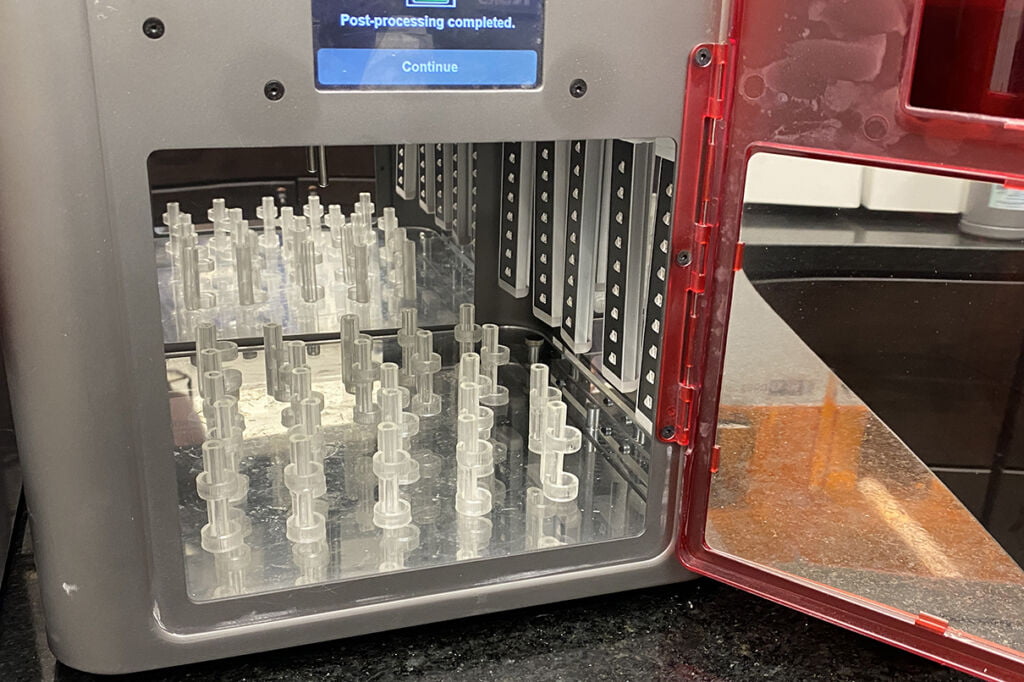
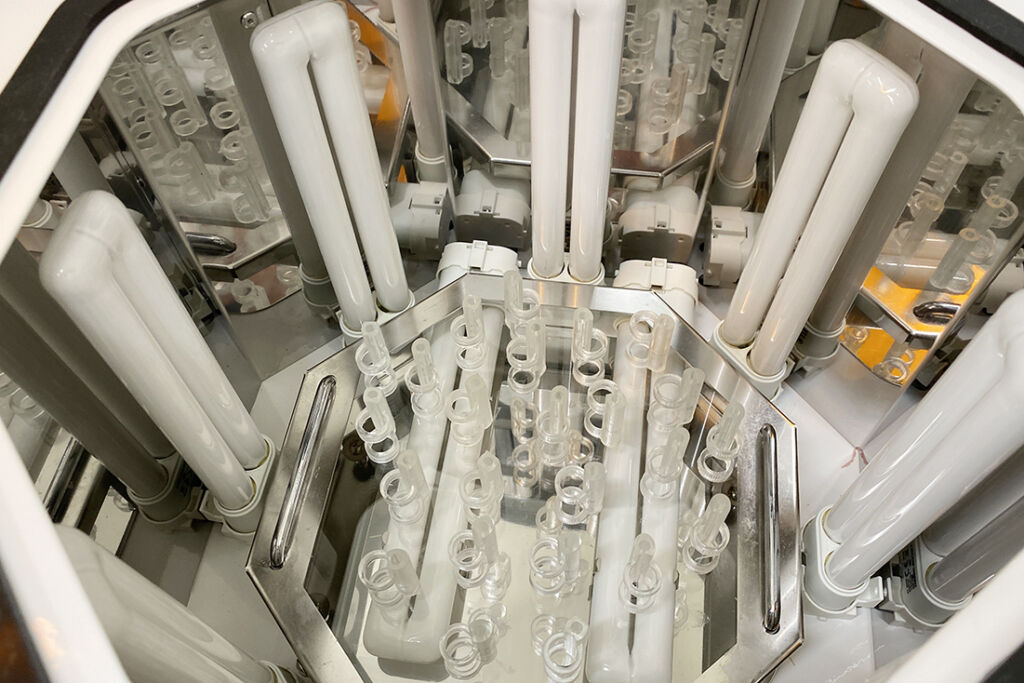
After 3D printing, I ran the HVE tips through my rinsing and UV curing post-processing protocol that I teach in my courses, especially now that isopropyl alcohol is hard to come by. The key is production, making this as streamlined as possible as typically the biggest expense in 3D printing is not material, resin cost, or wash solution material costs, it’s the expense and cost of your time!! How fast can I get from build platform to finished part is the key! So I advocate for printing directly on the platform, which the SprintRay Pro permits. Post-processing with supports isn’t a huge deal, like with the Nextdent 5100 or Formlabs 3D printers, it just uses a bit of extra resin and takes a touch longer to clean up.
I’m glad you stuck around until the end of all of this craziness (lol) and I sincerely hope you enjoyed the process. Reach out to me if you want to learn more about these workflows :).

Dr. Michael Scherer, DMD, MS
Dr. Michael Scherer is an Assistant Clinical Professor at Loma Linda University, a Clinical Instructor at University of Nevada – Las Vegas. He is a fellow of the American College of Prosthodontists, has published articles, books, and in-person and online courses related to implant dentistry, clinical prosthodontics, and digital technology with a special emphasis on full-arch reconstruction.


