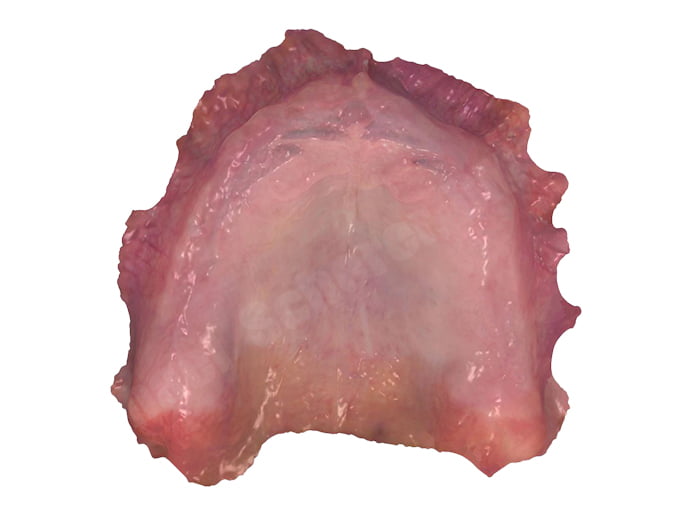
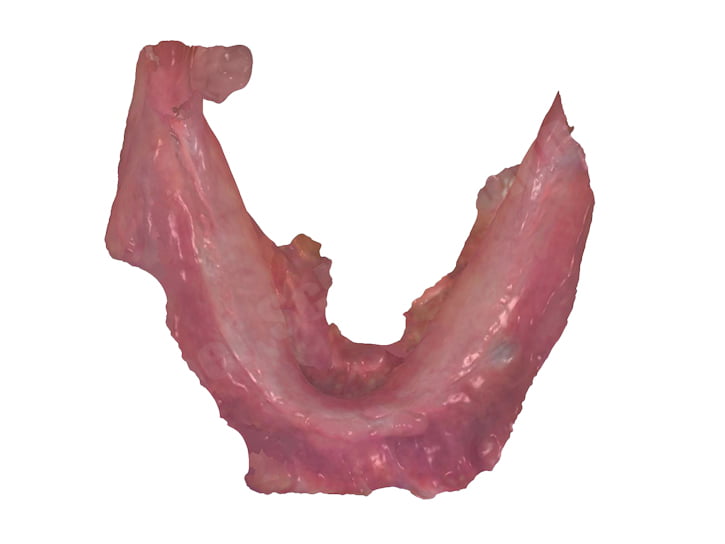
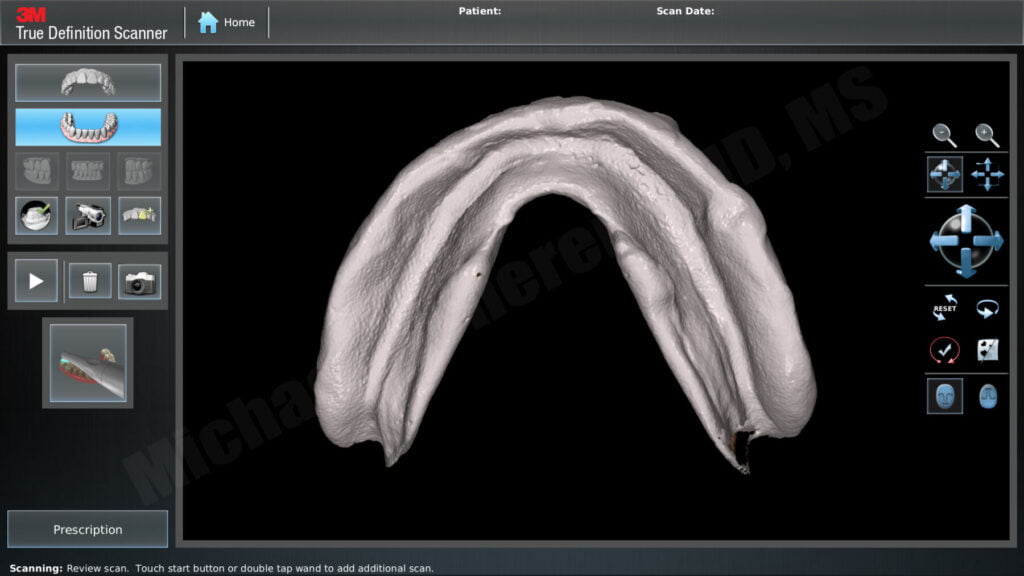
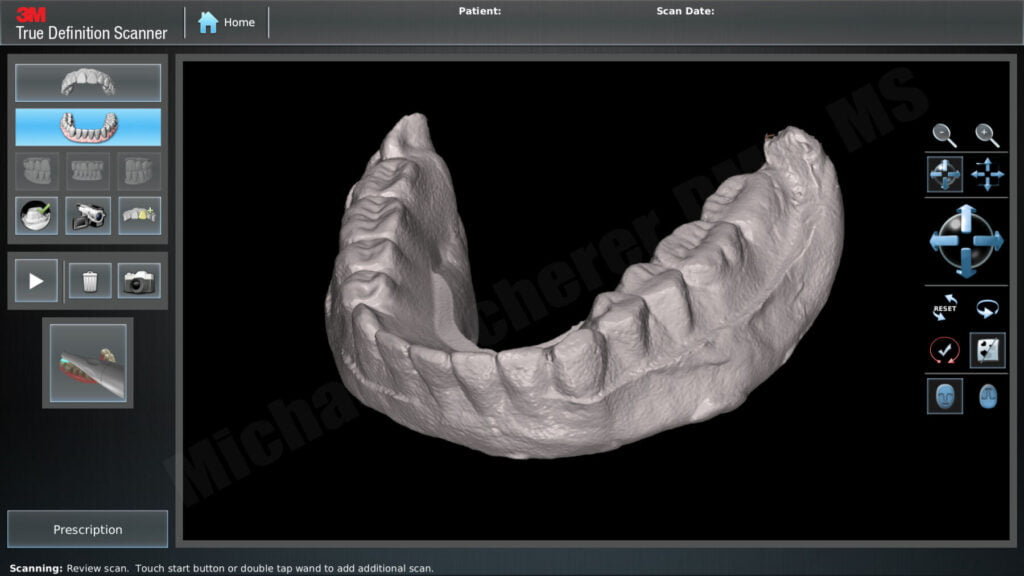
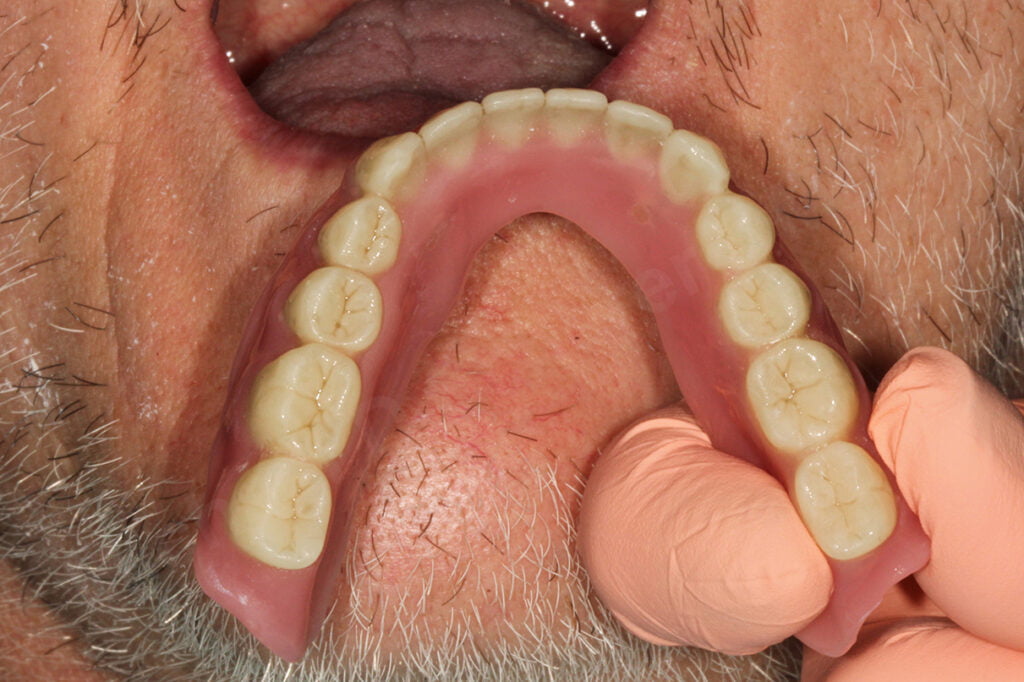
There’s a lot of excitement out there about direct imaging of edentulous patients using intraoral scanning, much of the excitement is for good reasons! Intraoral scanning of edentuous ridges is the closest we can get to for truly mucostatic impressions and is really cool for both patient and clinician/technician.
The biggest challenge is, while that intraoral scanning of edentulous arches is possible, it can be quite challenging and unpredictable for many clinicians/technicians. Scanning teeth is easy, scanning edentulous ridges is a fairly advanced procedure. With the right training and education, those limitations can be overcome but it’s not as predictable as a physiologically derived border molded impression to ensure the final denture has adequate retention and stability.
I have found the primary factors related to difficulty scanning edentulous arches has to do with the following clinical situations: 1) excessively flabby/movable ridges, 2) limited alveolar support, 3) reduced vestibular area, 4) operator difficulty controlling the floor of the mouth and cheeks, 5) operator experience with scanning, 6) patient factors – can the patient hold still and are they amenable to having a scanner wand in their mouth?
When it comes down to it, predictability is key in a clinical practice or dental laboratory, we need to know that when we utilize a certain technique, material, system that it will work in the vast majority of cases. No method works 100% of the time in 100% of patients but I believe we as clinicians are hoping for at least 90% of the time a certain method will work.
Once we get past the actual scan and it works, how do we establish the OVD/VDO, the centric, the tooth position? Additionally, intraoral scans result in impressions like what you would get from a stock tray and alginate, over-extended and lack of established borders. Many of these challenges I have fought over the years in development of my understanding and it’s been a progressive development of the technique I will describe in this article.
I didn’t start out with digital dentures techniques just to make printed or milled digital dentures… I inadvertently and interestingly began evaluating certain techniques in surgical guide planning for edentulous implant overdenture cases. One of my early articles describing this technique is posted in this article published in the Journal of Prosthetic Dentistry, check it out! In fact, many other clinicians begin their digital dentistry journeys with dental implantology in mind!
I had the need to treat a lot of edentulous patients with implant treatment and to utilize surgical guides in creative ways. I pioneered a technique using radiopaque PVS material relined in the patient’s existing denture and scan it using CBCT or intraoral scanning. Click here to view an article I recently wrote about using the technique with 3Shape Implant Studio software! Initially, the relined PVS would serve as a way of skipping having to make a PVS impression inside of the mouth with a stock tray. I was just scanning the tissue surface of the relined denture and CBCT scanning the relined denture as I was instructed to do so at the time by others who developed the dual-scan protocol. Later, I was using the radiopaque PVS as a fiduciary marker to simplify alignment of two scans using principles of that protocol. As I was using the intraoral scanner, I kept pushing the limits of the scanner by scanning more and more and found out that I was able to scan the reline impression 360 degrees, all the way around in a single scan.
Using the 360 degree scan I was able to join and merge it with my surgical plan and place dental implants using surgical guides generated from the scans. As time went on I kept finding that my surgical guides fit very similar to the way a denture fits when the guide was in place and the patient closed into centric. I noticed that I was seemingly able to duplicate the denture very closely using the 360 degree intraoral scan in a single step! I then applied it to the patients I was seeing after the surgery and implants were fully healed.
A big part of my practice is taking patients with failing dentition and converting them to overdenture patients. After extractions, implant placement, immediate dentures were fitted. 2-4 months later the patient had healing abutments in place and we would reline or fabricate a new denture and pick-up the LOCATOR abutments in the relined or new denture. Before digital dentistry, my typical analog protocol would be to strip the patient’s soft liner from the denture, border mold and make a closed-mouth reline PVS impression inside the denture. I would send that relined denture to my laboratory and they would reline or rebase the denture using the same acrylic teeth. This technique is universally used around the world.
I didn’t start out making brand new dentures using digital techniques, I would simply digitize the reline impression before it went to the lab and, just for fun, make them a second new denture using 3d printing or milling at the same time the lab was relining their existing denture. I started to notice that the digital dentures were fitting just as well and arguably even better than the analog methods!! Throughout the years, I extensively evaluated this digital denture technique and have made hundreds of denture arches using the following protocols.
I termed the approach of using the patient’s existing denture “The Reference Denture Technique” because it uses the patient’s existing denture as a reference to make a new digital denture. The basic tenants of this approach are as follows:
- A patient has a reasonably acceptable denture that fits basic acceptable criteria established by Sato et al. This criteria includes: acceptable OVD, acceptable centric, no/minor esthetic change requests, phonetics within approximate range, minimally overextended borders or underextended borders. If the patient doesn’t meet the criteria, a clinician/technican can add composite to the surface of the denture to open OVD or adjust centric position. Adjustments can be made to the existing denture if the borders are over-extended.
- Using the patient’s existing maxillary or mandibular denture, a closed-mouth reline impression is made with or without dedicated border molding procedures.
- Intraoral scans: 1) 360 degree intraoral scan of the relined denture, 2) scan of opposing arch or 360 degree intraoral scan of opposing relined denture, 3) scan of left and right side bite records intraorally with prosthesis(es) in place (optional: extraoral bite scans can be made if scanning two denture arches).
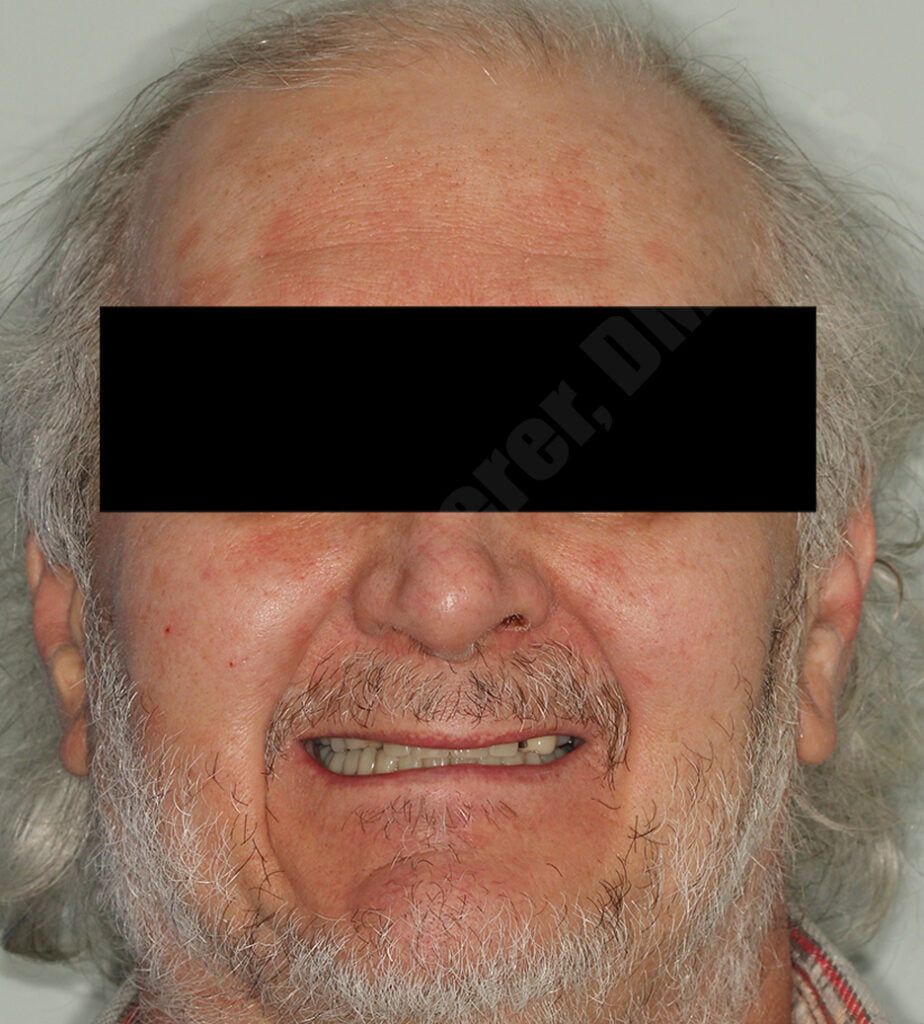
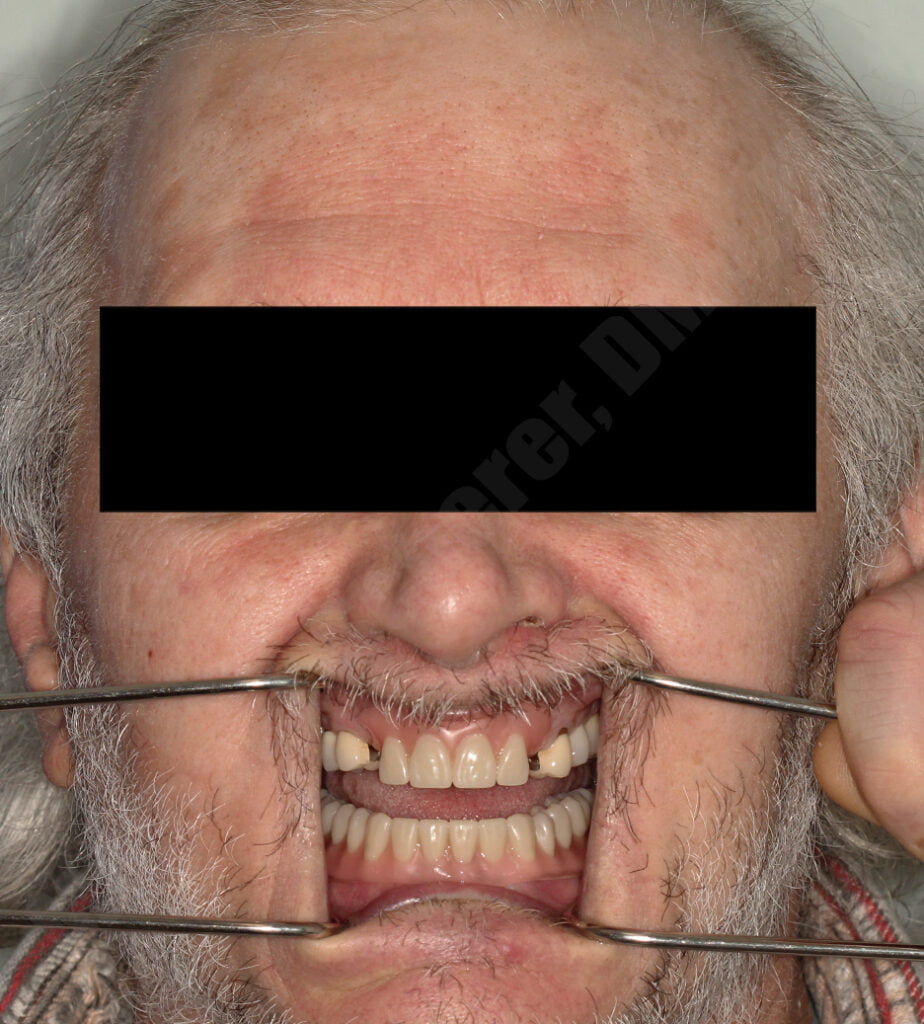
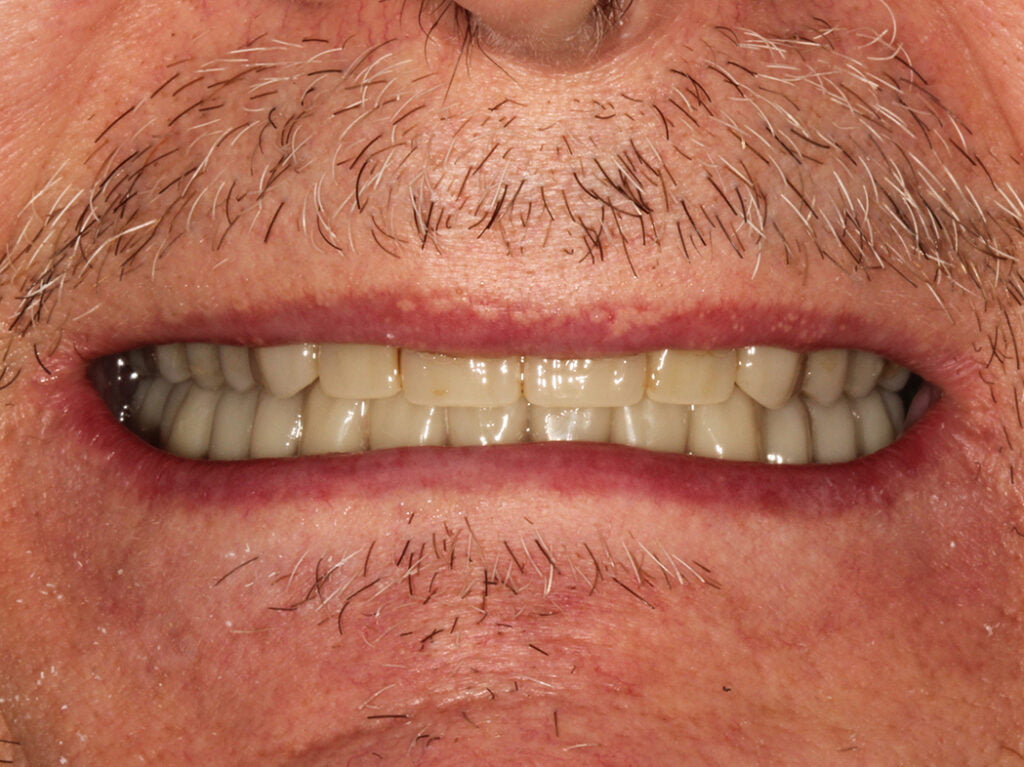
- Photographs: Full-face photographs smiling and retracted full-face photographs with reline prosthesis(es) in the mouth.
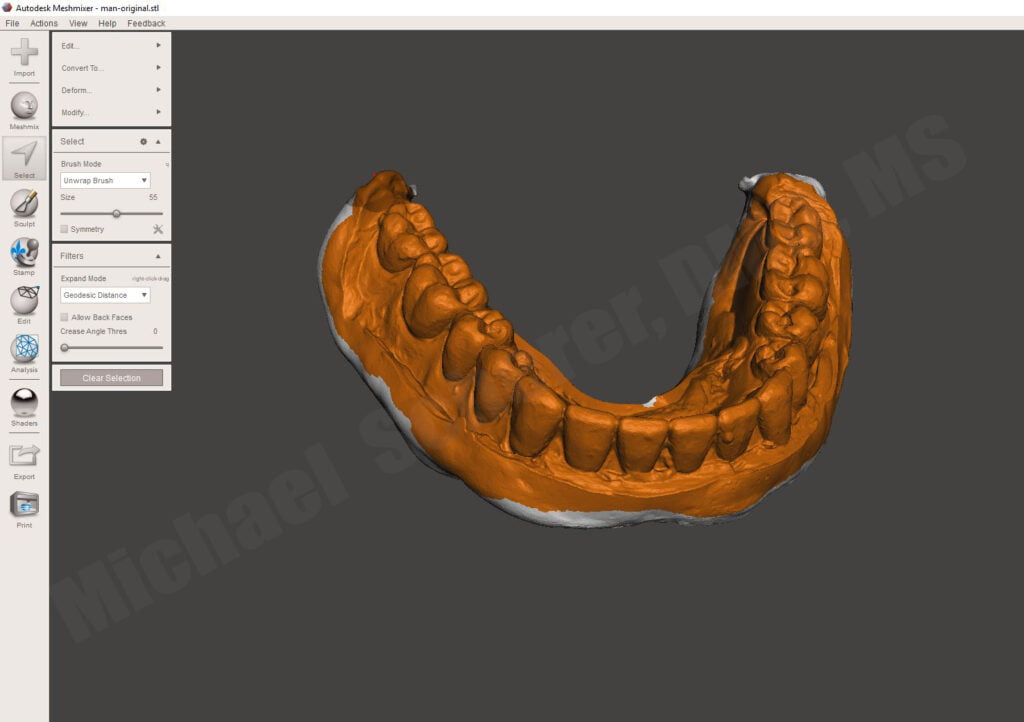
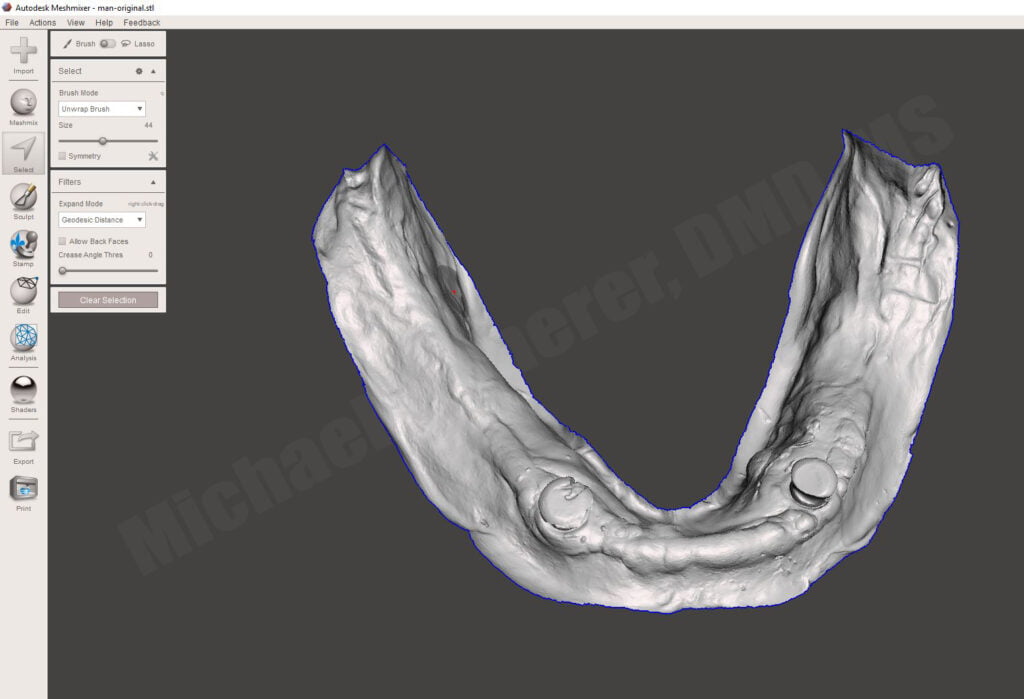
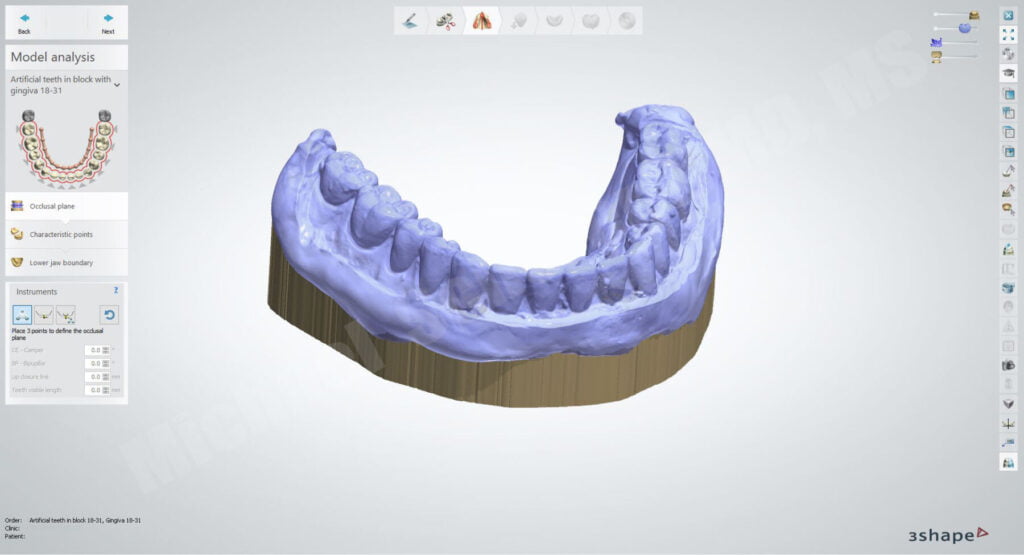
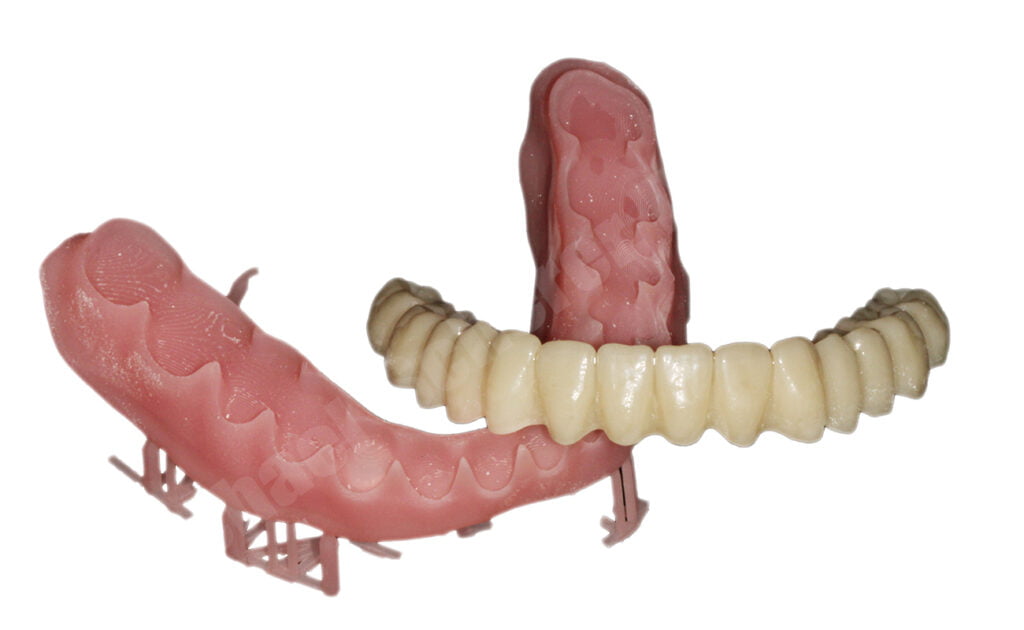
- Conversion of the relined denture scan into workable models using Meshmixer/3shape/exocad or specific dental software to duplicate the denture natively within the wizard functions. Note: 3Shape Dental System has a built in denture conversion wizard that can convert a 360 degree scanned denture into a two-part teeth/tissue printable/millable case.
- Digital denture design using the existing denture teeth/occlusion as a reference. Make any requested adjustments and production of the digital denture using established 3D printing or milling protocols.
The “Reference Denture Technique” step by step is as follows:
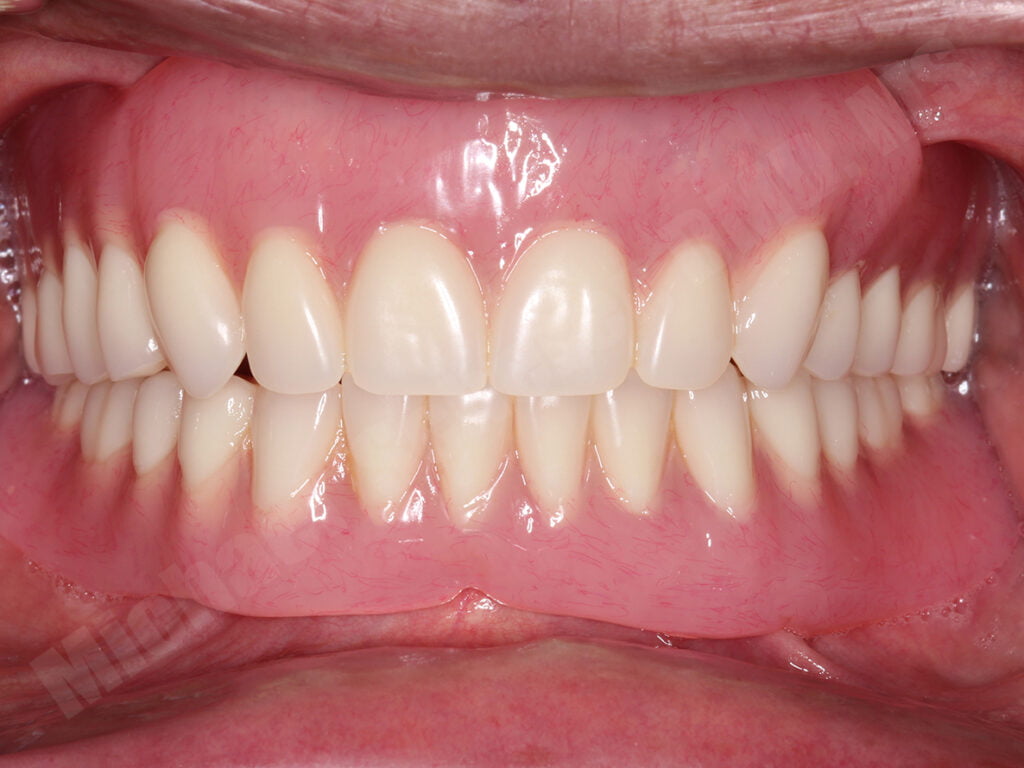
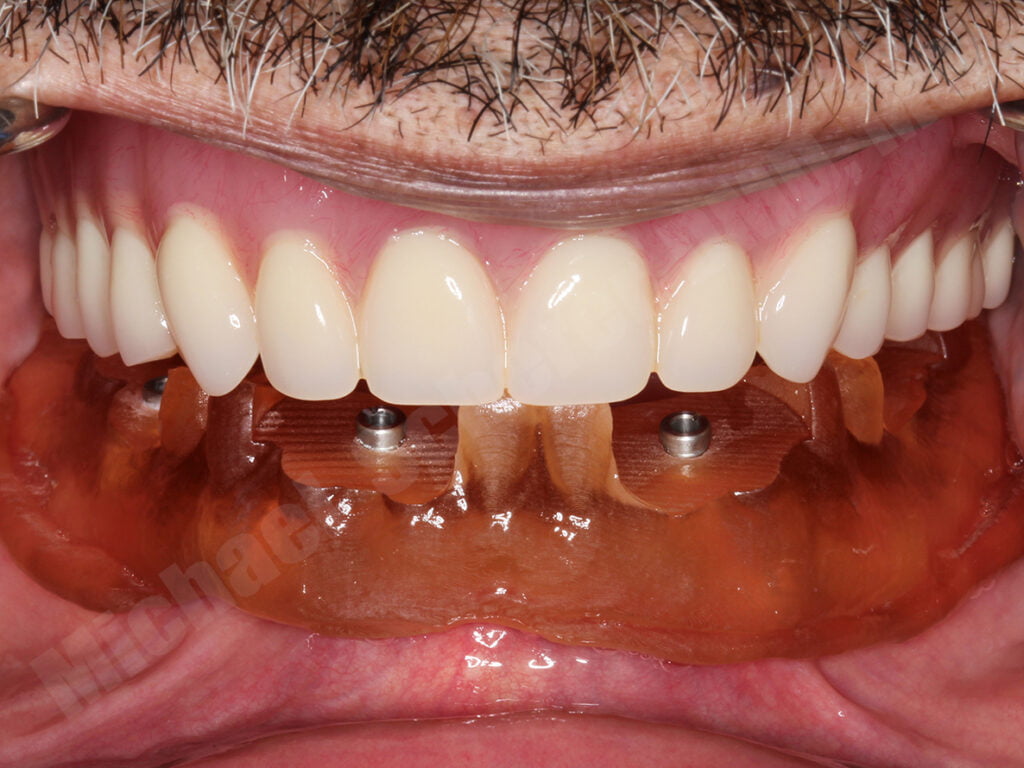
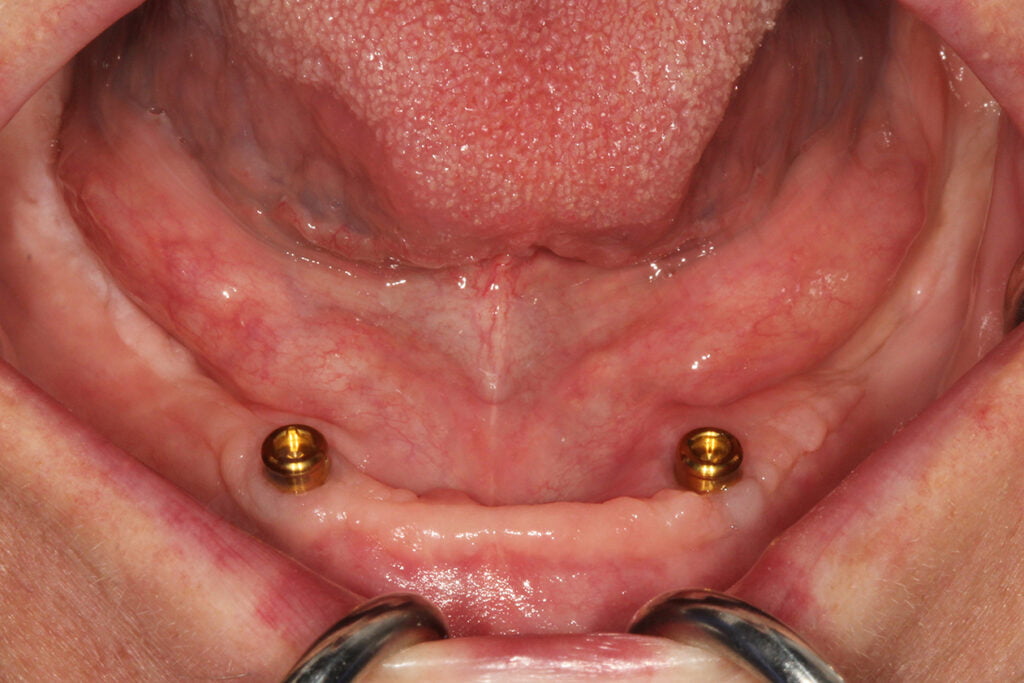
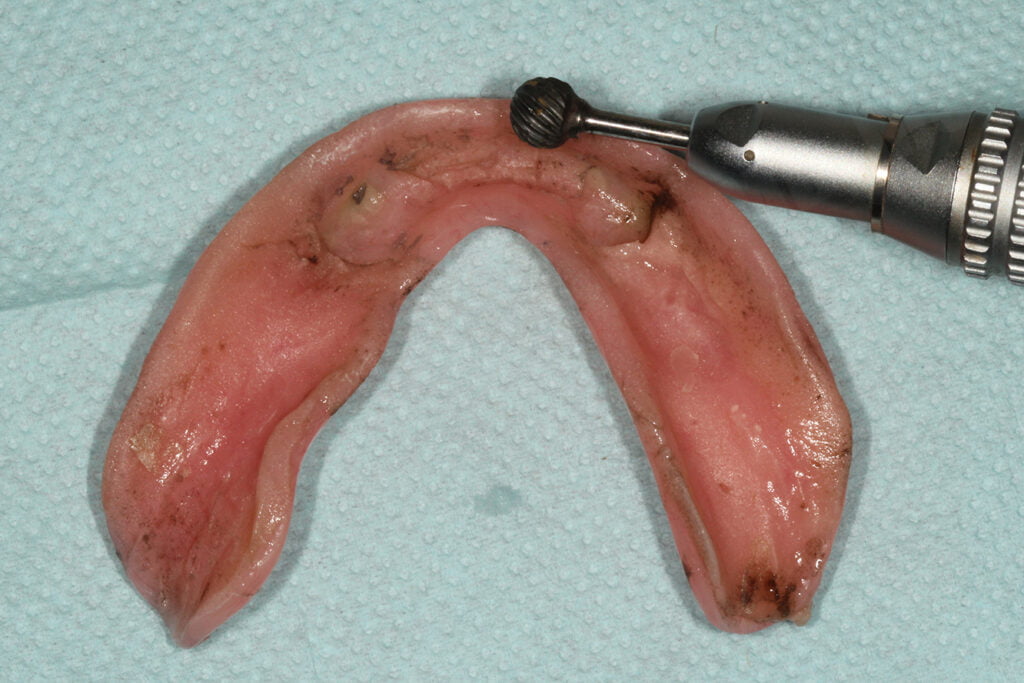
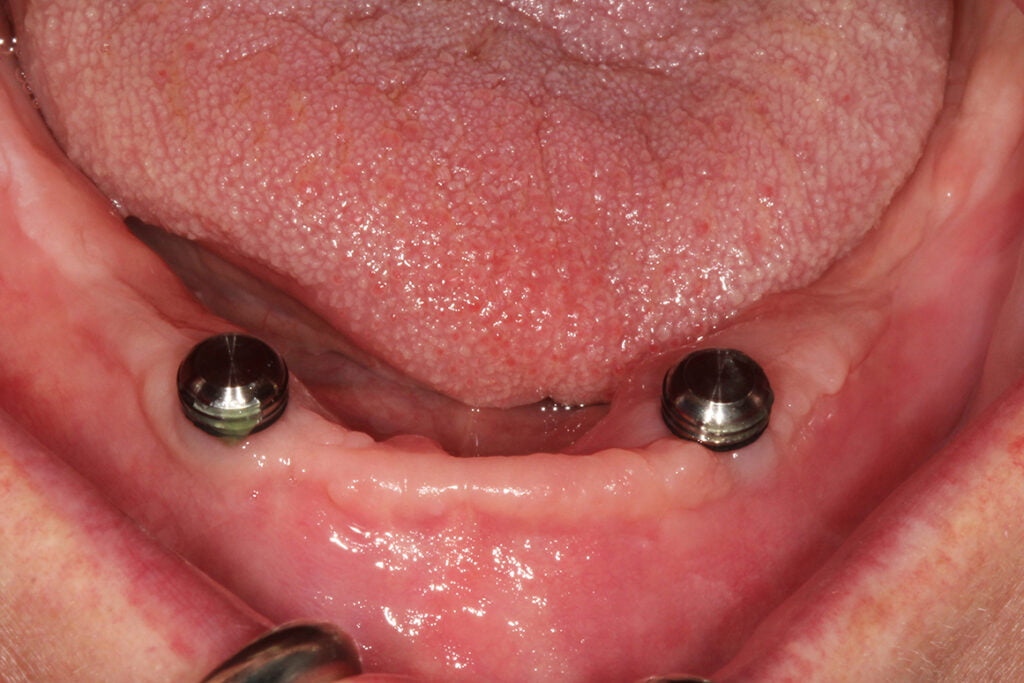
Step 1: Evaluate denture for OVD/CR/esthetics. Note: In this example, the patient indicates he likes his existing immediate denture, however, he wishes for a new denture that’s similar, just a shade brighter. I recommend (optional step) to mark nose/chin with indelible marker and measure the distance while the patient is in centric by using a tongue blade or caliper. This helps to confirm OVD while border molding and making the impression. Remove healing abutments. Place LOCATOR abutments, make a radiograph to confirm complete adaptation to the implant. Torque to manufacturer’s recommended torque value. Use acrylic burs to remove existing soft liner within denture, adjust any areas of over-extended borders. Place denture onto ridge, confirm passive fit over the LOCATOR abutments with and without housings.
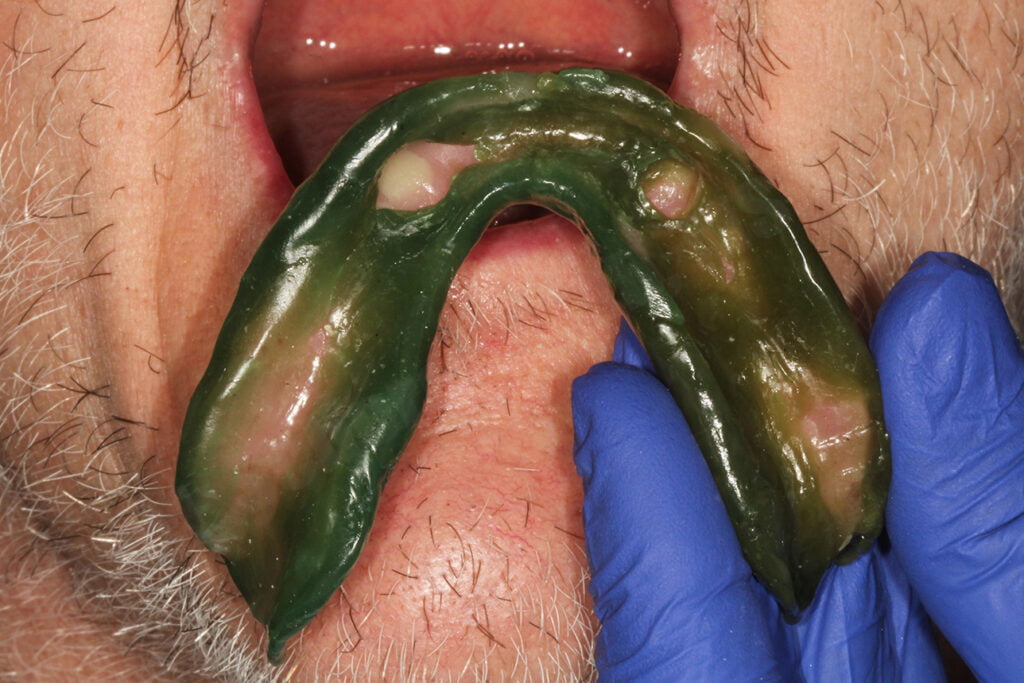
Step 2: Border mold with border molding material of your choice, typically it’s helpful to border mold while in centric. It’s often helpful starting on half the denture and then doing the other half, but that’s totally up to the clinician/technician. Place housings with processing inserts on top of each LOCATOR abutment. Place denture back onto edentulous ridge, adjust any interference between denture/housings. (Optional: confirm OVD by ensuring nose-chin measurements match those made before adjusting/border molding)
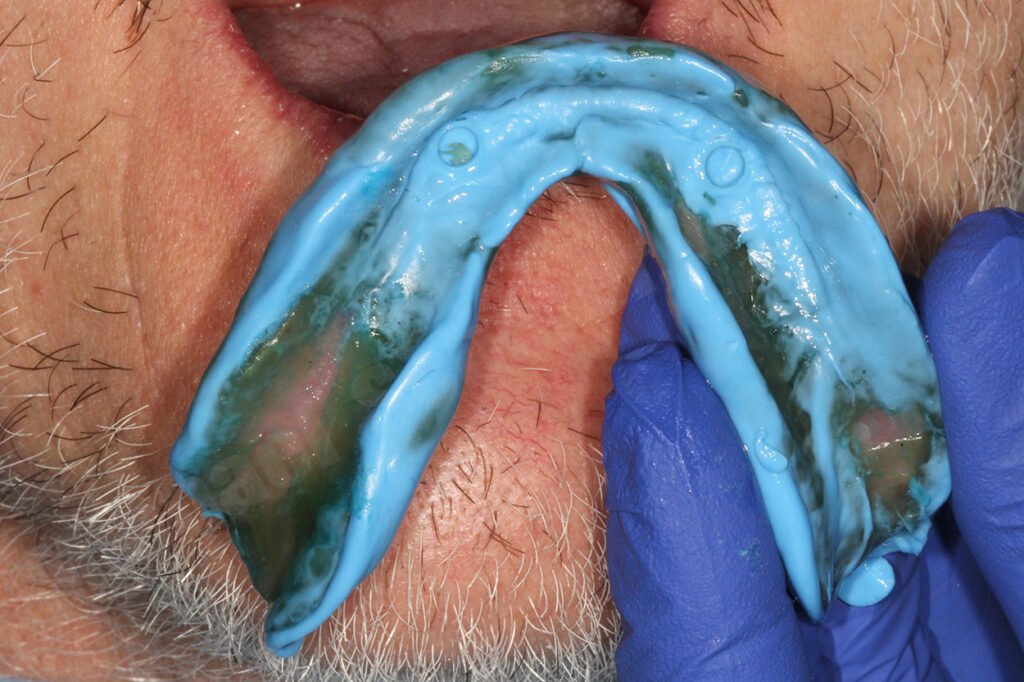
Step 3: Apply PVS adhesive. Inject a small amount of PVS onto intaglio surface, spread evenly and roll borders with a spatula. Place onto edentulous ridge, instruct patient to close into centric and tap teeth together 2-3 times. Border mold PVS while in centric using (optional) nose-chin measurement to confirm OVD. Allow to fully set in light occlusion. After complete polymerization of PVS material, remove from the mouth. Inspect impression for completeness, trim away any excess impression material. Remove LOCATOR housings, place denture back onto edentulous ridge and confirm OVD/CR/esthetics/phonetics with the patient.
Step 4: Make clinical photographs. Typically the two most important are full-face smiling and full-face retracted with mouth slightly open. Try to make the photographs with the patient wearing the relined dentures.
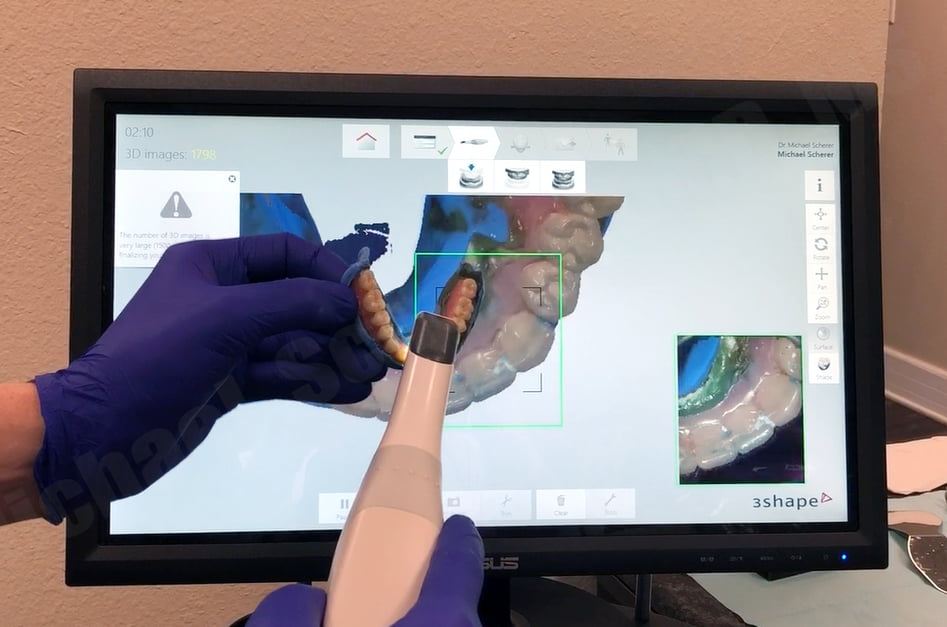
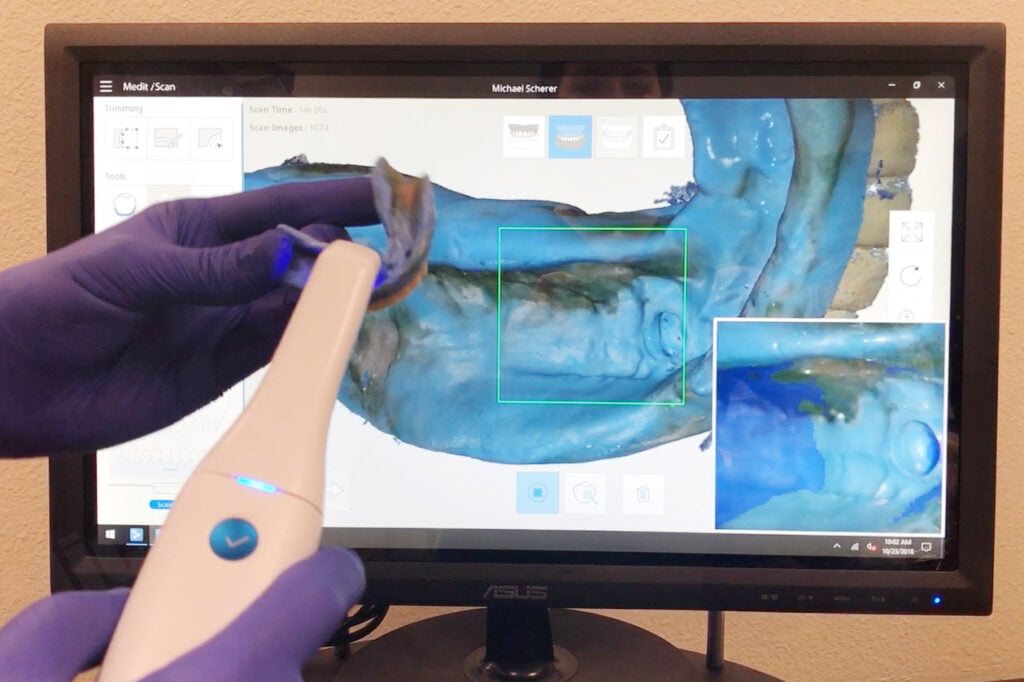
Step 5: Remove denture(s) and scan with intraoral scanner (or desktop scanner) 360 degrees. Typically I recommend starting with the tissue surface first and capturing it fully. Wrap to the facial/buccal and then the occlusals, then the linguals. Two scanners that do this very predictably are 3Shape TRIOS and Medit i500.
Step 6: Scan the opposing dentition using an intraoral scanner. If no intraoral scanner is available, you can make an alginate and then scan it with your desktop scanner. If the opposing dentition is a relined denture, capture it with a similar protocol as recommended in Step 5.
Check out this video showing a review of the 360 scanning technique!
Step 7: Place the denture(s) back onto each edentulous ridge and scan the centric record. If using an intraoral scanner, use the built-in bite scan mode to scan left and right side bite scans. If using a desktop scanner, make a bite record with PVS registration paste.
Step 8: If you are making the patient a new denture, strip away the PVS impression and use a soft liner reline inside the adjusted denture. I like using using either Coe-Soft or Chairside Soft until delivery of the digital denture. The first time you do this technique, I recommend taking the denture and holding it overnight in the laboratory while you are producing the new digital denture. It’s helpful to have the reference and you can even pour it up into stone to confirm the new denture fit, occlusion etc.
Step 9: Export STL/PLY/DCM files from your intraoral/desktop scanner. Import into software, cut away teeth from denture, invert tissue surface to create a soft tissue model. This method will create two scans: 1- a tissue surface based upon the reline impression scan to build the denture on (aka the ‘preparation scan’ or ‘jaw-scan’), 2- a super-imposed set of teeth based upon the patient’s original denture (aka the ‘pre-op’ scan or ‘reference denture scan’). If you need help learning to use Meshmixer, we have an online course that covers step-by-step meshmixer, 3D printing and more.
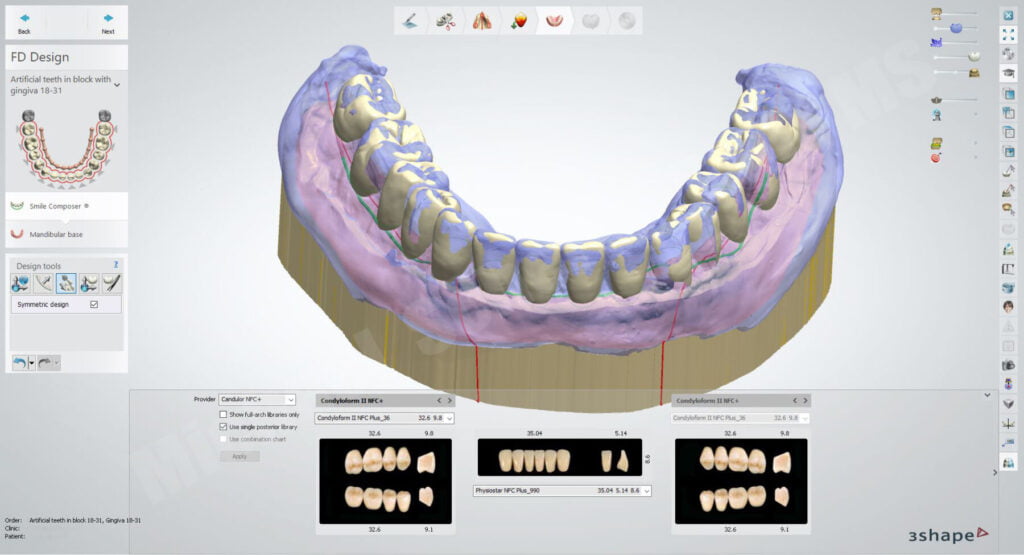
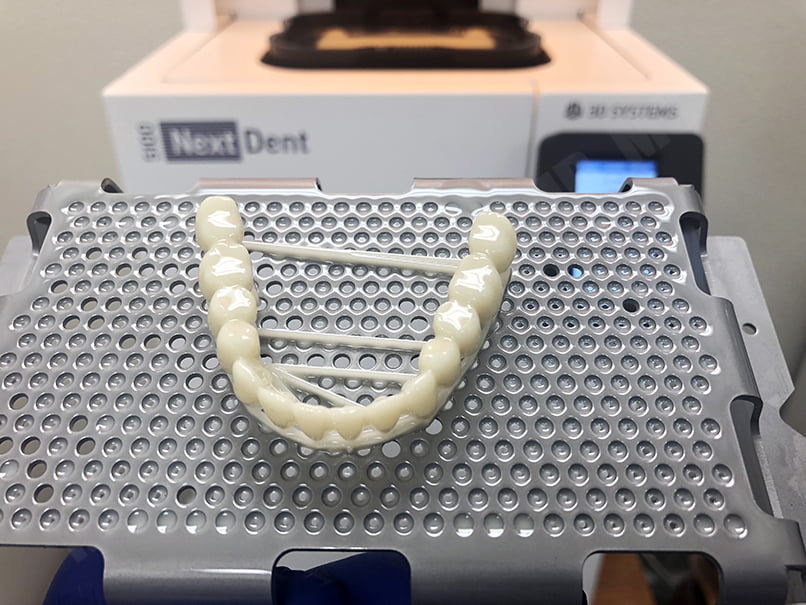
Step 10: Digitally design denture using dental design software. The teeth from the reference denture are super-imposed on the tissue/jaw-scan allowing you to reference the original denture for the design of the new denture. The clinician/technician can than use photography from the patient’s case to help guide them for any requested changes from the reference denture. Manufacture according to preferred additive or subtractive manufacturing methods.
Interested in learning more about digital dentures including clinical and laboratory techniques and protocols? Check out our innovative step-by-step online digital dentures course at www.LearnDigitalDentures.com

