Which Arch First? – Properly Sequencing Double Arch AllonX Cases
You’ve got a patient sitting in front of you in your dental office who is a candidate for double arch AllonX. It may be your first AllonX case… you may have experience with doing single arch cases… but one starts to wonder – “How am I going to sequence the maxillary and mandibular AllonX at the same time?!”
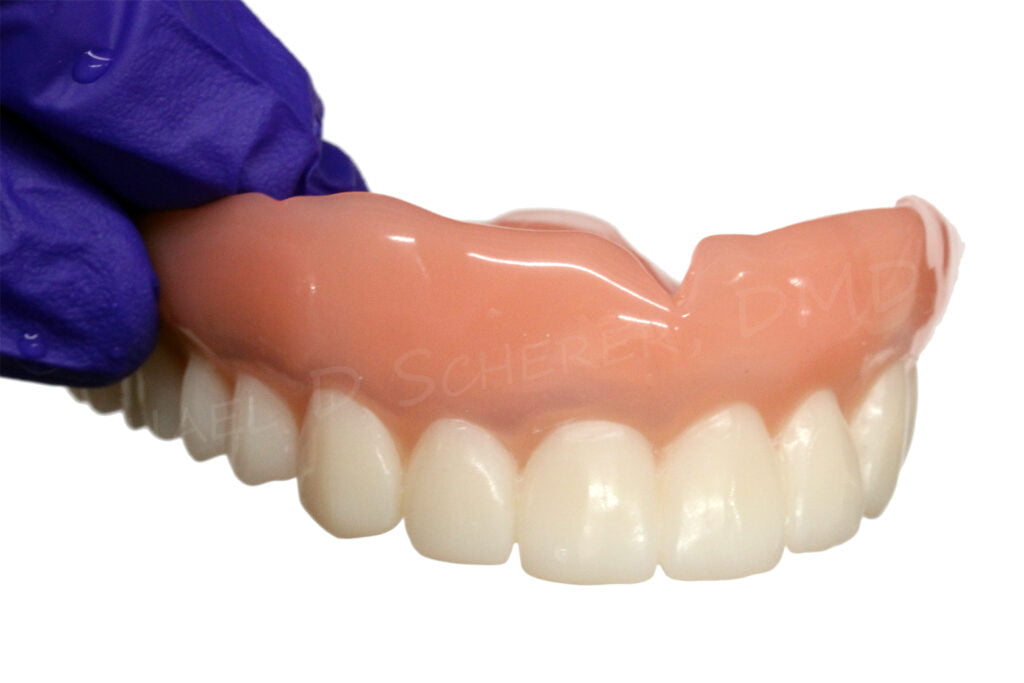
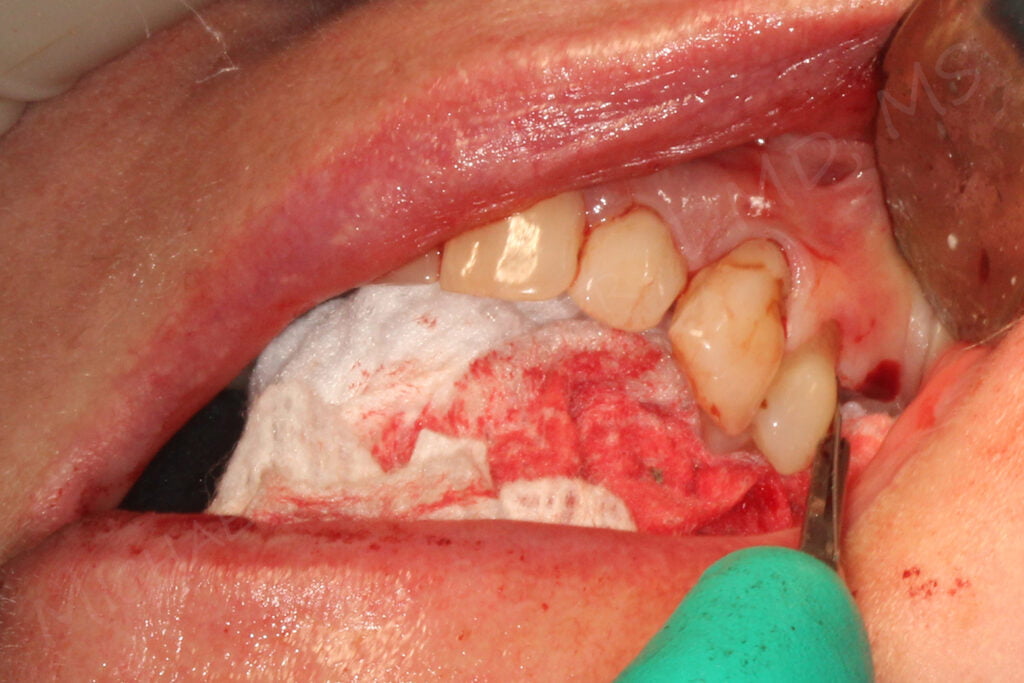
It’s important to first discuss the primary goals of properly converting a removable prosthesis into an interim fixed AllonX prosthesis. This procedure often involves using a pre-prepared immediate denture, holes drilled into the prosthesis, and titanium cylinders picked up using composite resins or acrylic resins. An immediate denture has built-in soft tissue markers like palatal rugae, alveolar ridges, retromolar pads, and the palatal vault of the prosthesis. During the surgical procedures, a large flap is often employed which tends to obfuscate or eliminate the ability to use the rugae and alveolar ridges, but on the maxillary arch we still have the entire hard palate! On the mandibular arch there’s just not much to work with except the retromolar pads.
So, maxillary or mandibular arch first? Some clinicians advocate a cautious approach to double arch AllonX cases and they can be tricky for sure! I’m a firm believer that any general dentist, specialist, or dental technician can predictably and reliably restore an AllonX case so long as they’re committed to a deeper understanding and knowledge of the process. Teamwork is key!! If you’re new to the process, team up with an excellent oral surgeon, periodontist, and/or laboratory technician who can coach you through the process! Early in my career, I teamed with some incredible people that really helped me through my journey, and I learned how to sequence AllonX cases properly.
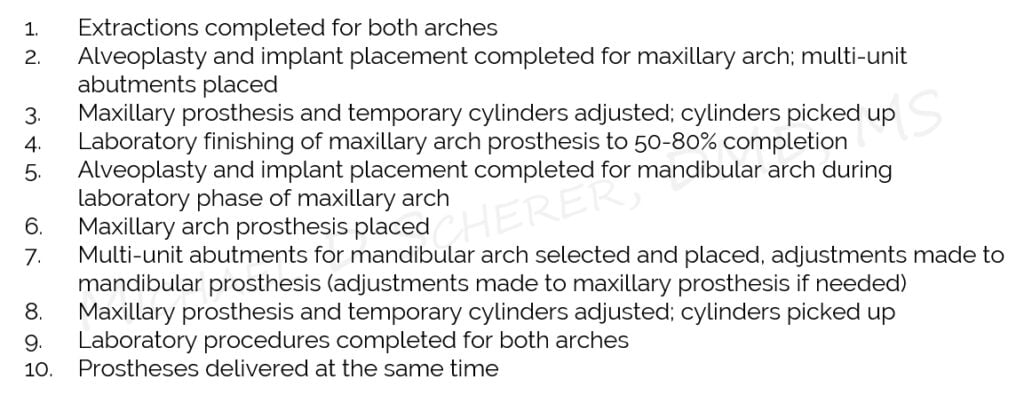
In my experience, a recommended general sequence for treating two arches of AllonX is as follows:
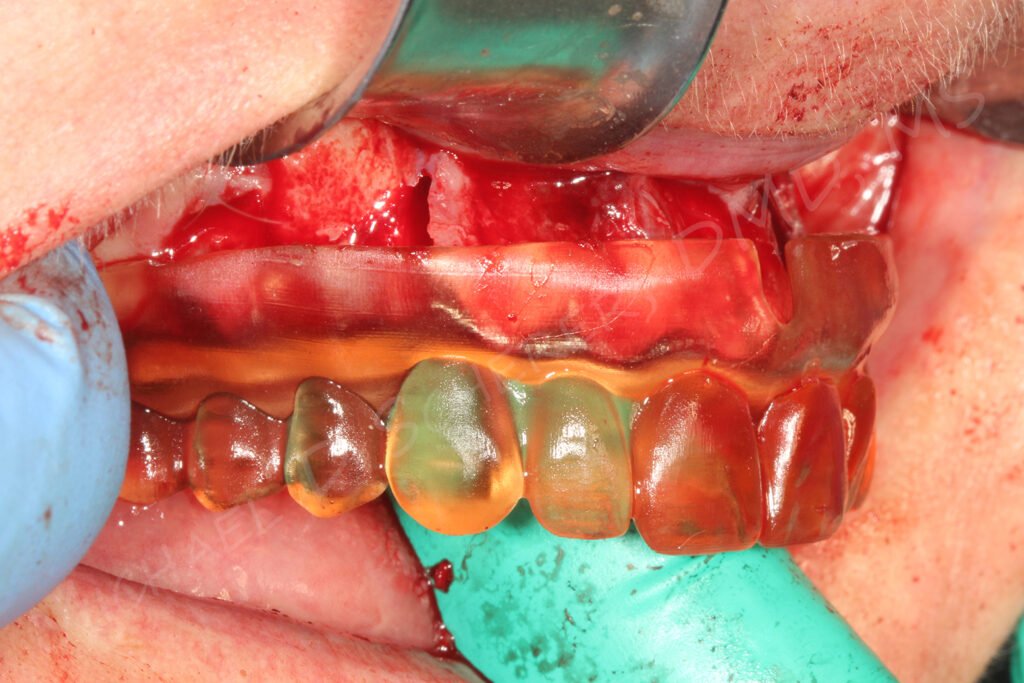
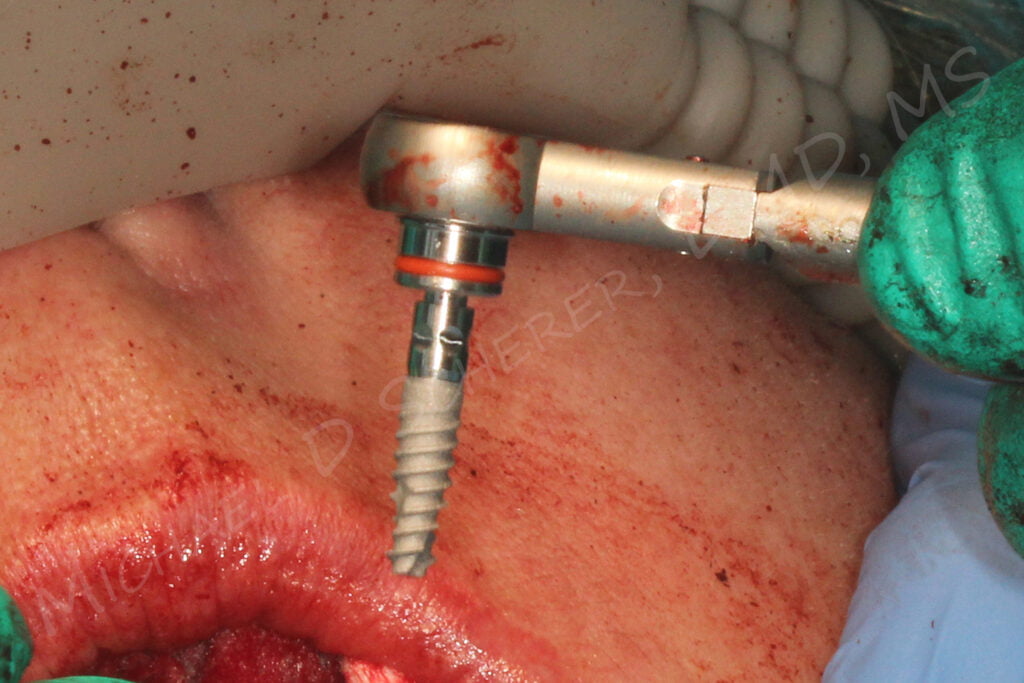
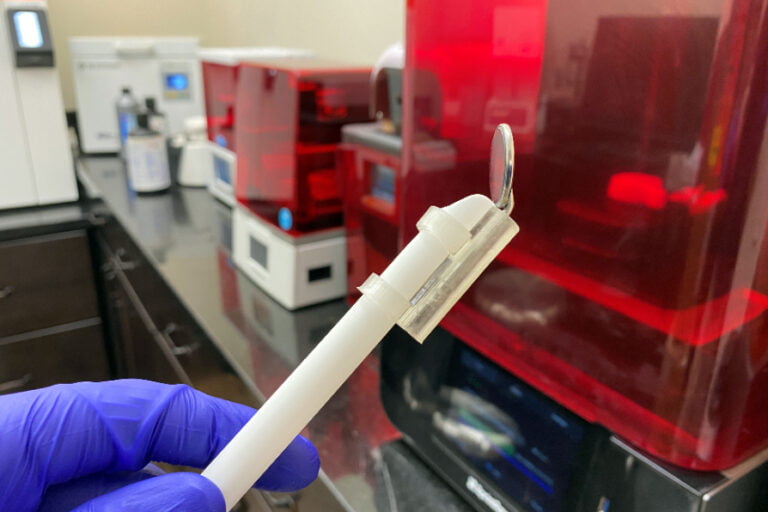
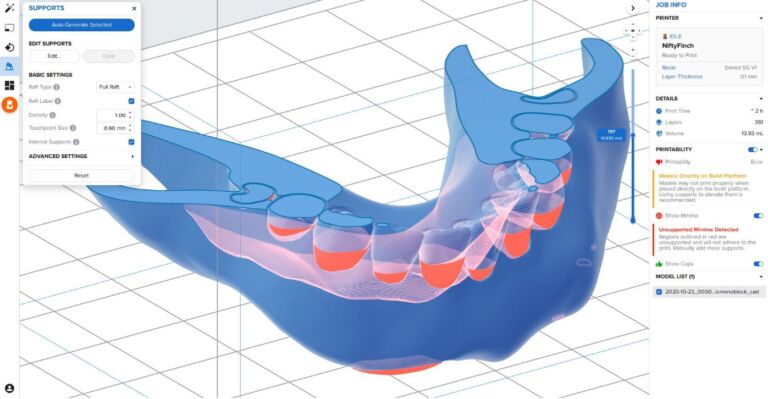
I recently treated a double arch case that I thought would be an excellent example regarding how to sequence out treatment for efficiency during the immediate loading procedure. My oral surgeon, Dr. B, began with the extractions and implant placement on maxillary arch first. With the help of a 3D printed surgical guide printed on my NextDent 5100 3D Printer using NextDent SG resin, Noris Medical TuffTT Implants were placed, multi-unit abutments sized and the temporary cylinders adjusted.
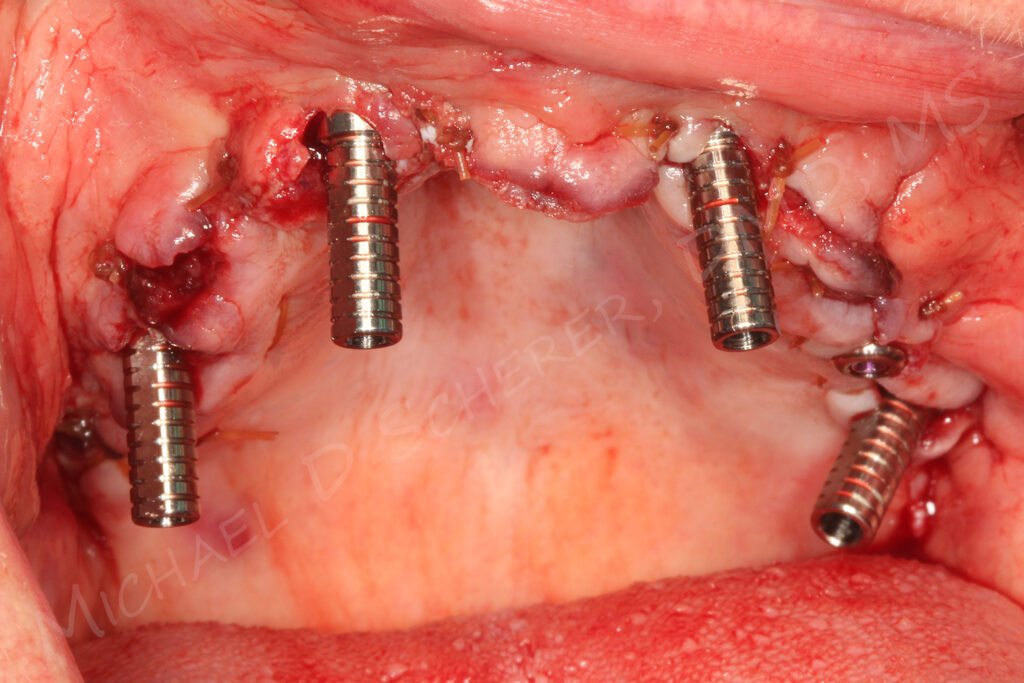
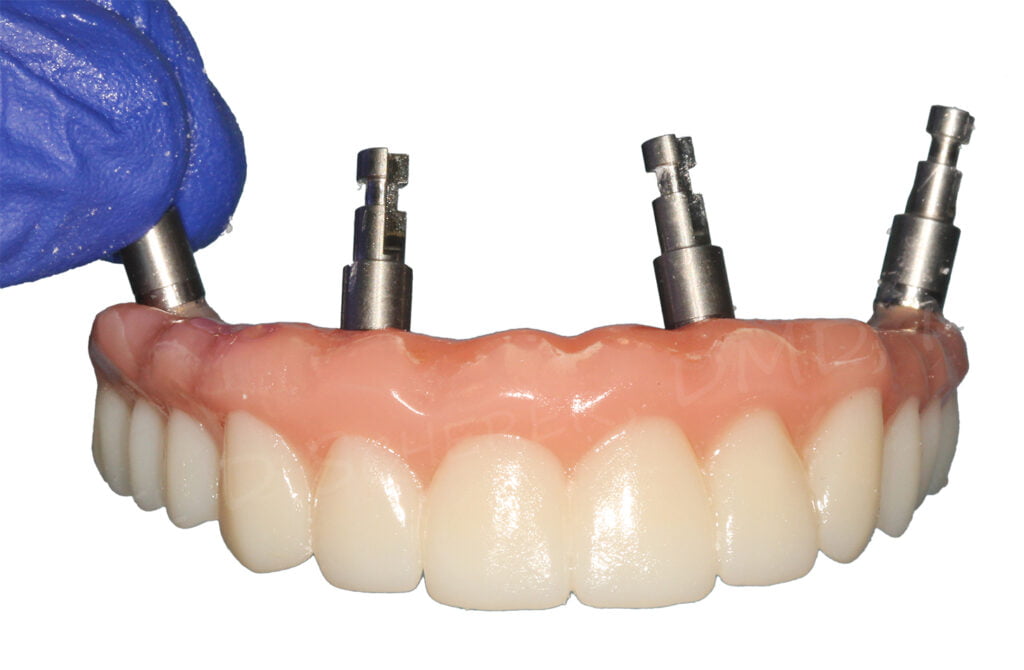
The prosthesis was adjusted to ensure the temporary cylinders did not contact the prosthesis. Zest Chairside Attachment Processing Material Composite Resin is injected into the recesses and the prosthesis seated using strong finger pressure on the palatal area of the prosthesis.
The key here is using the palatal vault as a guide! Typically surgical incisions will not include the palatal vault and are typically limited to alveolar ridges which helps to minimize deflection of the prosthesis during conversion procedures.
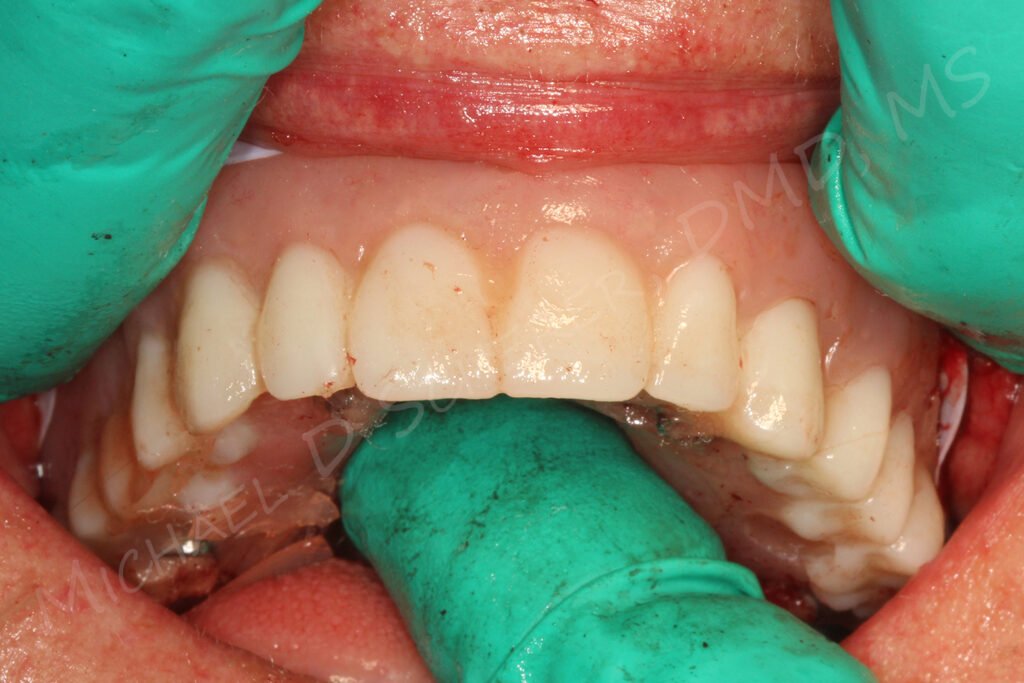
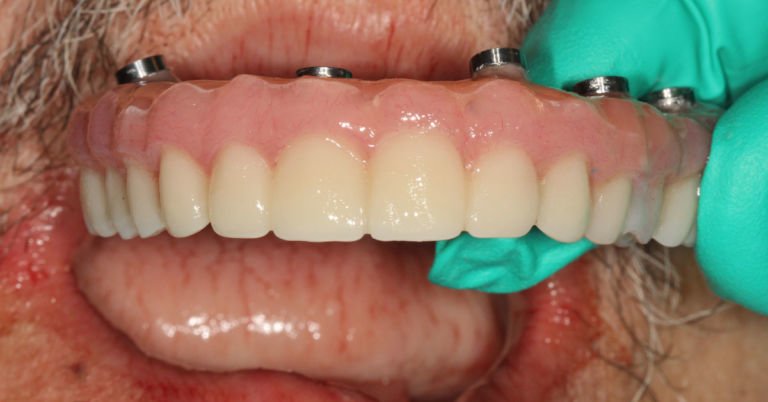
Once the prosthesis has been properly attached to the titanium cylinders, it can be removed and laboratory finishing procedures completed to 50-80% prior to moving onto the mandibular arch. During this time, the surgeon is performing alveoplasty and implant placement for the mandibular arch.
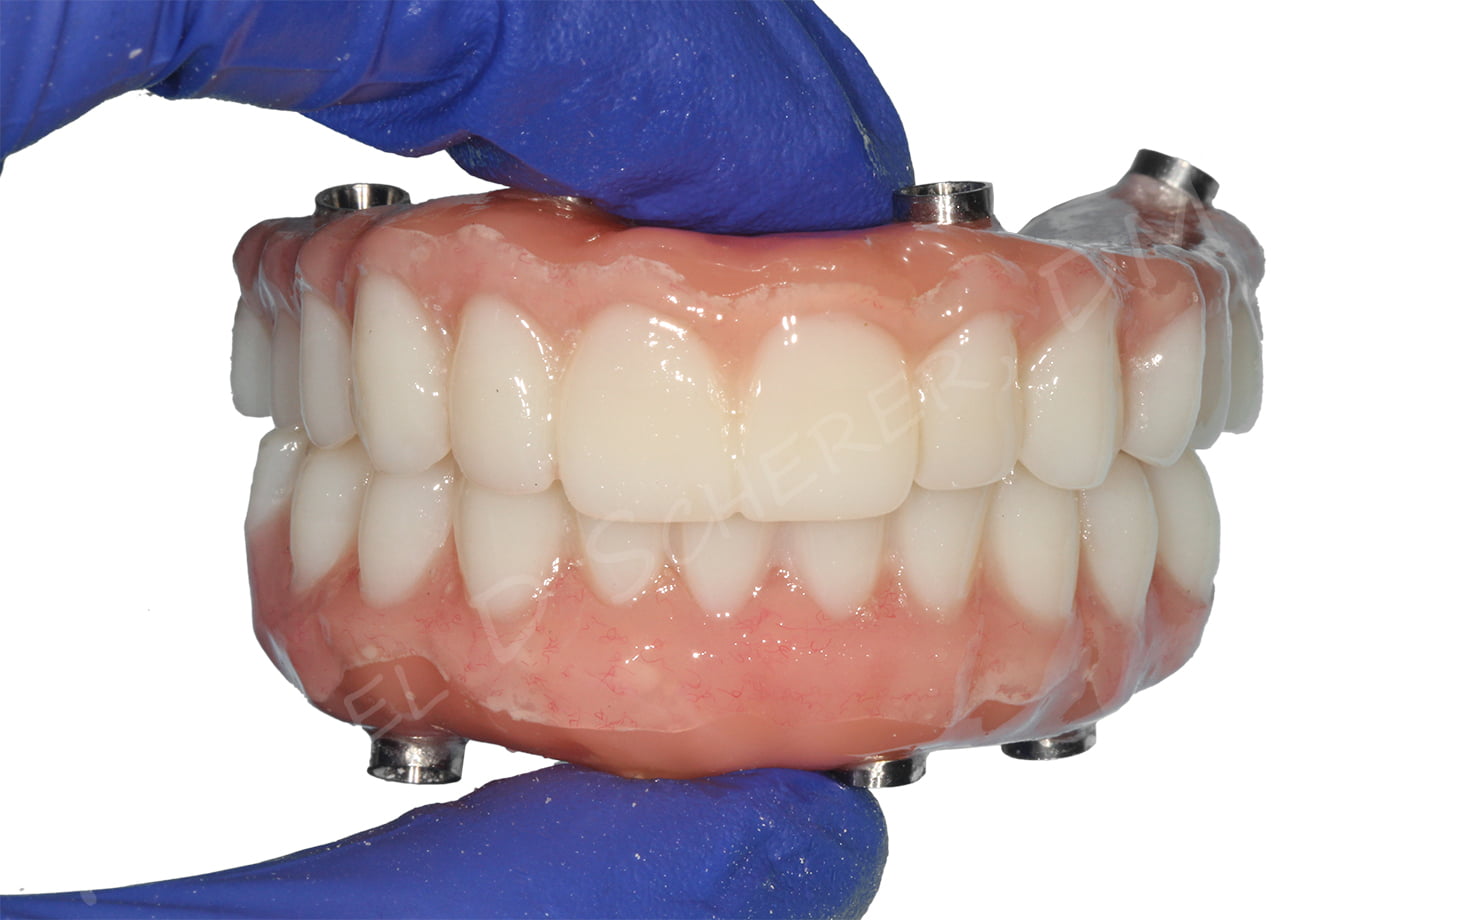
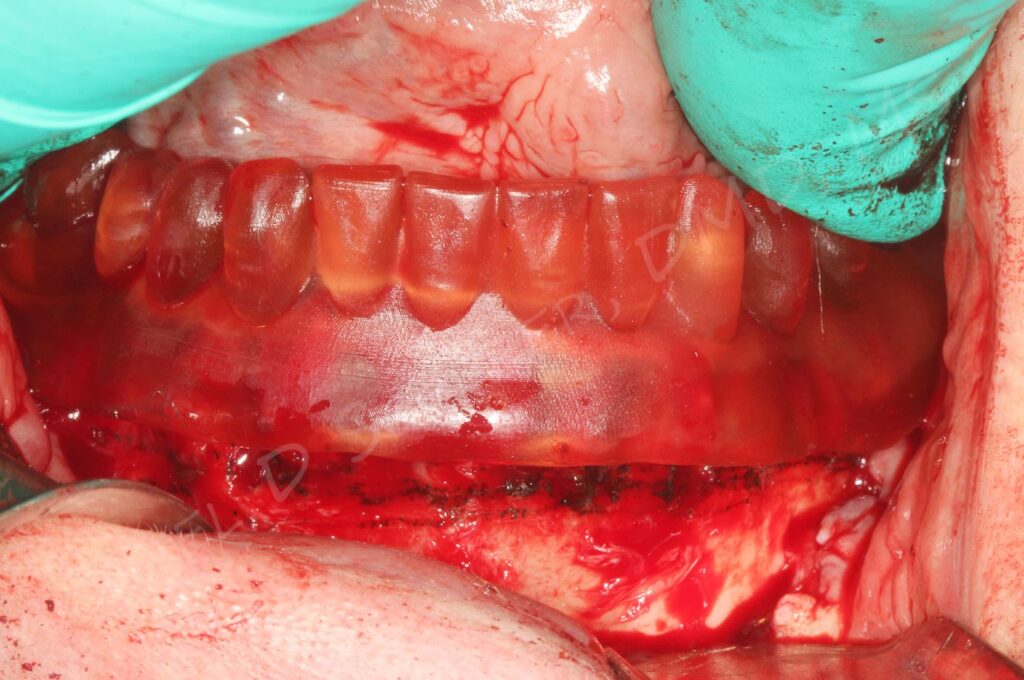
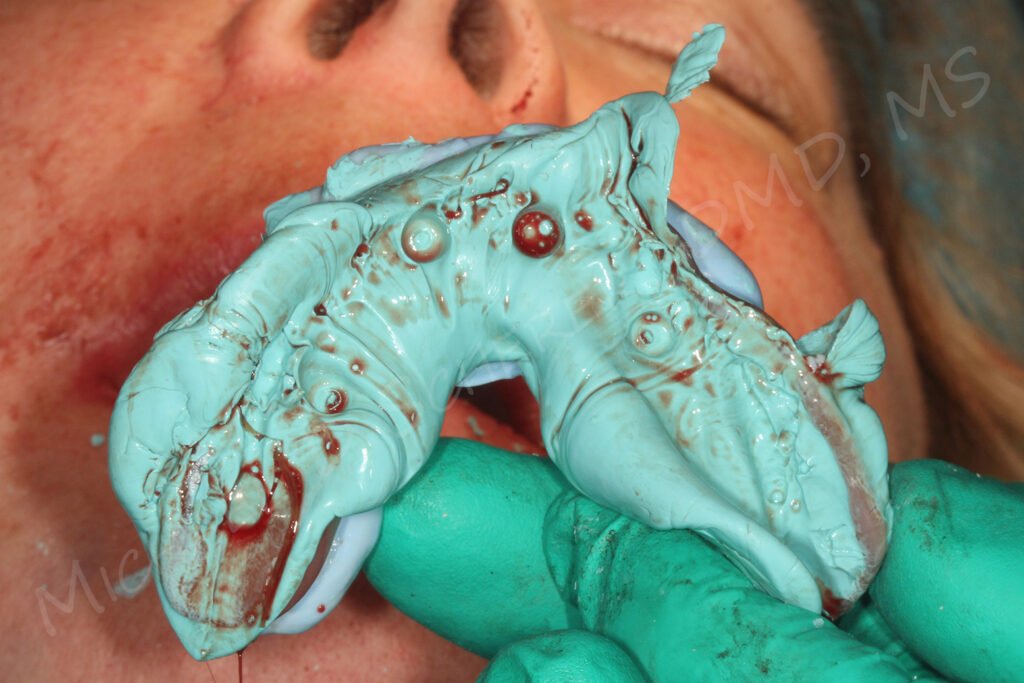
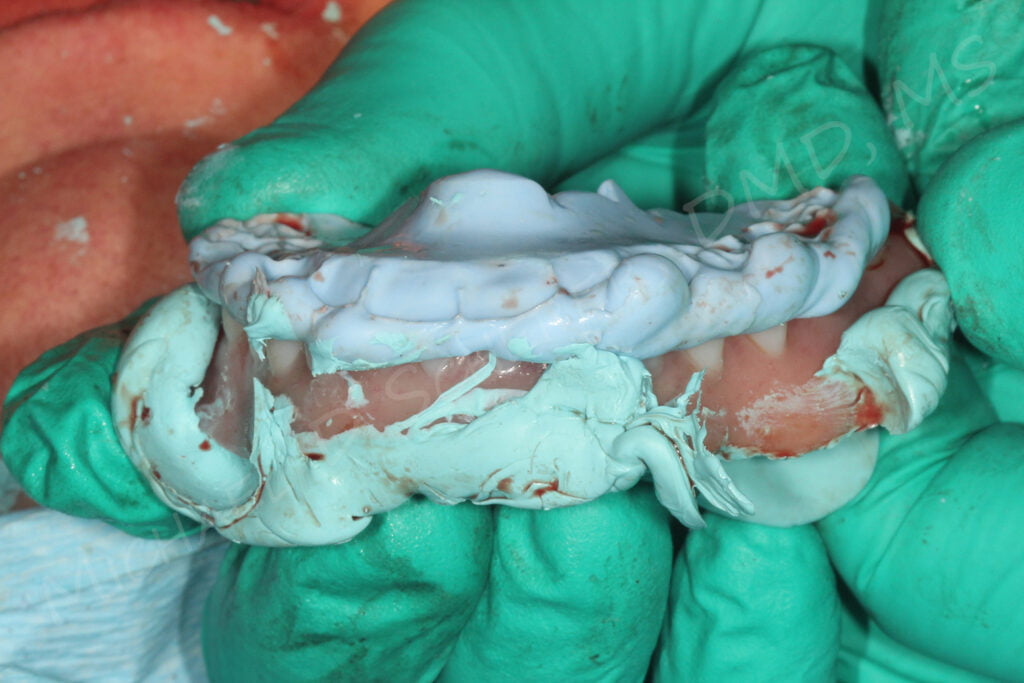
Once implants have been placed on the mandibular arch and the maxillary prosthesis is partially ready, the maxillary prosthesis is placed onto the maxillary implants. Multi-unit abutments are selected on the mandibular arch and cylinders are adjusted until sufficient clearance is achieved. The cylinders are picked up with composite resin using a bite registration index and the retromolar pads to help stabilize the prosthesis.
A Bite Index Is Critical for Double Arch Cases (Right)
After attaching the cylinders on the mandibular arch, both prostheses are removed and handed off to the laboratory technician where both prostheses are finished. Once completed, they are both inserted together and the AllonX case is completed!
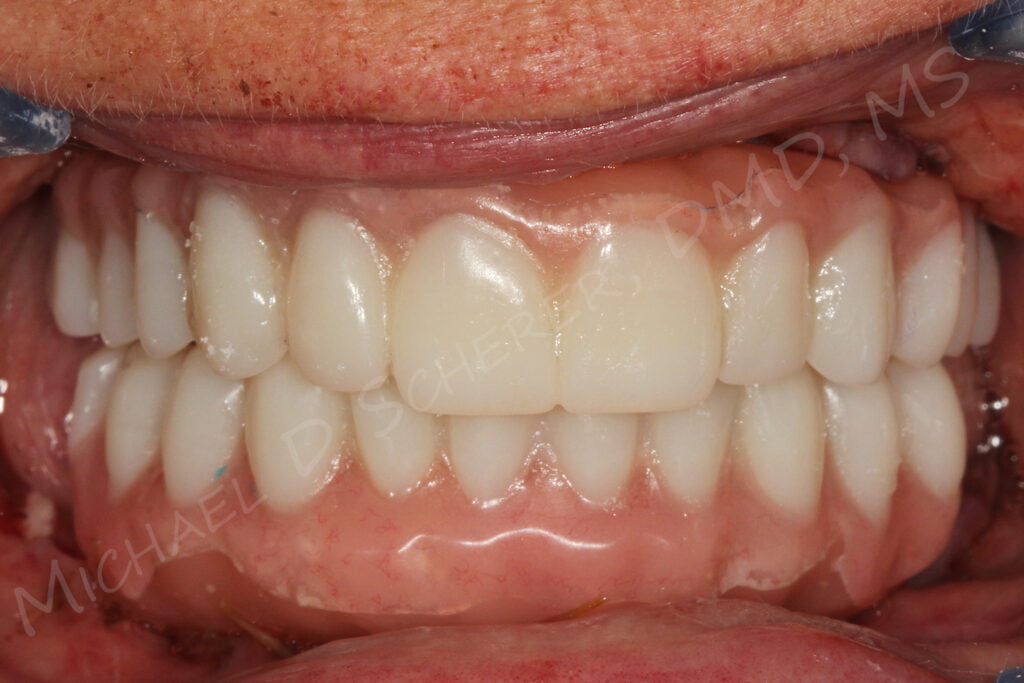
Dual arch AllonX restorative procedures don’t need to be super-complex. The key is to ensure that you’re using the anatomical landmarks of each arch properly and systematically attaching implant cylinders to each arch at the right time. Ultimately this helps minimize occlusal adjustments and potential tooth position and angulation errors to ensure a great result for your patient!
Online Course
Interested in learning more about Full-Arch Implantology? Want to learn how to do step-by-step AllonX implant planning, surgical and prosthetic steps, and digital protocols in your office and/or laboratory? Check out our innovative step-by-step online AllonX course at www.LearnAllonX.com

Dr. Michael Scherer, DMD, MS
Dr. Michael Scherer is an Assistant Clinical Professor at Loma Linda University, a Clinical Instructor at University of Nevada – Las Vegas. He is a fellow of the American College of Prosthodontists, has published articles, books, and in-person and online courses related to implant dentistry, clinical prosthodontics, and digital technology with a special emphasis on full-arch reconstruction.

