How Much Space in a Denture Do I Need for a LOCATOR? How to Avoid the Cracked Denture
One question I get asked often is… “How thick of a denture do I need to have for an overdenture case?” Excellent question, let’s talk about it when looking at a common clinical challenge I see.
Question: how many of you have experienced the dreaded cracked overdenture?
Answer: Many of us!!
You may know what I’m talking about… when a patent comes into the office with the chief complaint of “Doctor, my denture has a crack in it!!” What a pain fun for sure, especially if you have just delivered the prosthesis! It happens – even occasionally to me…
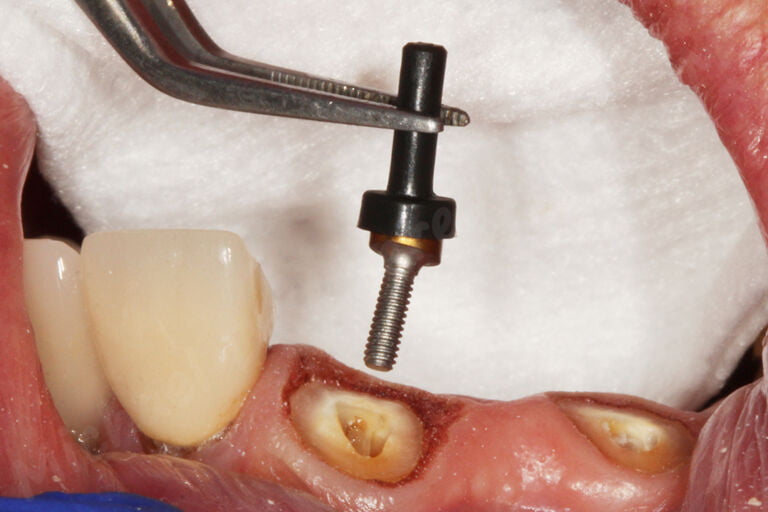
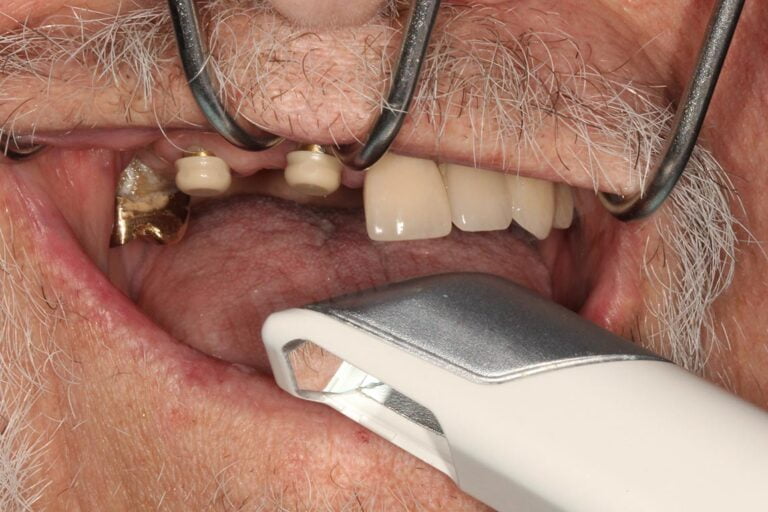
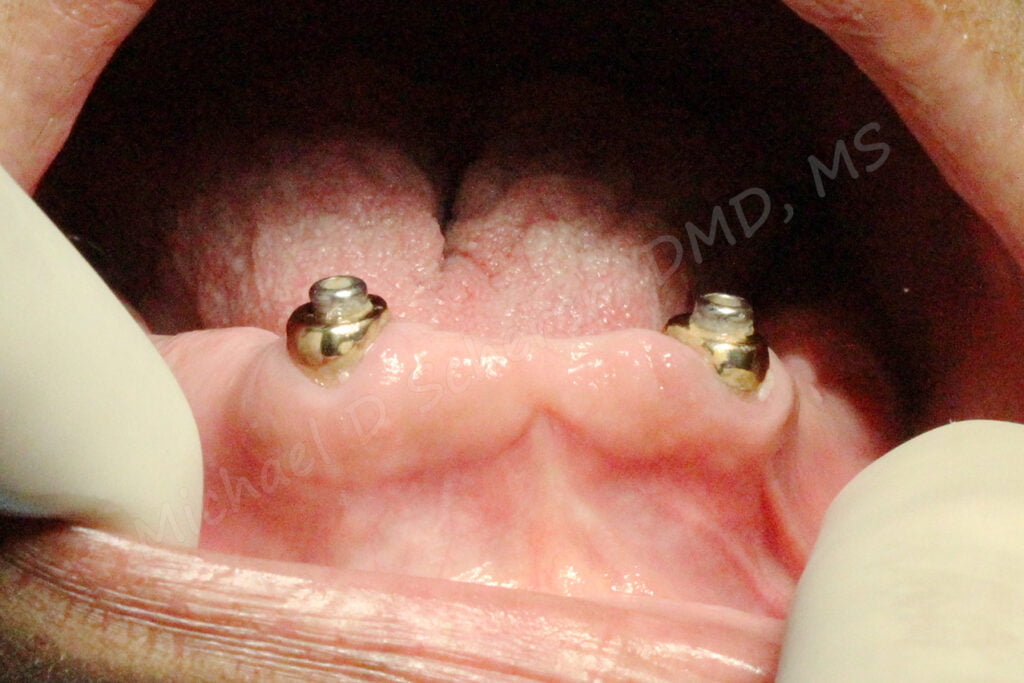
Let’s take a look at the above clinical example with the prosthesis out. A wonderful looking root overdenture case, beautiful gold castings with Zest Dental Solutions customized LOCATOR Root Abutments! Unfortunately this is a challenge I see fairly common – excellent technical dentistry in the mouth with little space for it to function. The technical steps on the root canal procedure, the impressions, gold castings, laboratory work are all done amazingly well. The problem is that when the denture was made, the clinician only found out that “space is a bit tight” from their laboratory when the teeth were setup on the models. So now with the gold castings cemented to the roots… what’s a dentist and laboratory to do? Just keep going forward or re-do the case? A challenging conundrum!
So with implants, how can this happen? Let’s look at an illustration example. Say a patient comes into your office wearing a denture who says, “Doctor, could you make this fit better?” while pointing to his/her mandibular denture. You look at the ridge, looks perfect. The panoramic x-ray shows a mile of bone, the patient has beautiful keratinized soft tissues, and wants it done ASAP. You think to yourself, “I’ve got an opening at 2pm, let’s pop in a couple of implants!!”
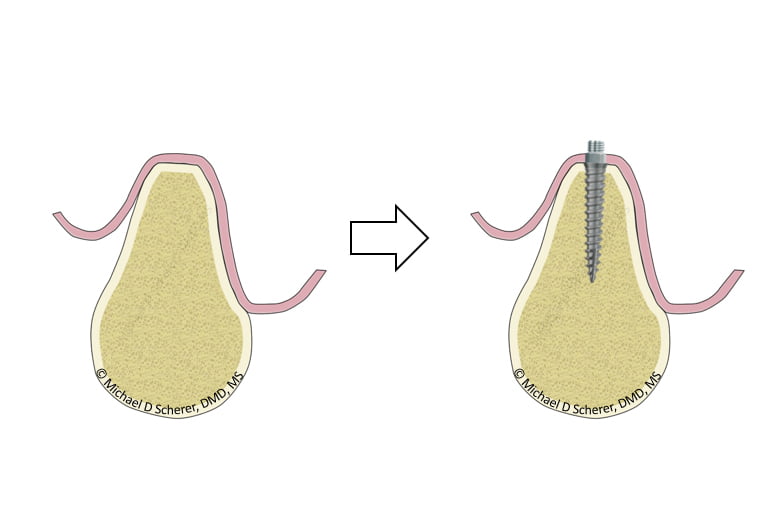
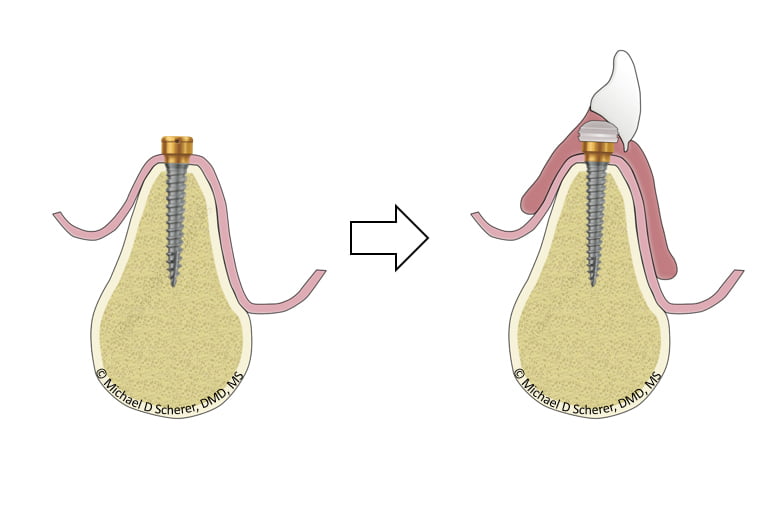
You decide on placing Zest LOCATOR Overdenture Implants, they go in easily (because they’re awesome!!), patient is thrilled about the possibilities of having something that works instead of the loose mandibular denture flopping around the place. You place on the LOCATOR Abutment and Housing and process the housing (pick up) to the denture and you have successfully converted the patient’s tissue supported denture into an implant retained, tissue-supported denture. Space is a bit tight but the acrylic is strong. Patient is thrilled about the result, you’re excited because you did excellent technical dentistry in the mouth.
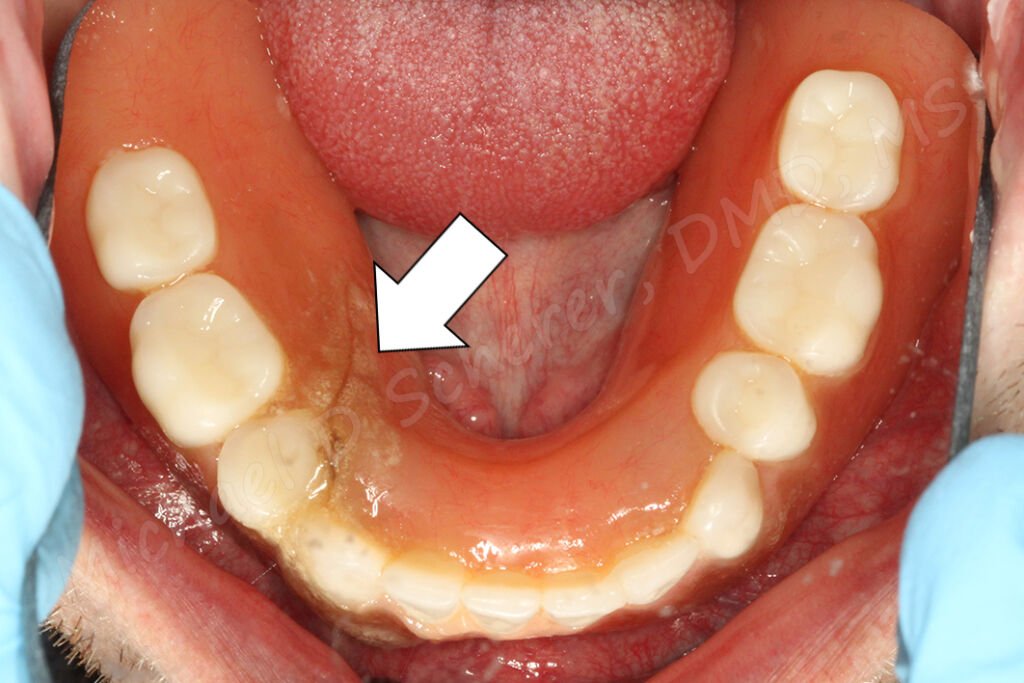
Take close look at how little denture thickness around the LOCATOR Housing – it’s not just tight… there’s nothing there. One could bulk it up a bit with acrylic or tell the patient to go easy on it until the implant heals but the challenge is there long-term. It’s great being a hero for the day but we have to think about our patients long-term.
So the question comes up… how do we avoid this? Many clinicians address the challenge of cracking dentures by using metal reinforcement – a topic that I have covered previously. The biggest challenge of using a metal framework inside of the denture and/or a bit of extra bulk of the denture around the LOCATOR Housing – both moves that will increases bulkiness of the denture. Patients may not tolerate extra bulk associated with adding acrylic bulkiness needed or the metal reinforcement.
How much space is needed for a LOCATOR Overdenture?
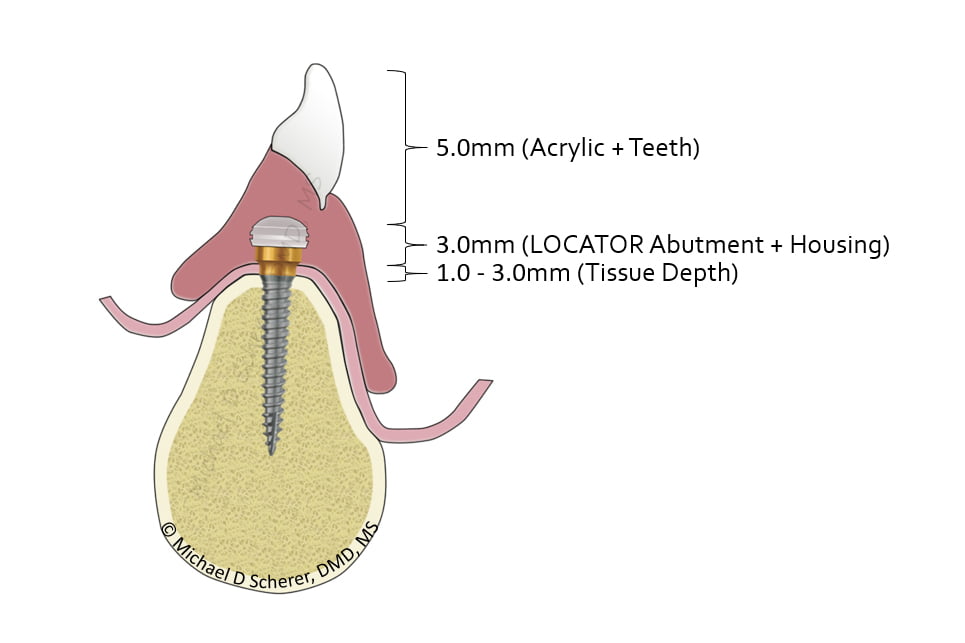
If you take the above illustration and after doing a bit of math, the amount of space recommend is 9-11mm from the top of the implant platform (or bone) to the outside surface of the denture, also known as the cameo surface.
This number is adapted from several authors who have come before me, including Phillips and Lee, on overdenture restorative space. I furthered the discussion how contemporary methods on how to measure prosthetic space and to ensure that this doesn’t occur clinically in articles listed on my website. While the above only discusses the vertical space required, there is also additional circumferential space required for the LOCATOR Abutment and Housing. Approximately 6-7mm of thickness of the denture is required to ensure sufficient acrylic thickness exists around the Housing itself.
There’s only two ways of accomplishing we achieve the 9-11mm figure – opening up or moving down. What do I mean by that? Opening up implies that we will need to open the patient’s vertical dimension, such as opening the bite. Can we do that reliably? Sometimes, but not always. Moving down means that we need to place the implant a bit deeper within the bone prior to placing the LOCATOR abutment onto the implant. Typically this is done via alveoplasty and is part of the surgical procedure. The latter technique is one that I employ almost daily in my clinical practice and is a much more predictable approach to correcting insufficient restorative space for a LOCATOR Overdenture.
To find out more about how to measure prosthetic space and alveoplasty procedures, check out our online course
Full-Arch Dentistry: Implant Overdentures!
The best opportunity to ensure that we minimize fracture or cracking of the denture is to ensure that we get 9-11mm of space between the top of the implant and the outside surface of the denture before placing the implants! “Denture-Down” CBCT Planning is a topic I’m a huge fan of and one that I have written in Dentistry Today and Dental Clinics of North America.
To summarize – Let the Prosthesis Be Your Guide! Ensure proper pre-operative planning occurs prior to placing the implants to enhance your surgical and restorative practice.
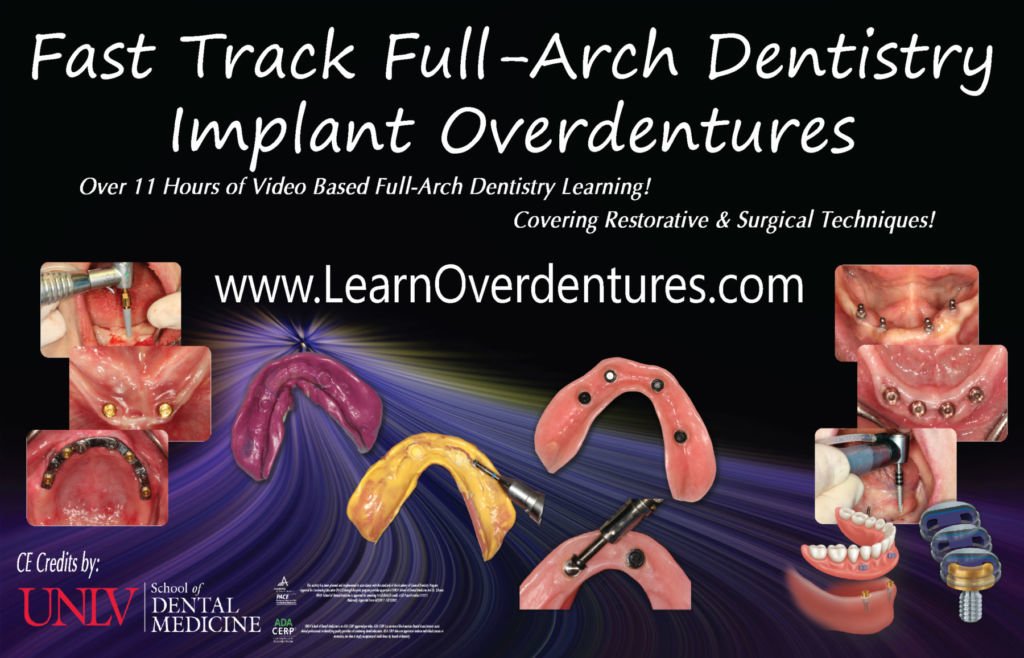
Want to learn more about full arch implant dentistry and implant overdentures? Want to find out more step-by-step clinical protocols and techniques? Make sure you check out our online course Fast Track Full Arch Dentistry – Implant Overdentures with 11hr of CEU by UNLV School of Dental Medicine. Visit www.LearnOverdentures.com

Dr. Michael Scherer, DMD, MS
Dr. Michael Scherer is an Assistant Clinical Professor at Loma Linda University, a Clinical Instructor at University of Nevada – Las Vegas. He is a fellow of the American College of Prosthodontists, has published articles, books, and in-person and online courses related to implant dentistry, clinical prosthodontics, and digital technology with a special emphasis on full-arch reconstruction.


